
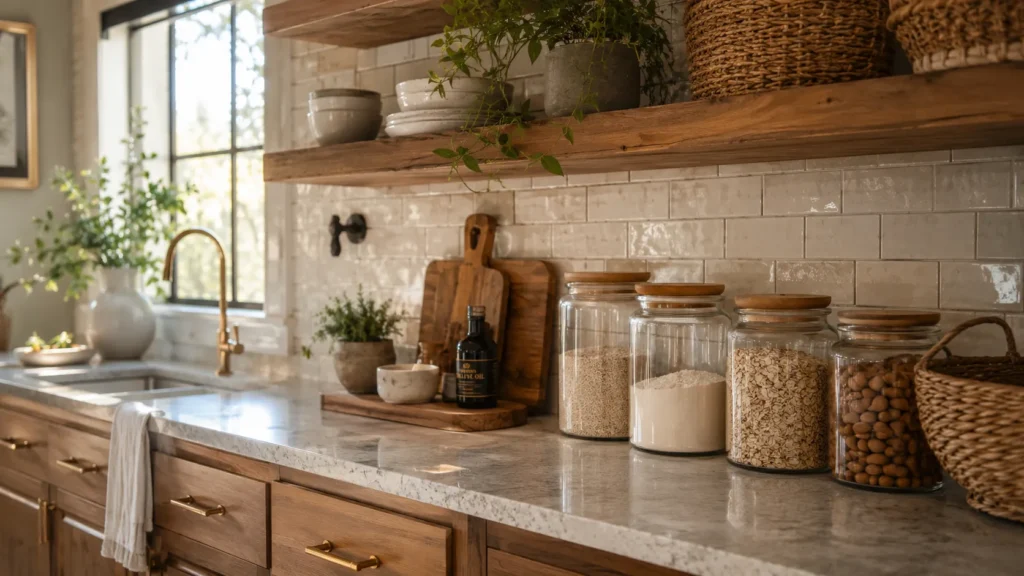
Your kitchen is probably five minutes and zero dollars away from looking like a completely different room. I’ve walked into hundreds of kitchens over the years, and the ones that stop me in my tracks are rarely the ones with the biggest budgets. They’re the ones where someone got clever with what they already had. This list is packed with the exact tricks I use with my own clients, the kind that make guests ask who you hired. Spoiler: nobody. You did this yourself.
My Design Notes
I still think about a project I took on in a small 1920s bungalow outside Columbus. My client had a tight three thousand dollar budget and didn’t want to touch the layout at all. We skipped the cabinets, skipped the counters, and focused on three things instead: new hardware, under cabinet lighting, and a pantry overhaul with clear bins and door storage. The hardware alone cost us about sixty dollars. The lighting ran closer to one hundred and eighty. Three months later, my client sent me a photo with a text that just said her dinner guests assumed she’d done a full renovation. I love that message more than almost any before and after I’ve ever gotten. It’s proof that the biggest transformations don’t always come with the biggest price tags.
15 Mastering Kitchen Upgrades: Stunning Hacks Every Homeowner Should Know
1. Try a Peel and Stick Backsplash That Actually Looks Custom
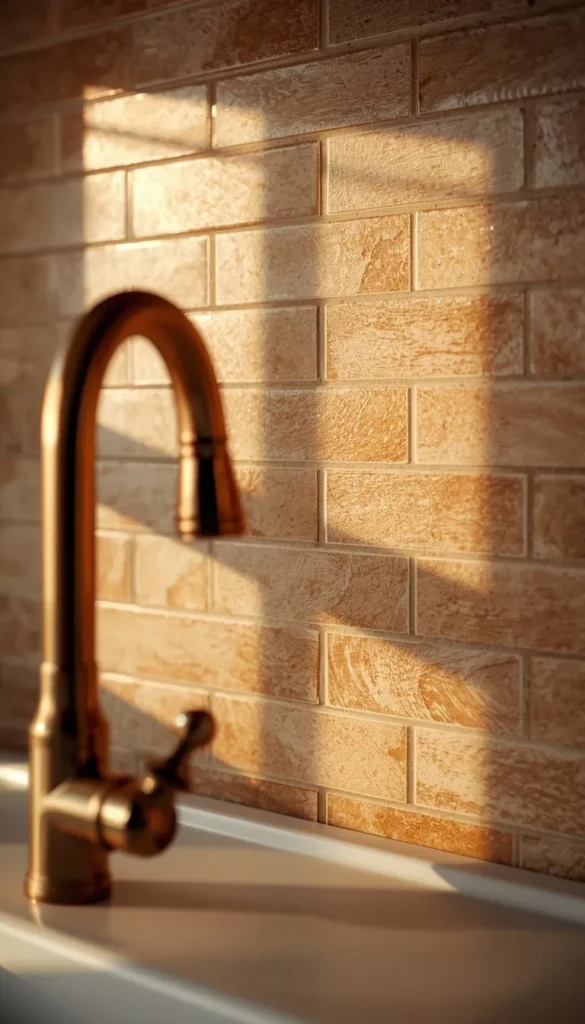
The trick most people get wrong with peel-and-stick tile is rushing the wall prep. If your wall isn’t clean, dry, and completely grease-free, the tile will start lifting at the edges within a few months, and that’s the number one complaint I hear. Wipe the wall down with rubbing alcohol first, let it dry fully, then apply in small sections so you can smooth out air bubbles as you go. The good brands mimic real subway tile, fish scale patterns, and even zellige so convincingly that most guests never guess it wasn’t professionally installed.
2. Refresh Cabinets With Contact Paper Instead of a Full Repaint
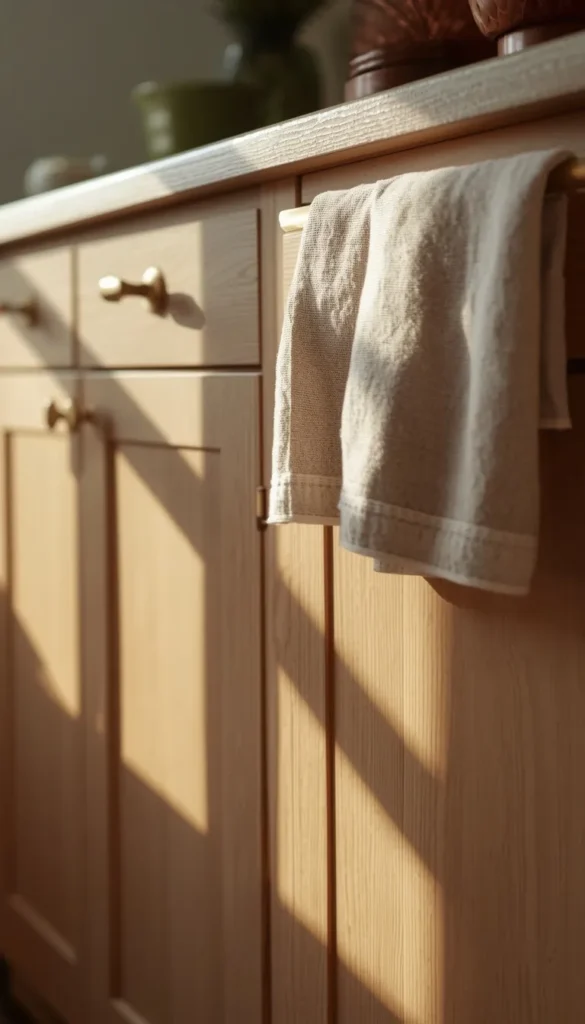
A full cabinet repaint is expensive, messy, and honestly overkill if your cabinet boxes are still in good shape. Wood grain or matte solid color contact paper can completely change the mood of a kitchen in a single weekend. I’ve used this trick in rental kitchens where painting wasn’t even allowed, and it held up beautifully for over a year.
A few things worth keeping in mind:
- Choose a textured finish over glossy, since it hides seams better
- Start with just the cabinet doors before committing to the whole kitchen
- Avoid this on cabinets near a stove without a heat-resistant topcoat
3. Add Under Cabinet Lighting for the Biggest Visual Upgrade Per Dollar
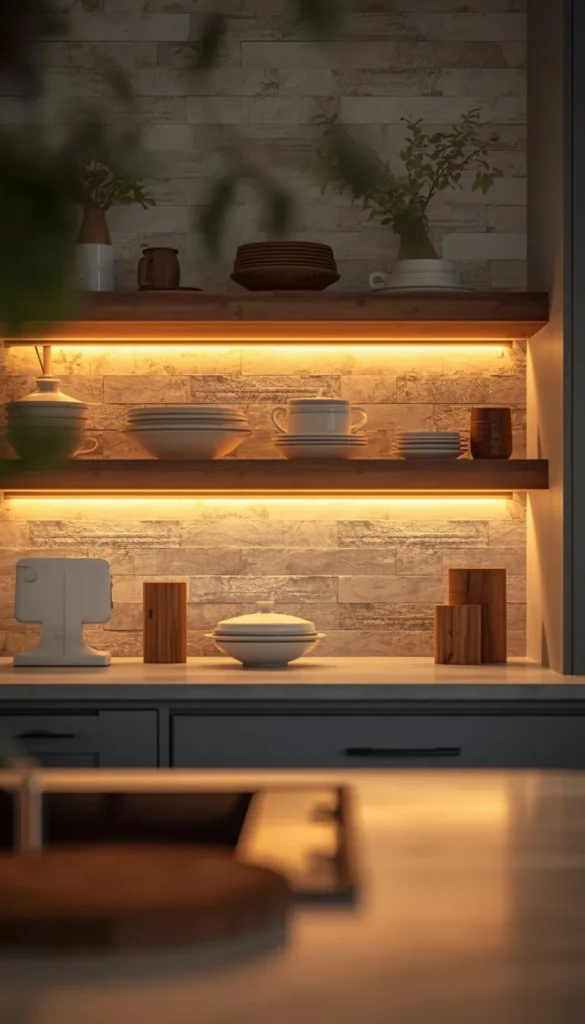
If I had to pick one hack on this entire list that punches above its price tag, it’s this one. Under cabinet lighting instantly makes a kitchen feel like it belongs in a magazine, and battery-powered LED strips mean you don’t need an electrician or any wiring at all. Stick them along the underside of your upper cabinets, angle them slightly toward the backsplash, and turn off your overhead lights to see the difference for yourself. It’s the same trick I mentioned in my design notes above, and it’s still the upgrade my clients text me about months later.
4. Finally Make Use of That Dead Corner Cabinet
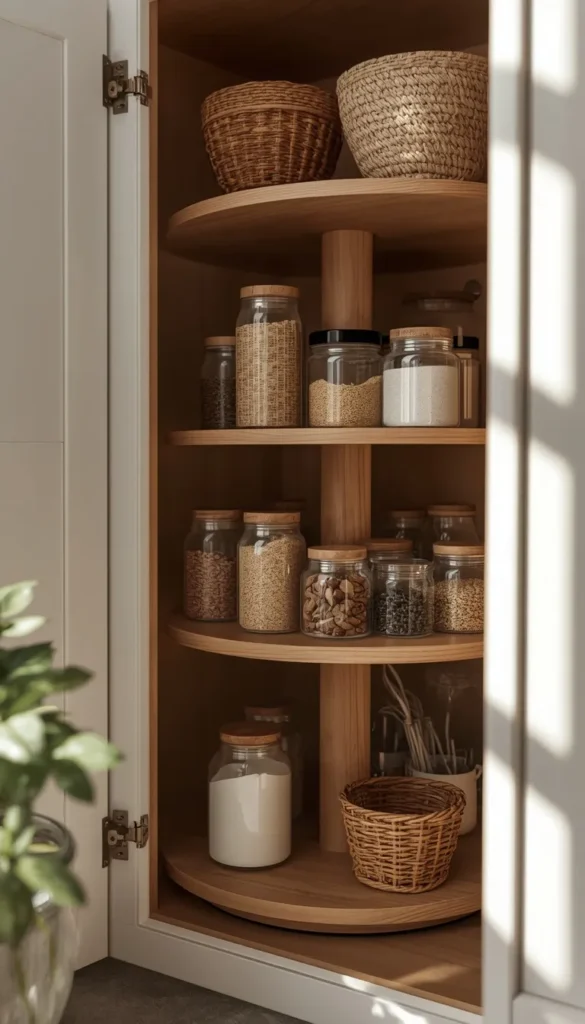
Every kitchen has one: that awkward blind corner cabinet where things go to disappear. A Lazy Susan turntable solves this almost instantly, and the newer kidney-shaped versions fit into tighter corners than the old round ones. One thing to watch out for is measuring your cabinet depth before ordering, since many homeowners buy a turntable that’s slightly too wide and end up returning it. Once it’s in, spices, oils, and small appliances become genuinely reachable instead of buried behind three other things.
Which one of these is calling your name the second you finish reading this?
5. Free Up Drawer Space With a Magnetic Knife Strip
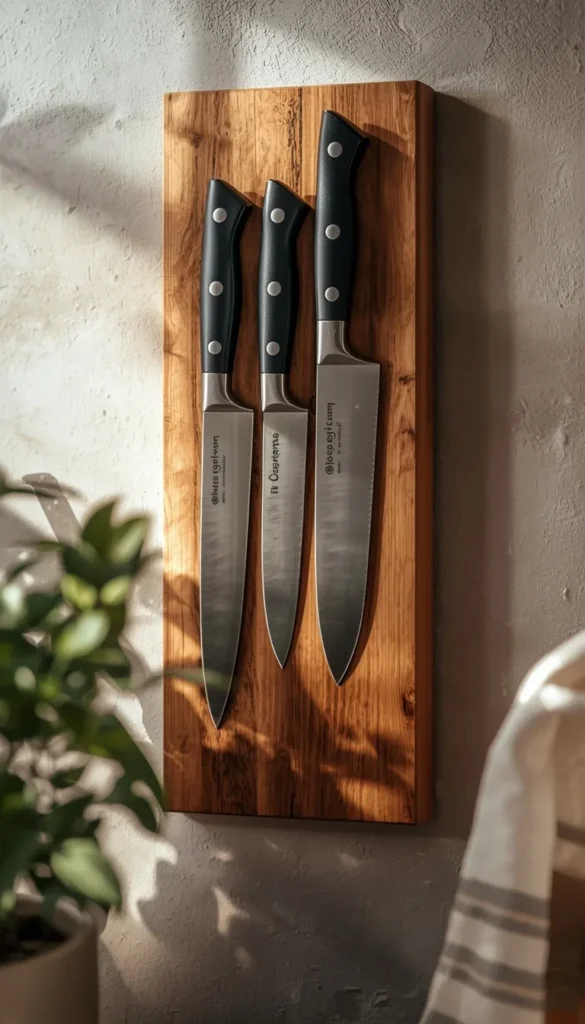
Knife blocks eat up more counter space than people realize, and drawer inserts for knives are often bulky and awkward to clean around. A magnetic strip mounted on the wall or inside a cabinet door solves both problems at once. It also keeps your good knives visible, which sounds small but actually makes you more likely to use the right blade instead of grabbing whatever’s closest.
- Mount it at a height where kids can’t reach
- Keep it away from the sink so knives don’t rust
- Choose one with a wood or brass backing if you want it to double as decor
6. Style Open Shelves So They Don’t Turn Into Clutter
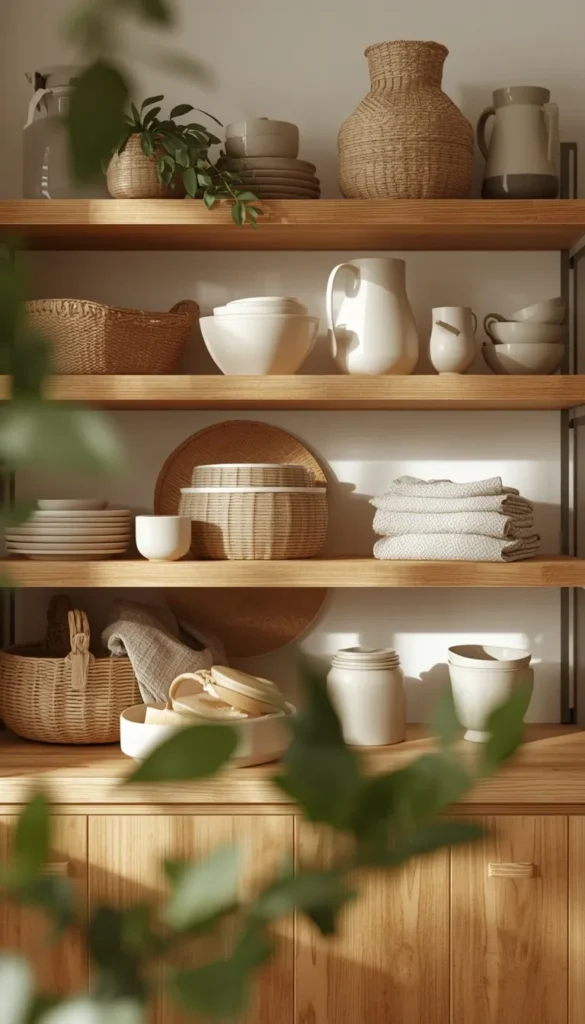
Open shelving gets a bad reputation, and honestly, some of that criticism is fair. Dust does build up faster, and grease from cooking can land on anything within a few feet of your stove. But the real issue is usually styling, not the shelves themselves. I tell clients to treat open shelves like a curated display rather than storage. Group items by color or material, leave visible breathing room between pieces, and keep your everyday dishes in a closed cabinet nearby so the open shelf doesn’t become a dumping ground. Done right, it adds warmth to a kitchen instead of looking chaotic.
Top 6 Kitchen Ideas
| Idea | Estimated Price | Maintenance |
|---|---|---|
| Peel and Stick Backsplash | $30 to $100 per roll | Low |
| Under Cabinet Lighting | $20 to $60 | Low |
| Corner Cabinet Turntable | $15 to $40 | Low |
| Faucet and Hardware Swap | $100 to $300 | Low |
| Quartz Countertops | $50 to $120 per sq. ft. | Low |
| Clear Pantry Containers | $40 to $90 for a full set | Medium |
7. Use a Tension Rod to Instantly Organize Cabinet Chaos
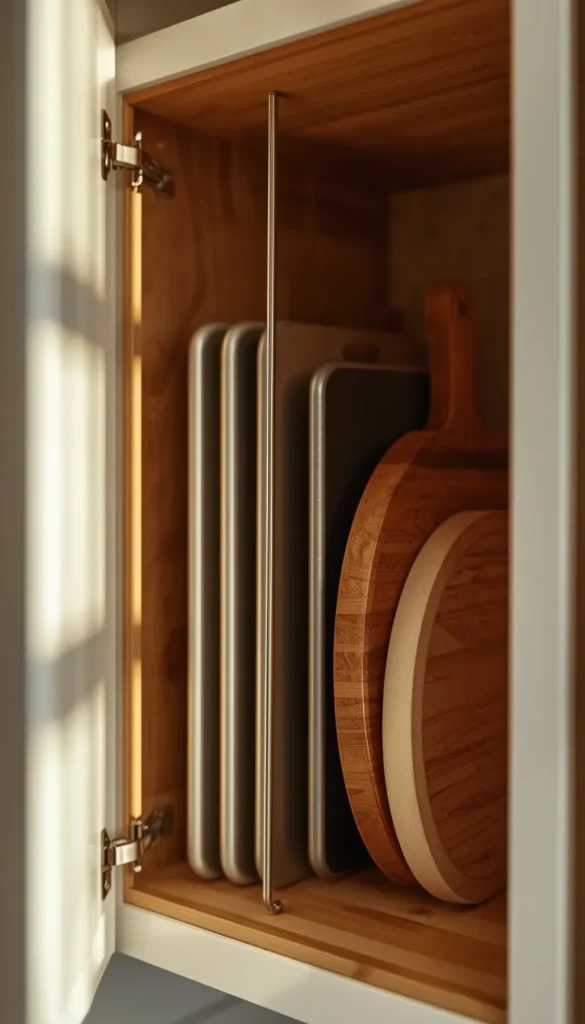
This is one of those tricks that sounds too simple to actually work, but it does. A basic tension rod installed vertically inside a cabinet creates an instant divider for baking sheets, cutting boards, and trays that normally slide into a messy pile. No tools, no drilling, and it costs about six dollars.
8. Choose Drawer Organizers That Match Your Actual Drawer Depth
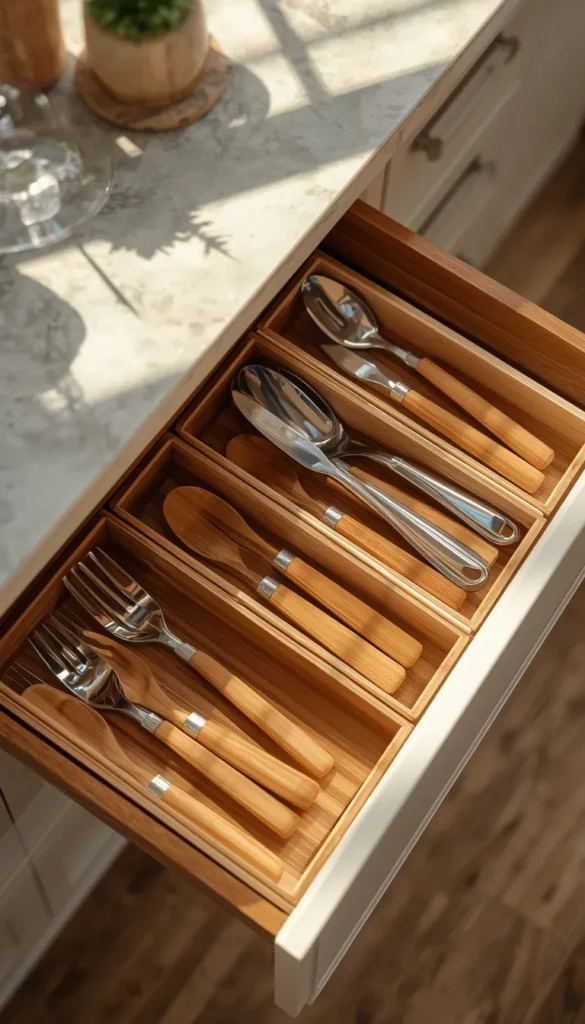
A lot of people buy generic drawer organizers online and then discover they’re either too tall to close the drawer or so shallow that utensils shift around anyway. Measure your drawer’s interior depth before buying, not just the width. Adjustable bamboo or acrylic organizers tend to be the most forgiving option since you can reconfigure them as your utensil collection changes, which it inevitably will.
9. Use the Back of Your Pantry Door for Real Storage
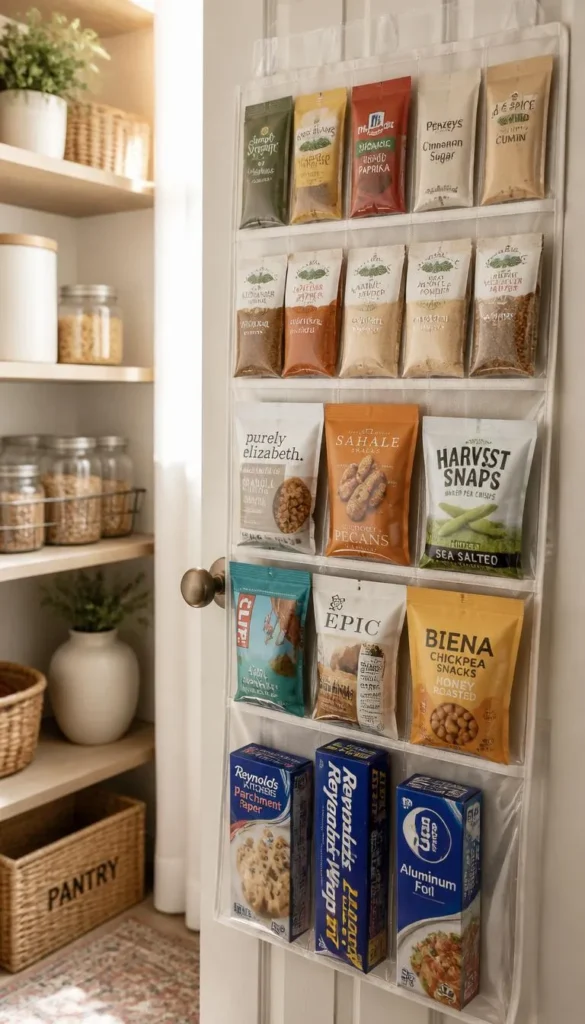
The back of a pantry door is one of the most overlooked spots in the entire kitchen. An over-the-door organizer with clear pockets or small bins can hold spice packets, snack bags, foil, and cling wrap, freeing up your actual shelves for bulkier items. I’ve seen this single change make a small pantry feel like it doubled in size, simply because everything finally has a home instead of being crammed onto whatever shelf had room that day.
10. Switch to Clear Storage Containers in Your Pantry
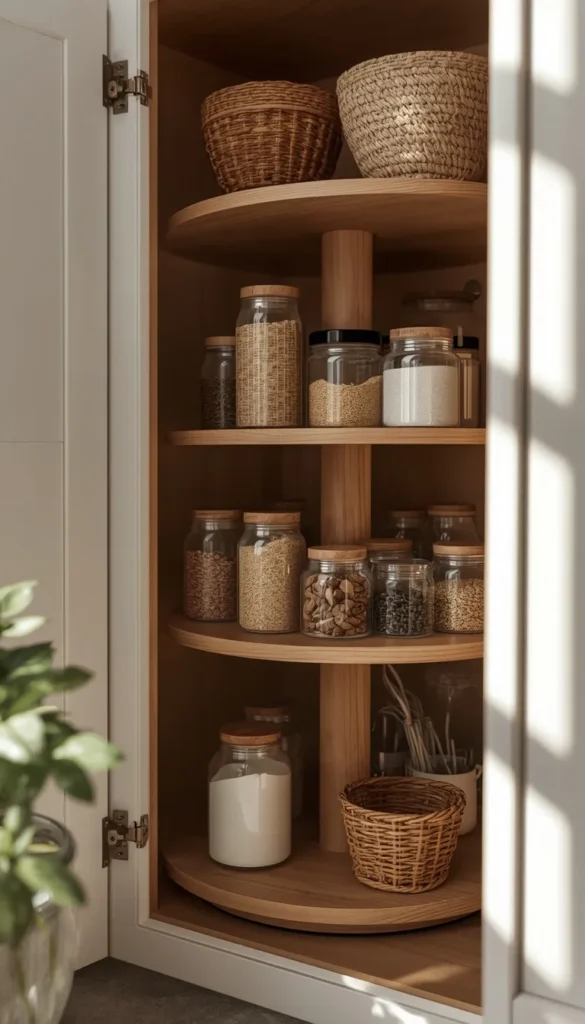
There’s a psychological trick at play here that most people don’t think about. When pantry items are hidden in their original bags and boxes, the space feels cluttered even when it’s technically organized. Clear containers create visual order, and that alone makes a kitchen feel calmer and more spacious. It also helps you notice when you’re running low on something, which cuts down on the classic problem of buying a third jar of cumin you already had two of.
- Stick to two or three container shapes for a cohesive look
- Label with a simple tape label maker rather than fussy hand lettering
- Decant flours and grains first since they benefit the most visually
If you could only fix one thing in your kitchen this month, which one from this list would it be?
11. Swap Your Faucet and Hardware Before You Touch Anything Else
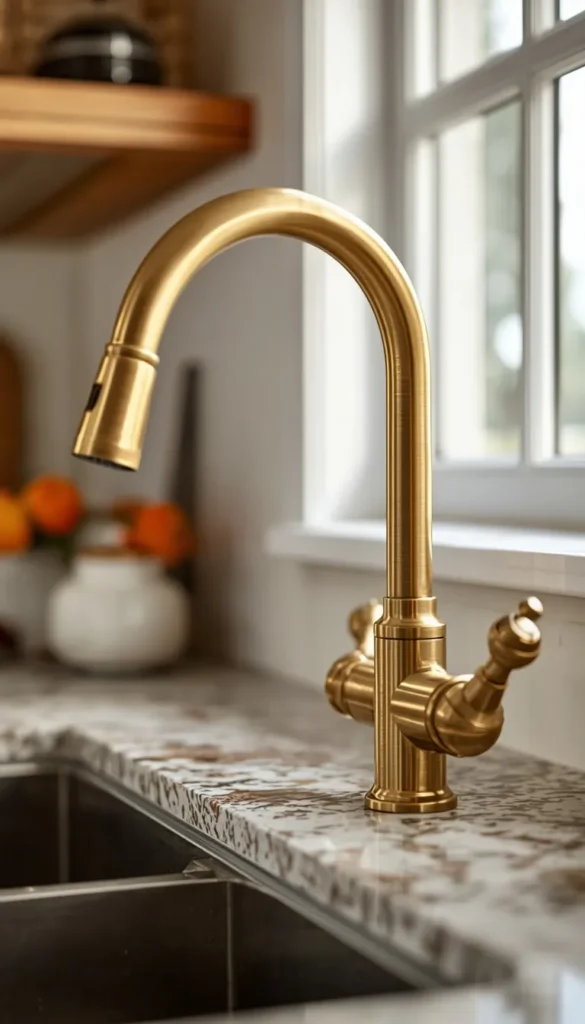
If you’re only going to spend money on one thing in your kitchen this year, I’d point you here first. A new faucet and updated cabinet hardware change the entire personality of a kitchen for a relatively small cost, usually somewhere between one and three hundred dollars depending on finish. Brushed brass, matte black, and unlacquered brass are the finishes I get asked for most right now, and any of them read as current without feeling trendy in a way that will date quickly.
12. Pick Quartz Over Natural Stone if You Want to Skip the Maintenance Headache
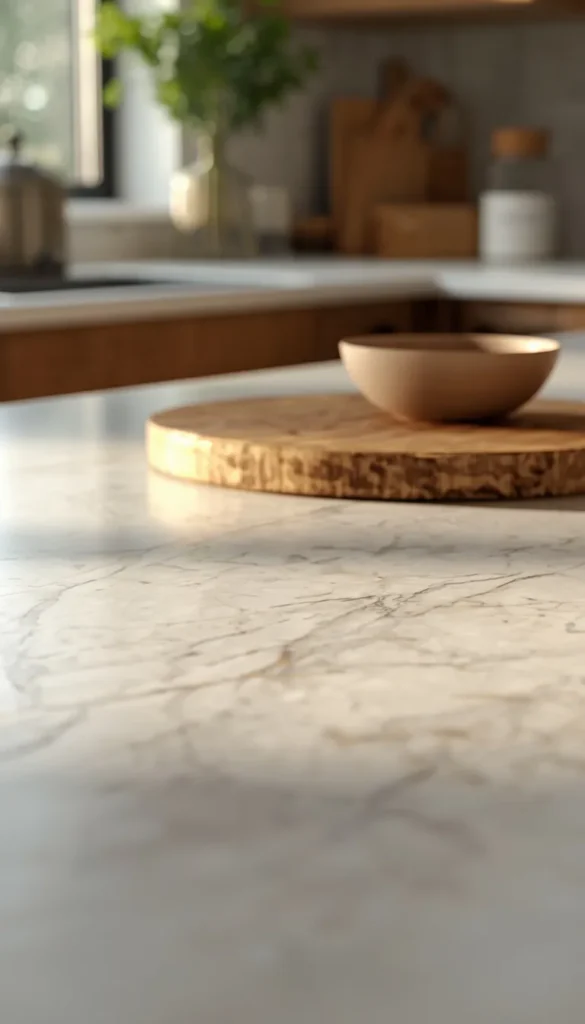
I love the look of real marble as much as anyone, but I’m also honest with my clients about what it actually takes to keep it looking good. Natural stone needs regular sealing, and even then it etches from something as ordinary as a splash of lemon juice or a glass of wine left too long. Quartz gives you that same soft, veined look for less money and with none of the babysitting. A quick trick I’ve learned is bringing a physical quartz sample home and leaving it on the counter for a week before deciding, since lighting changes how the veining reads throughout the day.
13. Pick One Statement Piece and Let Everything Else Go Quiet
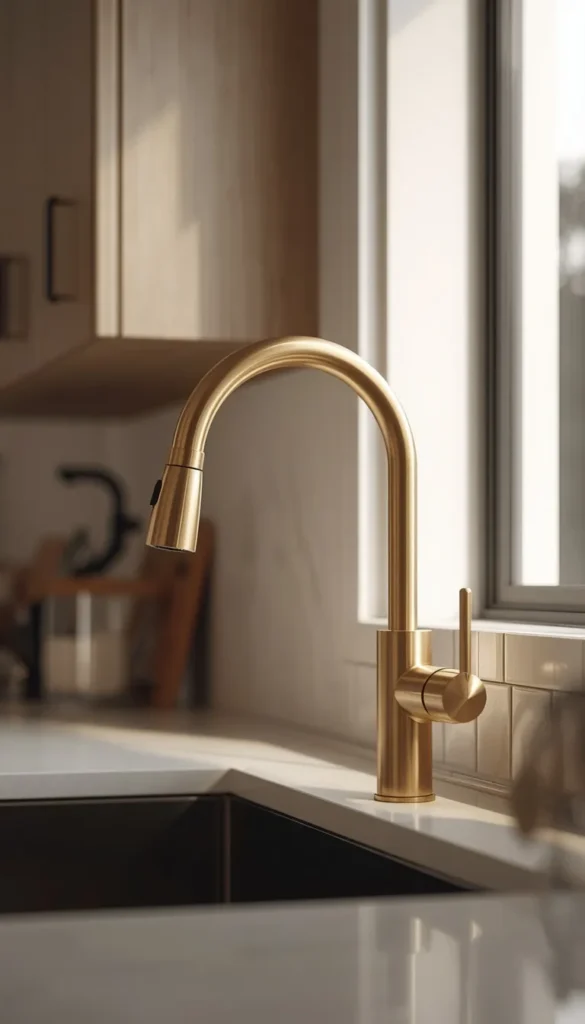
A kitchen with brass faucets, black cabinet pulls, chrome appliances, and bronze light fixtures all fighting for attention ends up feeling more chaotic than curated. My rule with clients is simple. Choose one finish to be the star, whether that’s a bold hardware color or a single patterned tile moment, and keep everything surrounding it neutral. It’s the same idea as getting dressed for a night out. One statement earring works. Five different sparkly things at once just look like you couldn’t decide.
14. Use a Cutting Board as Instant Extra Counter Space
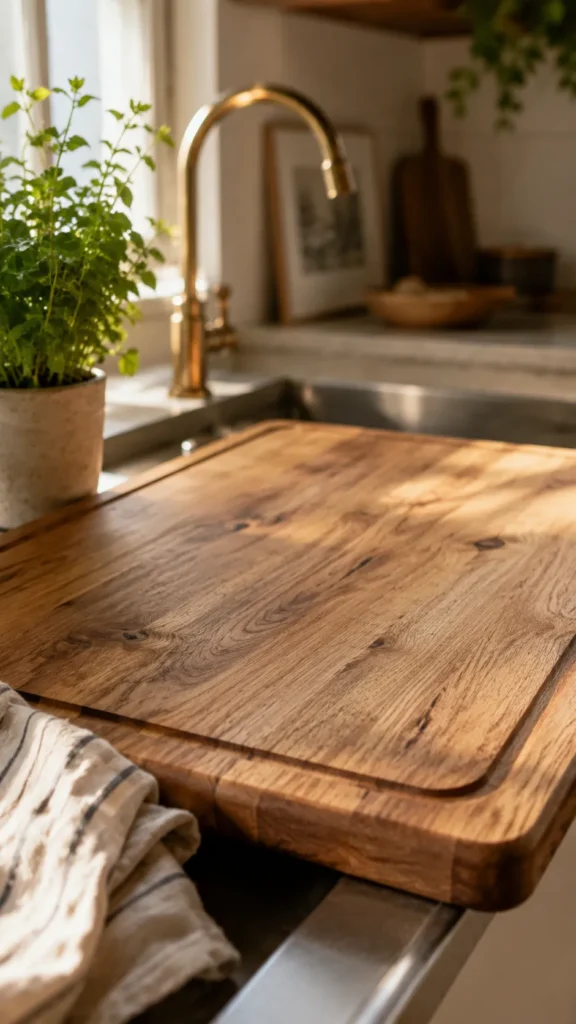
Small kitchens rarely need a renovation as badly as they need better counter management. A large wooden cutting board placed over your sink or stovetop when it’s not in use instantly gives you a few extra square feet of workspace. I keep one on hand for basically every small kitchen project I take on now, since it’s the cheapest square footage you’ll ever add to a home.
- Choose one with small feet so it sits stable over the sink basin
- Pick a size slightly larger than your sink opening for coverage
- Store it upright against a wall so it doubles as decor between uses
Be honest, how many of these have been sitting on your someday list for way too long?
15. Know Where to Splurge and Where to Save
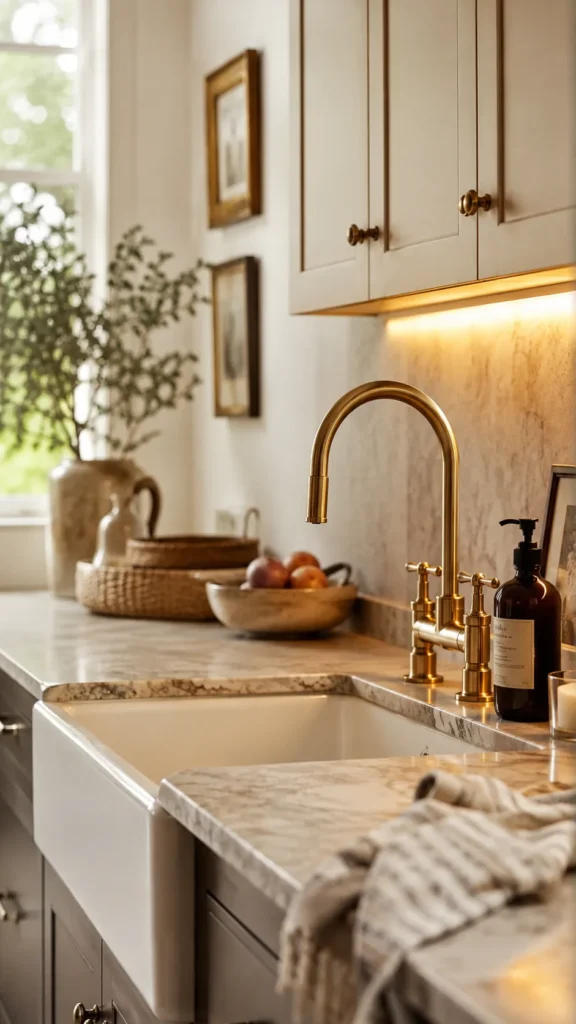
After enough kitchens, you start to notice a pattern. The splurges people regret are almost never the ones on faucets or lighting. They’re the ones on trendy finishes that look dated within a few years, or appliances bought purely for their brand name rather than their actual performance. If you’re working with a limited budget, put your money toward things you touch every day, like drawer hardware, your sink, and your lighting. Save on anything purely decorative, since that’s the easiest thing to update again later without regretting the spend. My New York project proved this out perfectly. The lighting upgrade cost less than the faucet, yet it did more visual work than almost anything else in that kitchen.
Which Path Is Yours?
By Budget
Starter Fixes
- Peel and stick backsplash
- Contact paper cabinets
- Tension rod dividers
- Magnetic knife strip
Investment Upgrades
- Faucet and hardware swap
- Quartz countertops
- Under-cabinet lighting with hardwiring
- Custom pantry container system
By Lifestyle
Small Spaces
- Cutting board as extra counter
- Corner cabinet turntable
- Pantry door organizer
- Clear containers for visual order
Open Layouts and Entertainers
- Statement hardware finish
- Styled open shelving
- Faucet upgrade as a focal point
- Under-cabinet lighting for ambiance
Frequently Asked Questions
Is peel and stick backsplash actually worth it?
Yes, but only if you prep the wall properly first. Skip the alcohol wipe-down, and you’ll see edges lifting within a few months.
How much does it cost to update kitchen cabinets without replacing them?
Usually between fifty and two hundred dollars if you go with contact paper or new hardware. A full repaint runs higher, closer to four hundred to eight hundred depending on cabinet count.
What is the cheapest way to make a kitchen look more expensive?
Under-cabinet lighting, hands down. It costs less than most people expect and changes the entire mood of the room the moment you flip it on.
Is quartz better than granite for kitchen countertops?
For most homeowners, yes. Quartz needs zero sealing and resists staining far better, though granite still wins if you want a completely one-of-a-kind natural pattern.
How do I organize a small kitchen with no pantry?
Start with the back of any cabinet doors you have, since that space usually sits empty. Add clear bins on shelves and a tension rod divider for trays, and you’ll free up more room than you’d expect.
Conclusion
Your kitchen doesn’t need a permit, a loan, or a demolition crew to feel brand new. It just needs one afternoon and one decision from this list. Pick the thing that’s been bugging you the most, clear that one shelf, order that one sample, hang that one strip of lights, and let it snowball from there. You live in this room every single day, so it deserves to feel like yours.
