
Introduction
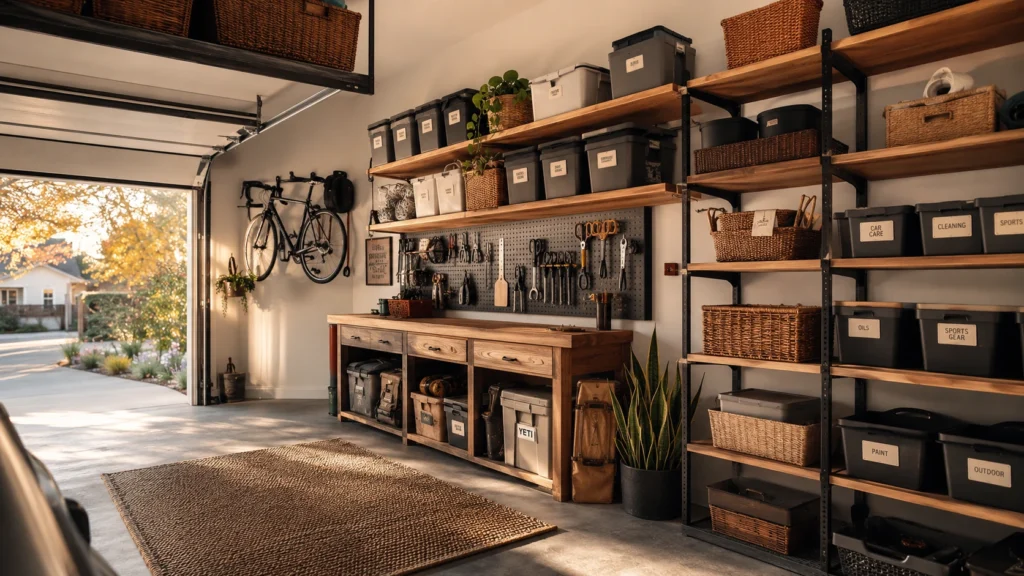
My clients always tell me the same thing: their garage was supposed to hold two cars, and now it barely holds a bike. I get it. A garage is one of those spaces that quietly fills up until you can’t remember the last time you saw the floor. The good news is you don’t need a full renovation to fix it. With the right mix of shelving, wall storage, and a little planning, you can turn even the messiest garage into a space that actually works for your family. Here are 15 garage organization ideas I’ve used on real projects to help you get there.
My Design Notes
I still think about a garage project I worked on outside Chicago a few years back. My clients had a two car garage that had quietly turned into a one car garage, and neither of them could tell you exactly when it happened.
When we started pulling things off the shelves, I found a cheap wire shelving unit that had rusted through in under two years. Chicago summers get humid, and that moisture had been sitting on bare metal the whole time.
We swapped it out for powder coated steel shelving and moved everything paper based, holiday decor, old photo albums, up onto ceiling mounted racks instead. My rule of thumb now with every garage project is simple: assume moisture will find a way in, and store accordingly.
It’s a small shift, but it’s saved more than one client from redoing their shelving twice.
15 Proven Strategies for Mastering Garage Storage and Organization
1. Do a Garage Audit First

Before you buy a single bin, walk into your garage and really look at what’s in there. Most of us have things sitting in the garage that don’t belong there at all, old luggage, baby gear from a decade ago, paint cans from a house that’s already been repainted twice. Set aside twenty minutes to sort everything into three piles: keep, donate, and toss. I promise the space will already feel bigger before you’ve bought a single shelf.
2. Measure Your Real Wall and Ceiling Space Before Shopping
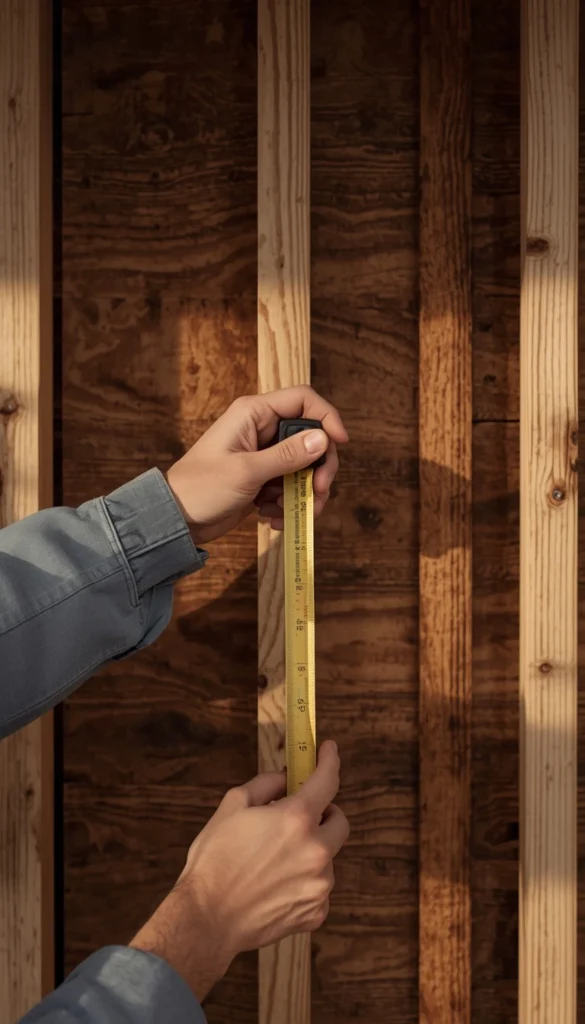
This step gets skipped constantly, and it’s the one that saves you the most money. Grab a tape measure and jot down your actual wall height, the width between your garage door track and the side wall, and how much clearance you have overhead.
A few things I always tell clients to check:
- Ceiling height near the garage door opener, since that limits overhead racks
- Any studs or drywall type, which affects what you can mount and how
- Floor space you actually need clear for parking
Skipping this step is how people end up with shelving that’s two inches too deep for the space they had in mind.
3. Go Vertical With Wall Mounted Shelving

Wall mounted shelving is still the single best return on investment for most garages, and I say that after installing a lot of it. It gets bulky items like paint, bins, and tools off the floor immediately, and it works in almost any size garage. Ready-made units from Home Depot or Lowe’s typically run between 60 and 200 dollars per section, while custom-built in shelving can climb into the thousands depending on materials. A quick trick I’ve learned on tighter budgets is to start with just one long run of shelving along your least used wall, then expand once you see how you actually fill it.
Is your garage more of a “can’t find anything” problem or a “no floor space left” problem?
4. Use Ceiling Mounted Racks for Seasonal Items
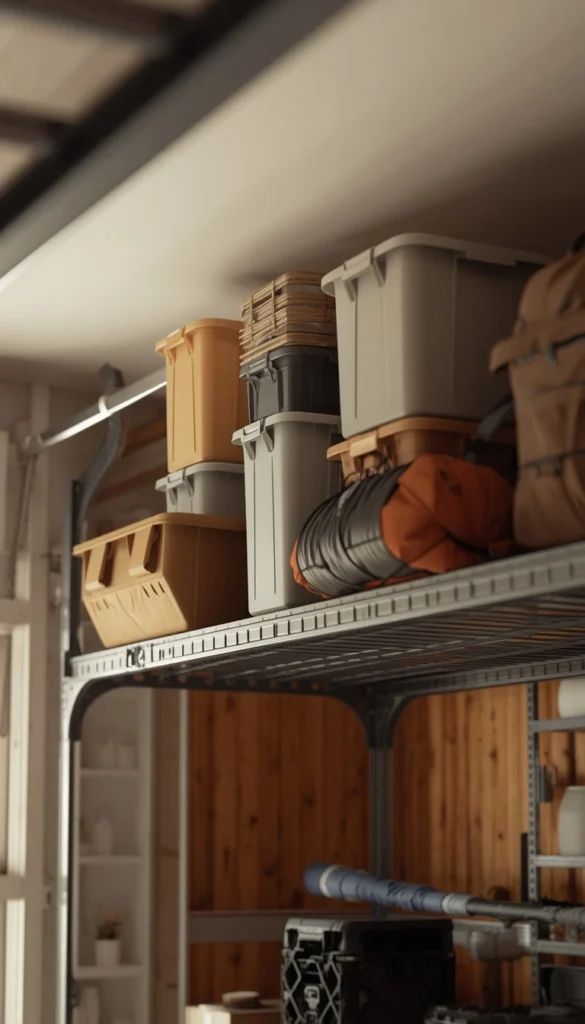
If your garage has decent overhead clearance, ceiling racks are one of the most underused storage options out there. They’re perfect for things you only touch twice a year, holiday decorations, camping gear, luggage. One thing to watch out for is weight limits. Most racks need to be anchored directly into ceiling joists, not just drywall, so it’s worth checking your garage’s framing or bringing in someone who can confirm it before you load it up with heavy totes.
5. Install a Slatwall or Track System
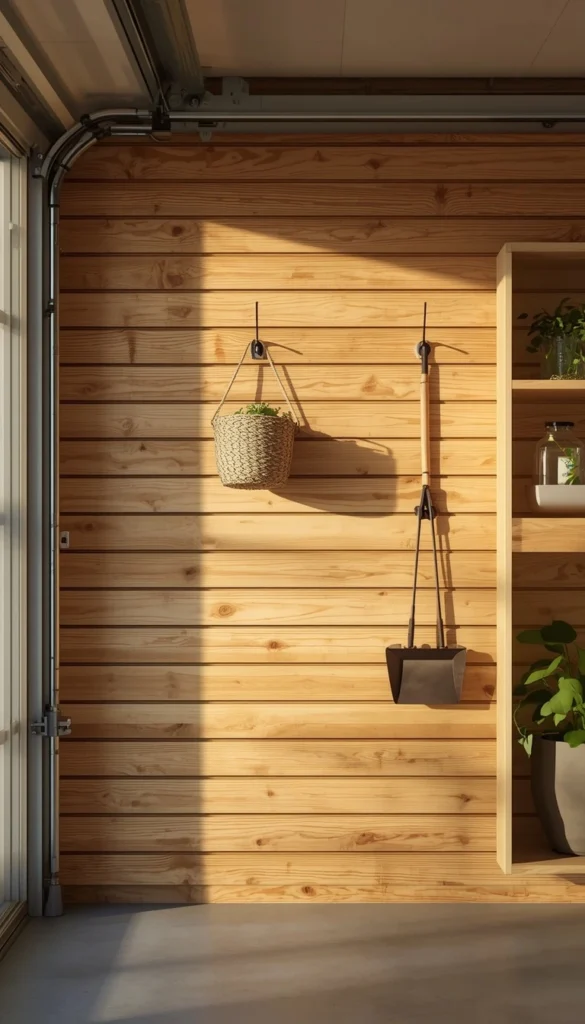
Slatwall systems have become one of the most popular upgrades I recommend, and for good reason. The panels mount directly to your garage walls, and once they’re up, you can rearrange hooks, baskets, and shelves as your storage needs change. Systems like Elfa or GarageTek give you that clean, custom look without a full renovation.
Here’s the part most articles leave out, though:
- The base panel install is usually reasonable, often a few hundred dollars for a full wall
- The accessories add up fast; hooks, bins, and baskets can double your total cost quickly
- It’s easy to overbuy accessories before you know what you’ll actually store
I always tell clients to install the panels first, live with them empty for a week or two, then buy only the accessories they actually need.
Also Read: 11 Mudroom Ideas You’ll Regret Not Trying Before the Next Season
6. Pegboard for Tools
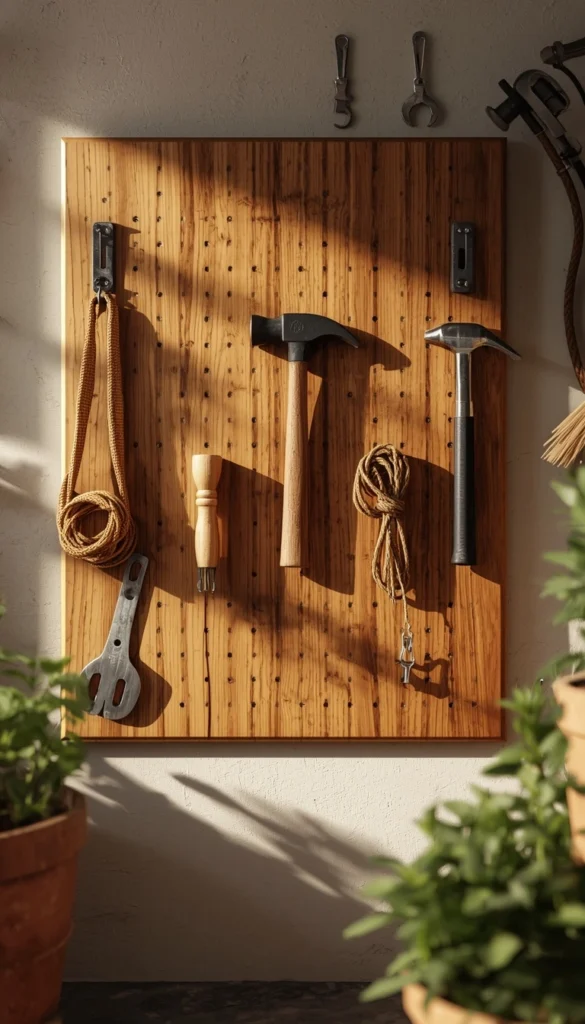
Pegboard is the classic garage organizer, and it earns its reputation. It’s affordable, it’s endlessly customizable, and it makes tools easy to find at a glance. But there’s a maintenance reality nobody mentions: those little metal pegs loosen over time, especially if you’re constantly swapping tools in and out. Every six months or so, it’s worth doing a quick check and tightening anything that’s started to wiggle.
Quick Look Cost and Maintenance Guide:
| Idea | Estimated Price | Maintenance |
|---|---|---|
| Wall Mounted Shelving | $60 to $200 per section (custom builds run higher) | Low |
| Ceiling Mounted Racks | $80 to $250 per rack | Low |
| Slatwall or Track System | $300 to $800+ for panels plus accessories | Medium |
| Pegboard for Tools | $20 to $60 | Medium |
| Closed Cabinets | $150 to $600 per unit | Low |
| Stackable Labeled Bins | $8 to $20 per bin | Low |
7. Magnetic Strips for Small Metal Tools
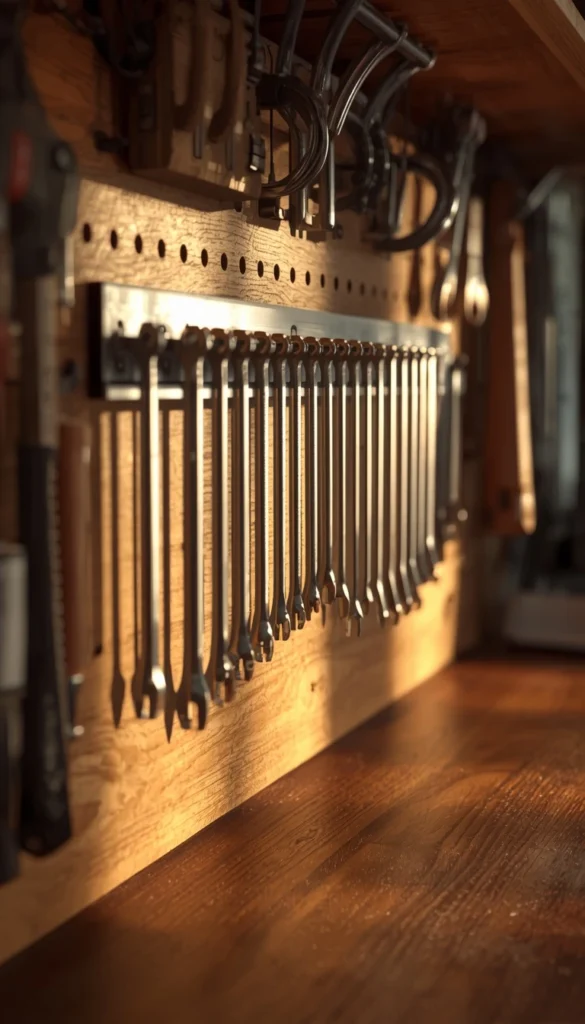
Magnetic strips are one of my favorite low-cost additions to any garage wall. They’re cheap, they take up almost no space, and they’re great for screwdrivers, wrenches, and other small metal tools that tend to get lost in drawers. Mount one near your workbench at eye level so you’re not bending down to search for a hex key mid-project.
8. Create Zoned Storage Areas
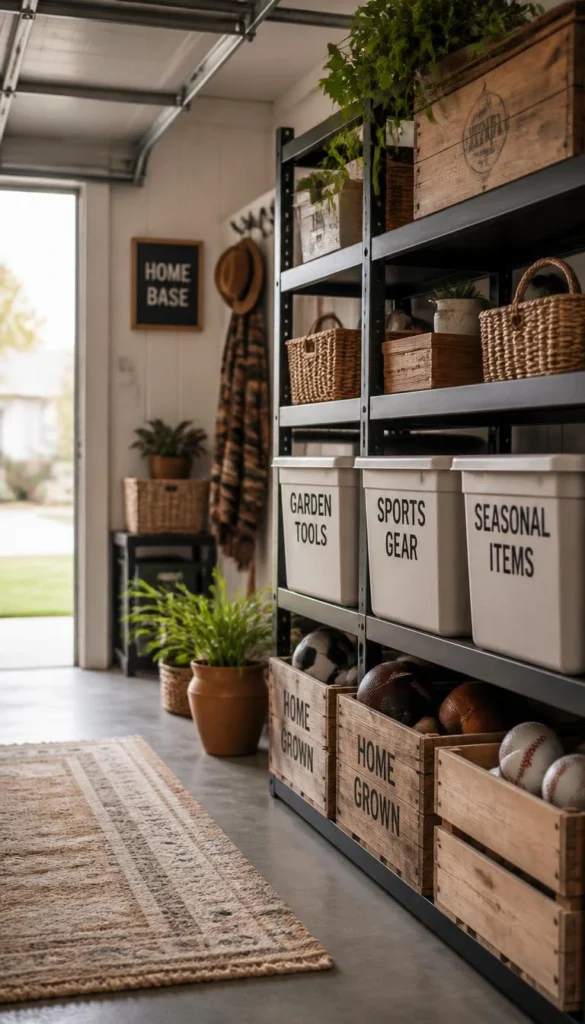
One thing I notice in almost every garage I walk into is that items get grouped by container instead of by purpose. Everything ends up mixed into whatever bin was closest. Instead, try thinking in zones: a garden zone, a sports zone, a tools zone, a seasonal zone. Once everything has an assigned area, putting things away becomes almost automatic instead of something you have to think about every time.
If you could only fix one thing in your garage this weekend, what would it be?
9. Closed Cabinets vs Open Shelving
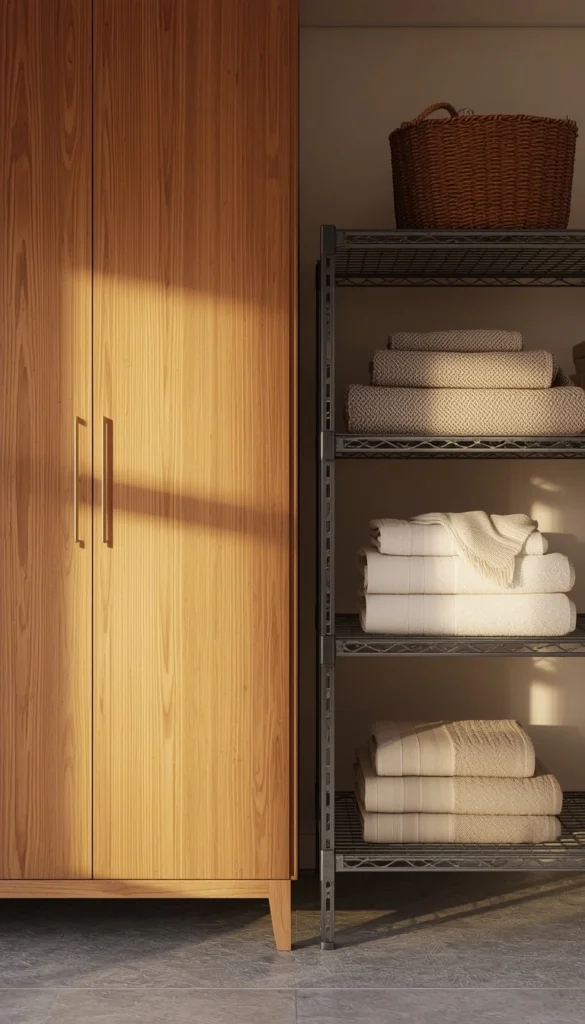
This is a question I get asked on almost every project, and honestly, the answer depends on what you’re storing. Closed cabinets keep things dust free and out of sight, which matters a lot for chemicals, pet supplies, or anything you don’t want visible from the driveway. Open shelving is faster to access and usually cheaper, but everything on it is on display, clutter included.
A simple way to decide: if you’d be embarrassed for a neighbor to see it, it probably belongs behind a door.
10. Stackable Labeled Bins for Seasonal Rotation
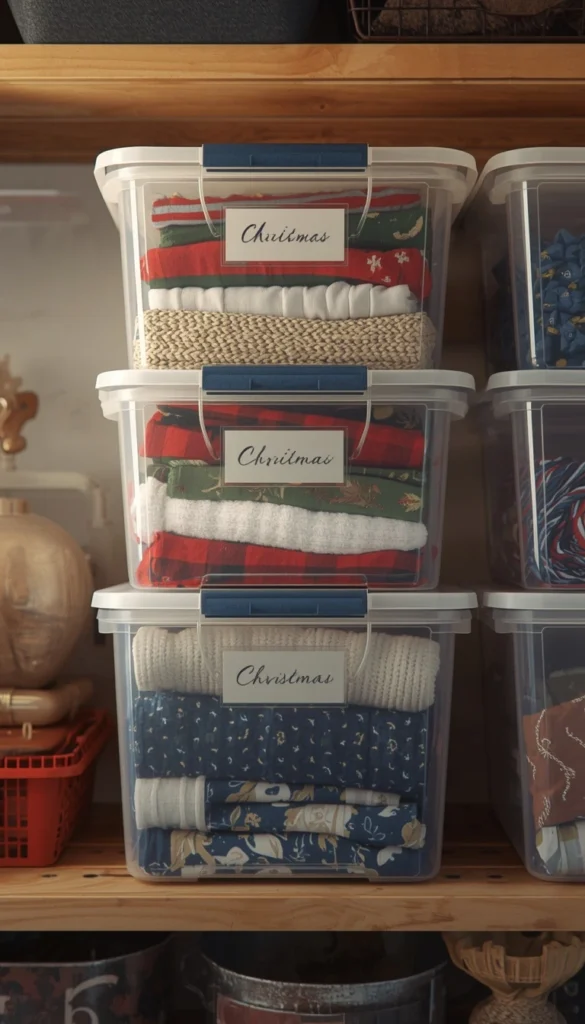
Clear, stackable bins are one of the easiest wins in any garage. Being able to see what’s inside without opening every single container saves so much time, especially when you’re digging for one specific thing during the holidays. Label the short ends, not just the tops, since that’s usually the side facing out when bins are stacked on a shelf.
11. Lockers or Cubbies for Family Gear
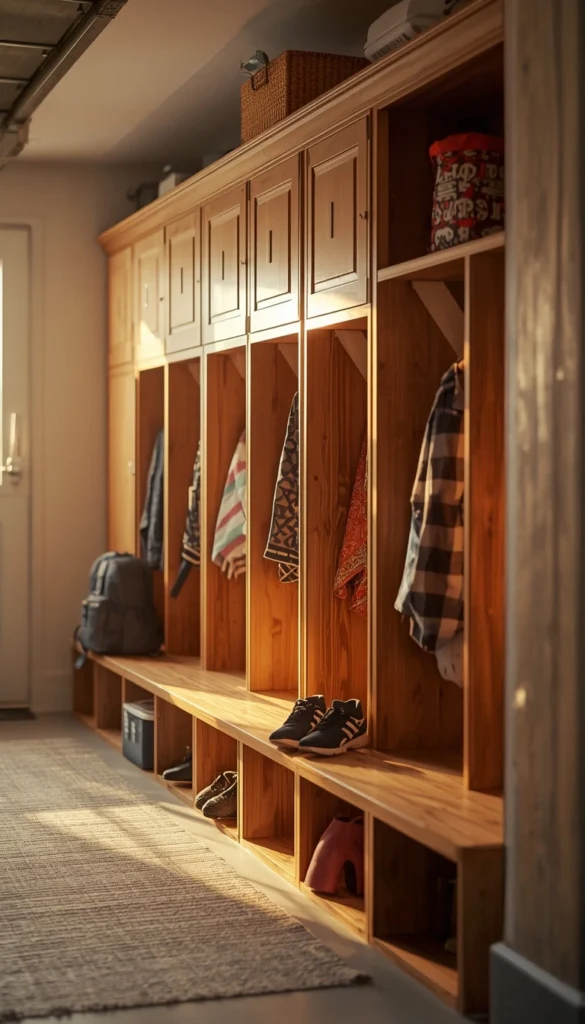
If you’ve got kids with cleats, backpacks, and sports bags piling up by the door, lockers or open cubbies can be a game changer. Give each family member their own spot and the daily drop zone chaos tends to sort itself out. I’ve installed these in a few family garages now, and parents consistently tell me it’s the change that made the biggest difference day to day, more than any shelving system ever did.
12. Bike Storage Solutions That Actually Save Floor Space
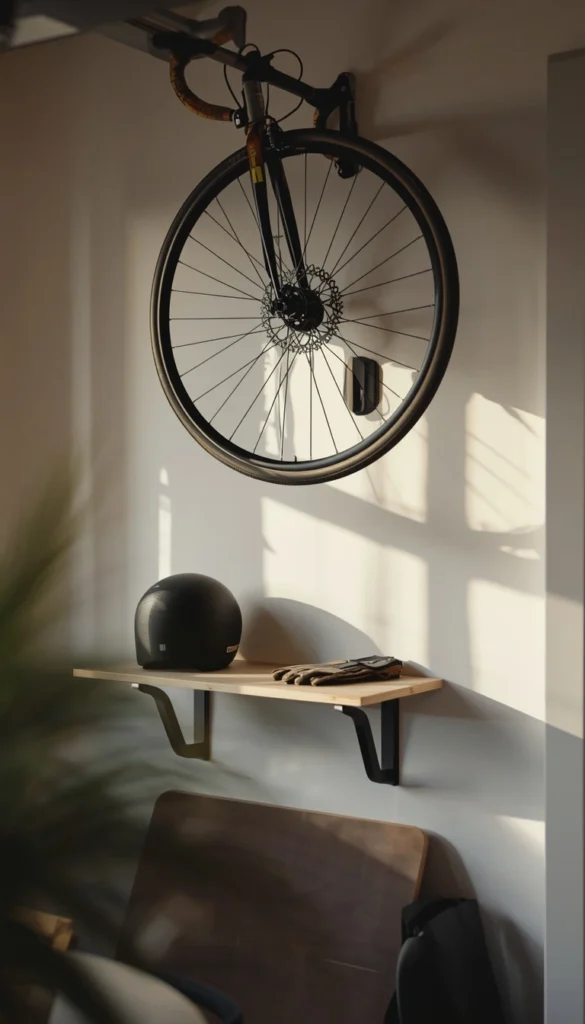
Bikes are notorious floor space hogs, mostly because they get leaned against a wall and never actually put away. Wall-mounted hooks or a vertical rack solve this instantly. For families with multiple bikes, look for a rack that holds them by the wheel rather than the frame; it’s gentler on the bike and easier to load one-handed while you’re holding a helmet in the other.
Which zone in your garage needs the most help right now, tools, sports gear, or seasonal stuff?
13. A Fold Down or Portable Workbench for Small Garages
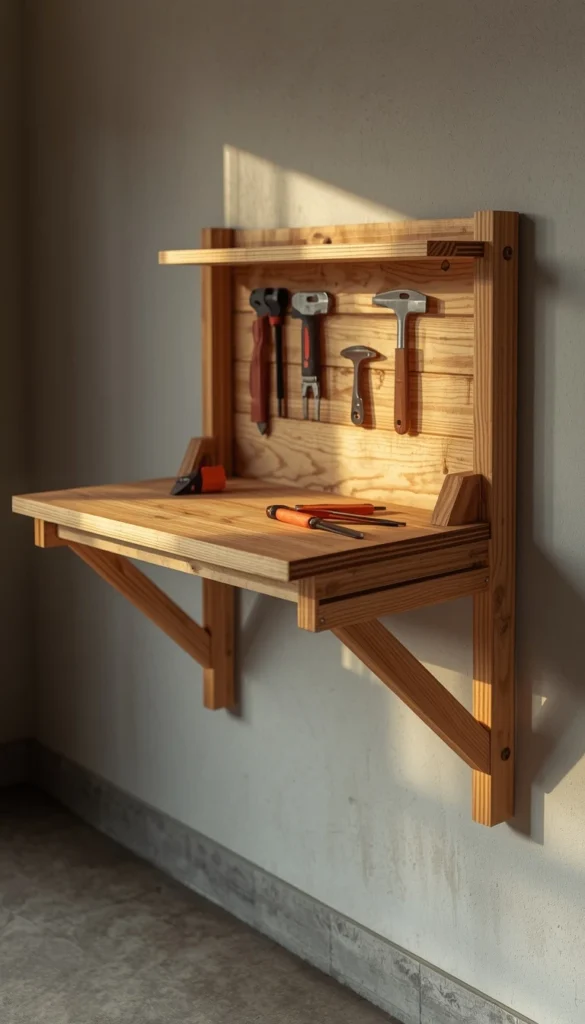
Not every garage has room for a permanent workbench, and that’s fine. A fold-down bench mounted to the wall gives you a full work surface when you need it and disappears flat against the wall when you don’t. If wall space is tight too, a rolling cart with a locking top works almost as well and has the bonus of being able to move outside for bigger projects.
14. Climate and Humidity Considerations by Region
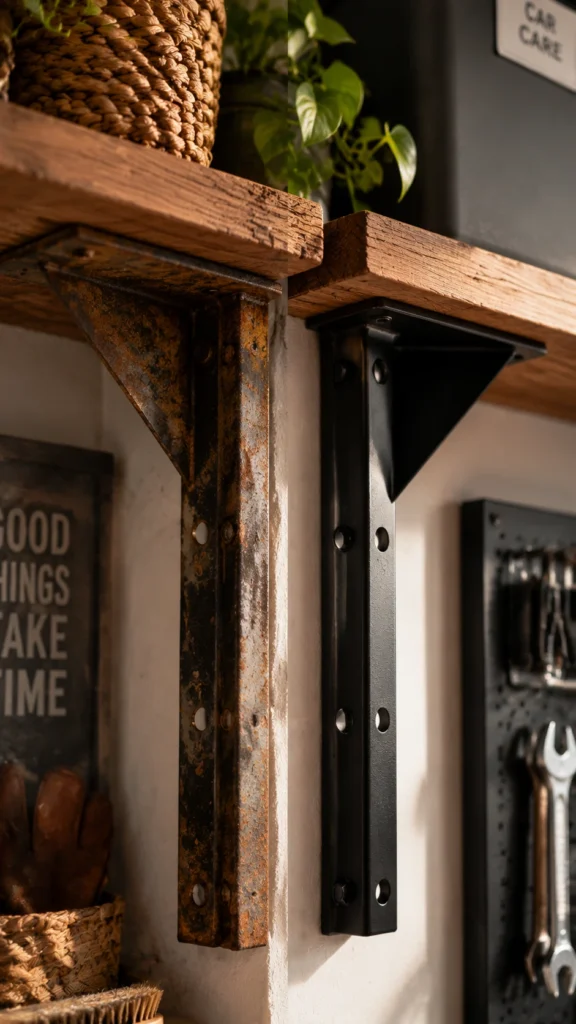
This is the piece almost nobody talks about, and it’s the one that actually determines how long your storage lasts. Garages aren’t climate-controlled, so whatever your region throws at you, your garage feels it directly.
A few regional notes worth knowing:
- Humid climates, think the Midwest or Southeast, are hard on bare metal shelving and cardboard boxes
- Cold weather regions with road salt can corrode metal cabinets and tools faster than expected
- Hot, dry climates like the Southwest can warp plastic bins left near a west-facing wall
Knowing your climate before you buy storage saves you from replacing it sooner than you should have to.
15. Garage Storage Maintenance: What Breaks Down After Year One
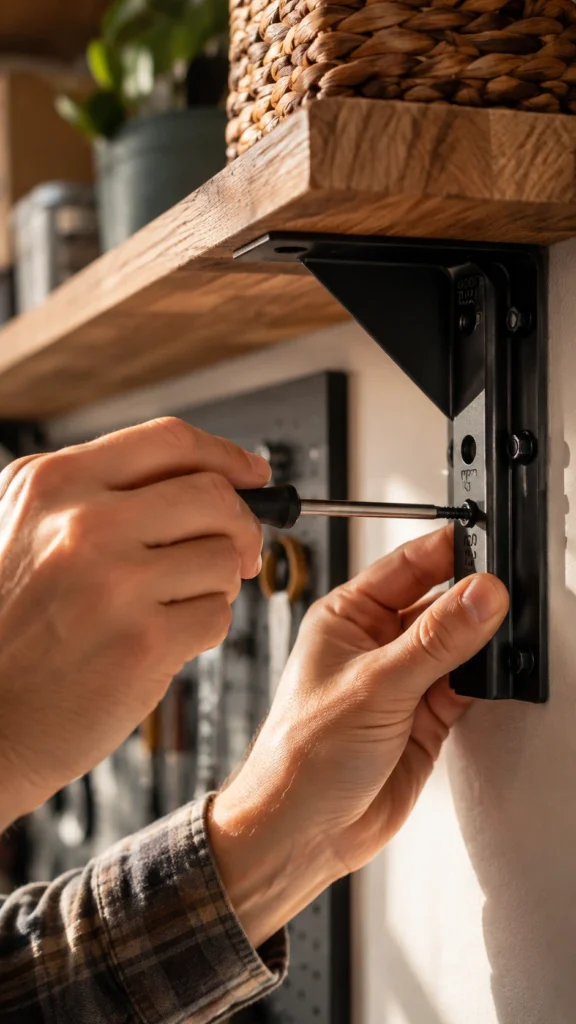
Every storage system, no matter how nice it looks on install day, needs a little upkeep. Wire shelving can rust if moisture gets trapped underneath boxes. Pegboard hooks loosen. Slatwall brackets can shift slightly if they’re overloaded. Building a quick seasonal check into your routine, even just five minutes twice a year, tightening screws and wiping down metal, is the difference between a garage that stays organized and one that slowly slides back into chaos.
Which Garage Path Fits You?
By Budget
Starter Setup
- Pegboard plus a few wall hooks
- Stackable labeled bins
- One run of ready-made shelving
Investment Upgrade
- Slatwall or track system with accessories
- Custom built cabinets
- Ceiling-mounted racks throughout
By Lifestyle
Busy Families
- Lockers or cubbies for daily drop-off gear
- Zoned storage areas by activity
- Bike wall mounts to clear the floor fast
Minimalist Households
- Closed cabinets to keep everything out of sight
- A single fold-down workbench instead of a full bench
- Fewer bins, more open wall space
Frequently Asked Questions
How much does it cost to organize a garage?
Most homeowners spend between 300 and 1,500 dollars for a solid DIY setup with shelving, bins, and wall storage. Custom systems with cabinetry can run 3,000 dollars or more depending on size.
What is the best flooring for a garage?
Epoxy coating is the top pick for most homes. It resists stains, holds up to vehicle traffic, and makes cleanup simple.
How do I organize a small garage with no extra space?
Go vertical. Wall-mounted shelving, pegboard, and ceiling racks free up the floor without adding footprint. Skip anything bulky on legs.
What should not be stored in a garage?
Avoid paint, electronics, and pet food. Temperature swings ruin paint and electronics, and pet food attracts pests fast.
How often should I clean out my garage?
Twice a year works well for most families, once in spring and once before winter. It keeps clutter from quietly building back up.
Conclusion
Your garage doesn’t have to stay the space you avoid walking into. A weekend, a few garage shelves, and a little zoning can turn it back into a place that actually works for your life, not against it. Start small if you need to; even clearing one shelf this weekend counts as progress. If you’re looking for more ways to maximize your space, explore our garage storage systems, garage wall systems, and garage overhead storage guides for practical ideas and inspiration. Your home, including the garage, deserves to feel as put together as the rest of your life.
