
29 Playful Mud Kitchen Ideas for Preschoolers That Turn Messy Play Into Learning
If your preschooler loves scooping, pouring, and getting gloriously muddy, mud kitchen ideas for preschoolers are the easiest way to turn a patch of backyard into a little learning lab. A mud kitchen is just a low outdoor counter with pots, spoons, water, and dirt — yet it builds fine motor skills, early maths, and big imaginations. These 29 ideas cover simple setups you can build in a weekend and playful themes that keep 3- to 5-year-olds busy for hours.
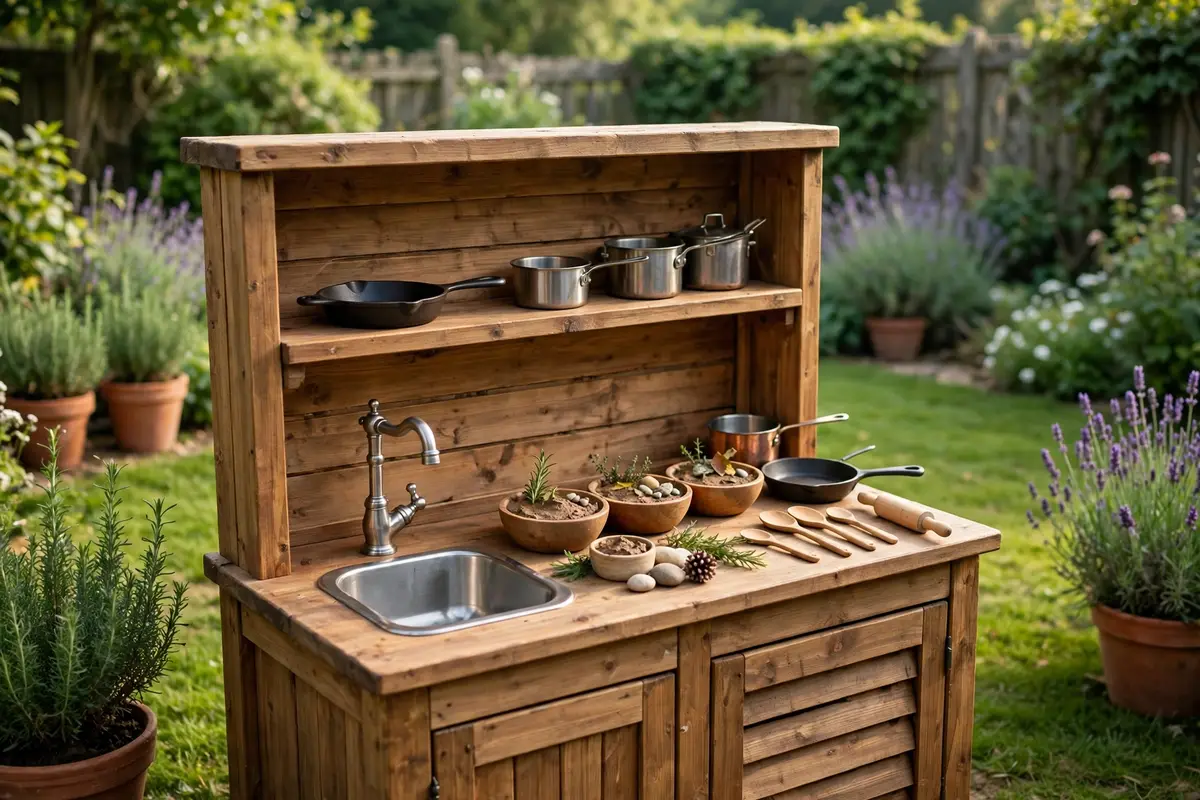
Simple Mud Kitchen Setups for Preschoolers
Start with the build. A good preschool mud kitchen sits low enough for small arms to reach, holds up to water and mud, and has room for two or three children to cook side by side. Pick one of these setups first, then add a play theme from the second half of the list.
1. Classic Pallet Mud Kitchen
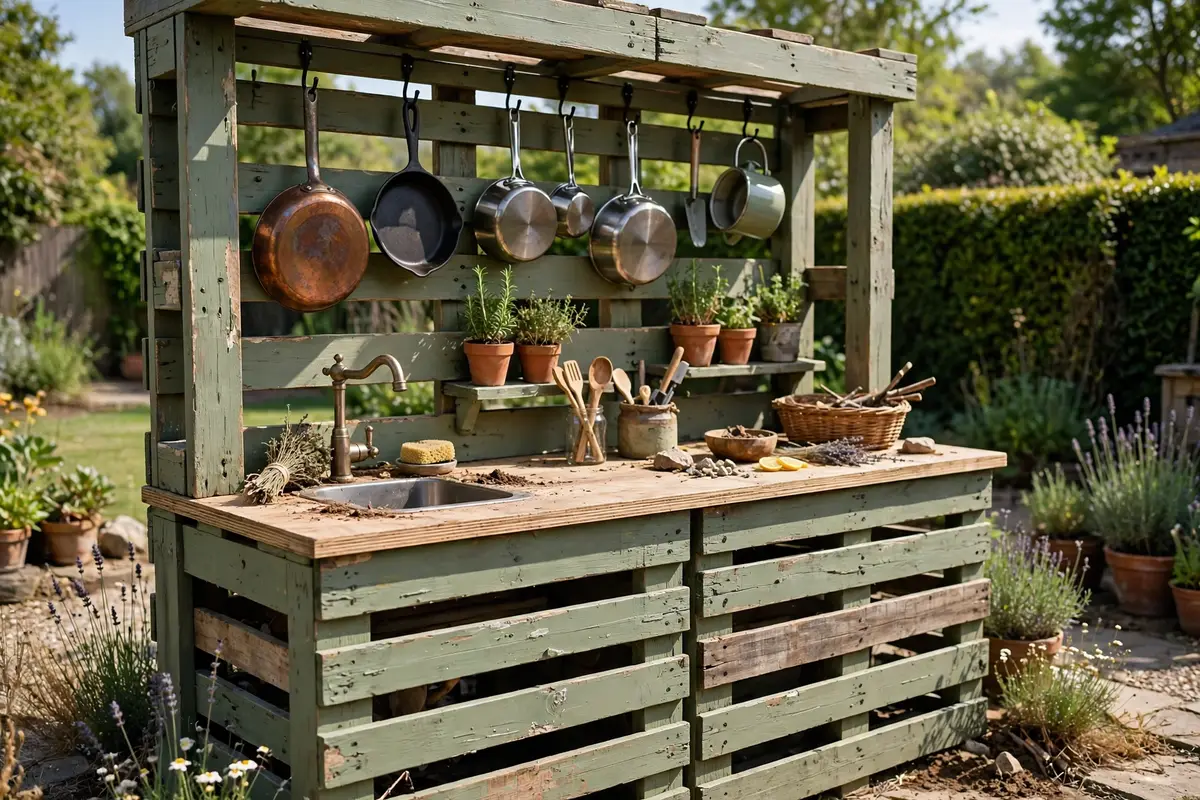
Two old pallets and a plywood top make the most-loved mud kitchen of all. Screw the pallets upright as a back wall, add a counter at knee height, and hang hooks for ladles and pans. Best for: first-time builders on a budget. Styling tip: sand the edges smooth and paint it a soft sage green. Pro tip: seal the wood with a child-safe outdoor sealant so it survives rainy weeks. For more build ideas, see these DIY mud kitchen ideas.
2. Old Table Turned Mud Kitchen

A sturdy old table is a mud kitchen waiting to happen. Cut a hole for a washing-up bowl as a sink, add a low shelf underneath for pots, and let the legs do the work. Best for: families who want a setup in under an hour. Styling tip: paint the legs a cheerful yellow and leave the top natural wood. Pro tip: pick a table with a solid top, not veneer, so it does not swell when wet.
3. Mini Mud Kitchen in a Crate
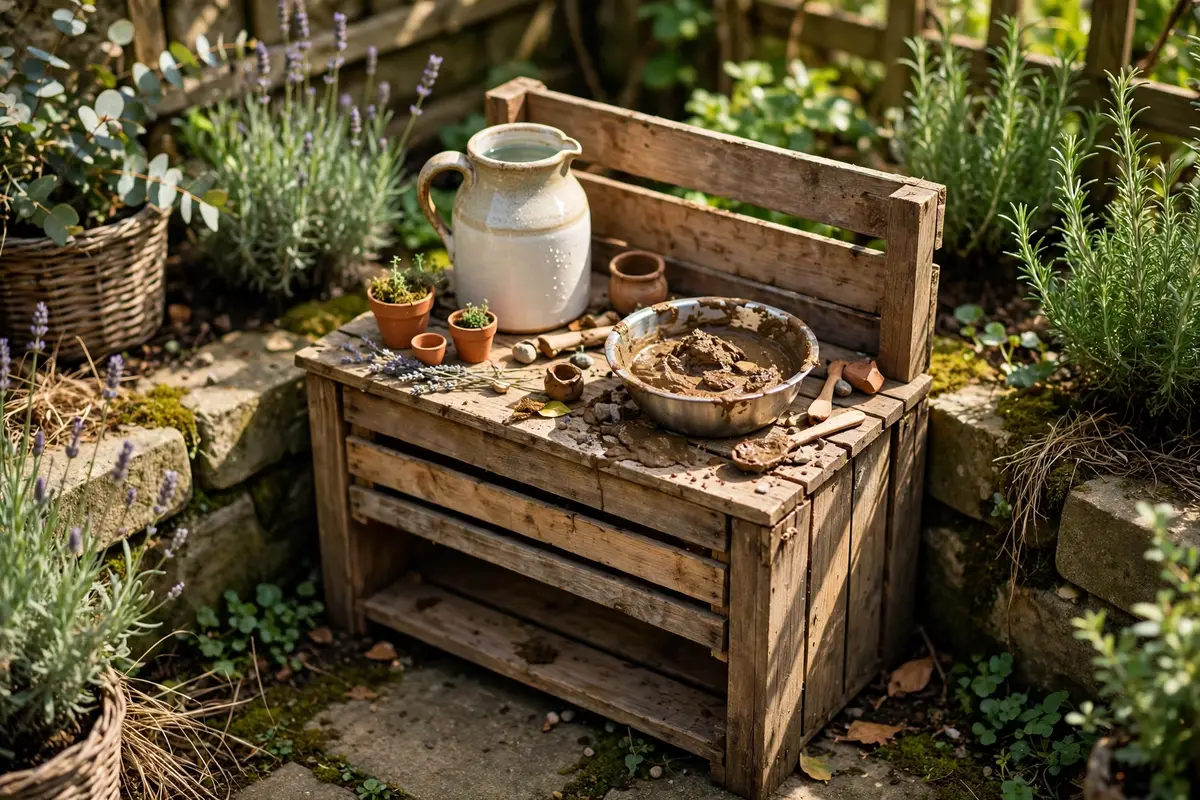
Short on space? A wooden crate on its side becomes a tiny counter, with a second crate holding the mud supply. It packs away easily and suits balconies and small patios. Best for: flats, small gardens, and renters. Styling tip: line the crate with a metal tray so mud stays contained. Pro tip: keep a lidded bucket of dry soil nearby so play starts fast.
4. Mud Kitchen With a Working Water Tap
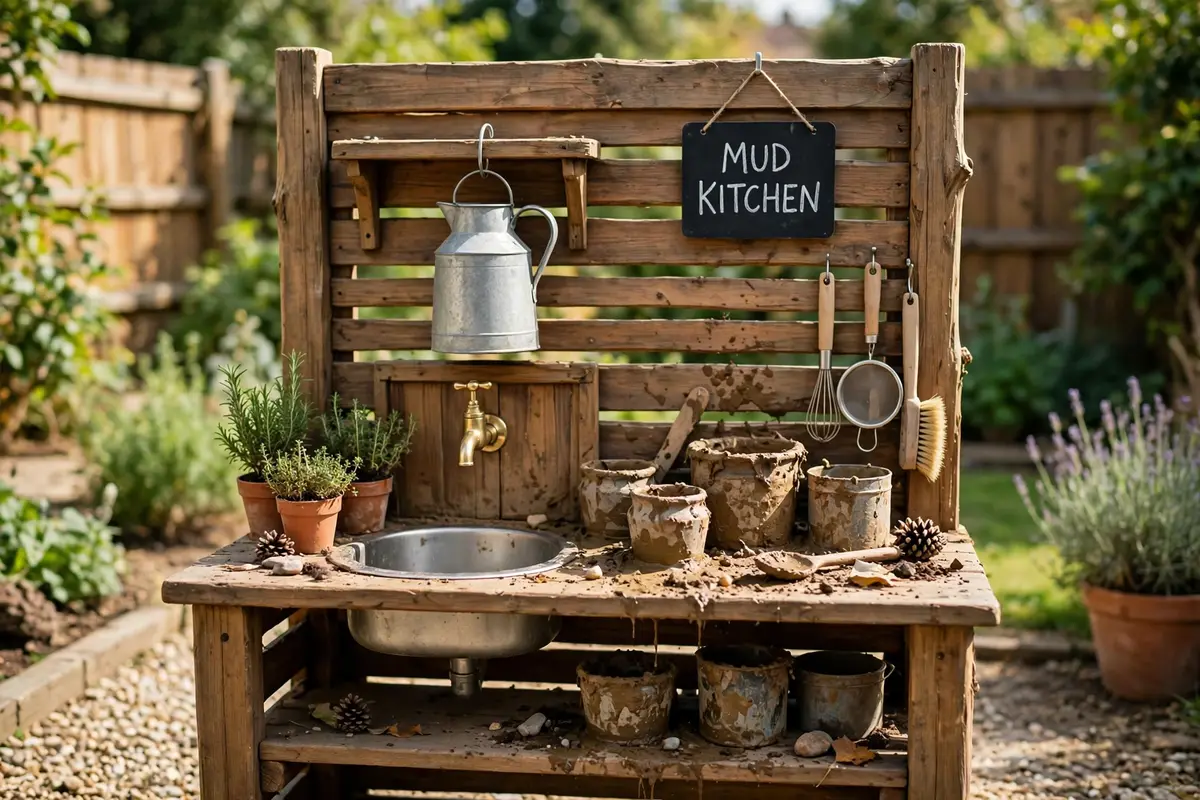
A small water butt or a garden hose tap above the sink changes everything — children mix their own mud instead of waiting for an adult. Fit a simple push tap at child height. Best for: independent play and long summer afternoons. Styling tip: add a galvanised jug under the tap for scooping. Pro tip: put a gravel patch under the sink so splashes drain away.
5. Sink-and-Counter Mud Kitchen
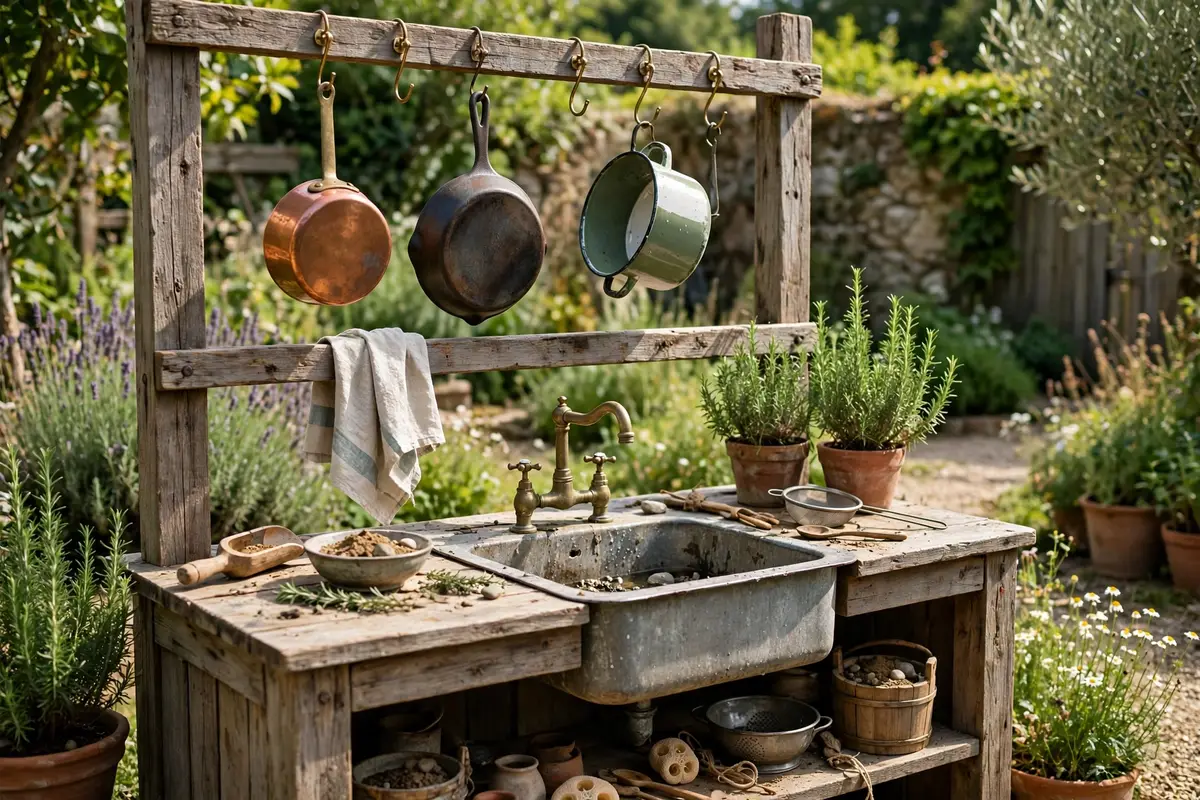
An old metal sink set into a wooden counter is the closest thing to a real kitchen, and preschoolers adore it. Washing, rinsing, and pouring all happen in one spot. Best for: water play fans and sensory seekers. Styling tip: hang a small towel rail on the side for drying hands. Pro tip: check second-hand shops first — old sinks cost very little.
6. Two-Level Mud Kitchen for Siblings
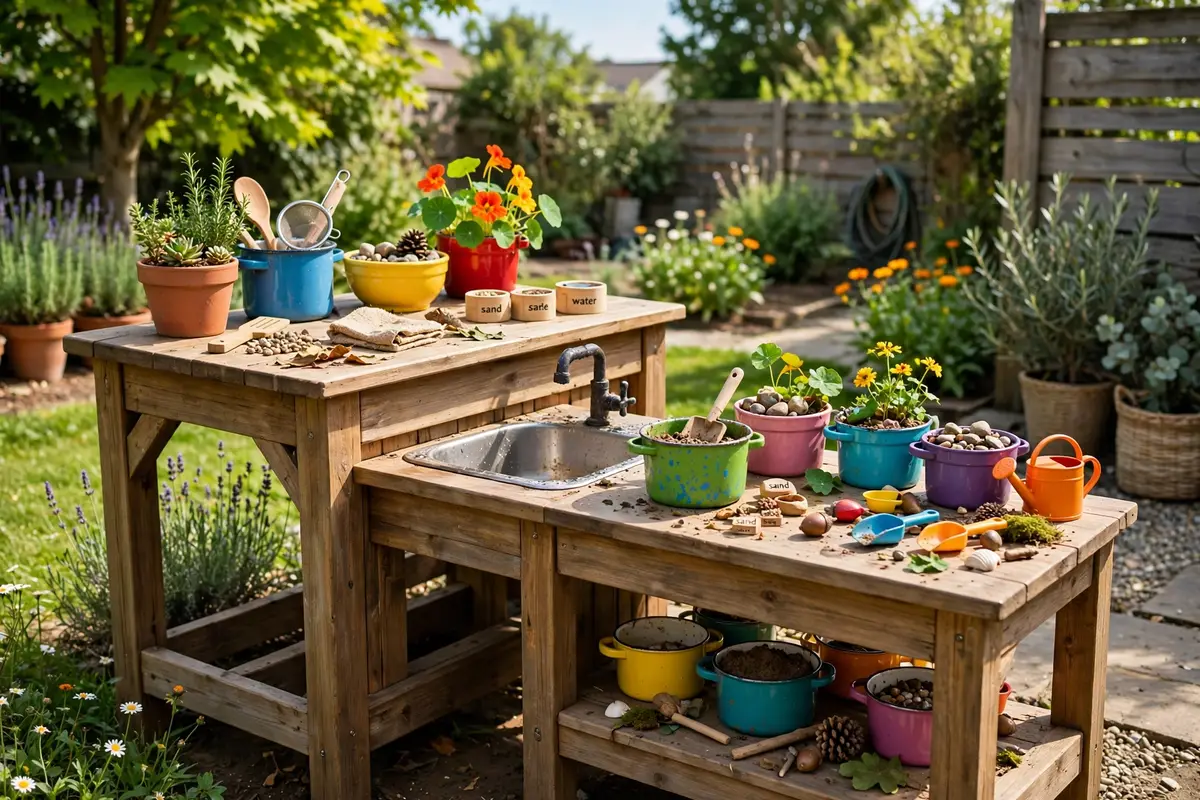
Build one counter at preschool height and a second, lower one for toddlers, so siblings cook together without crowding. A shared sink in the middle keeps the peace. Best for: families with two or more little cooks. Styling tip: give each level its own colour of pots so everyone knows their station. Pro tip: leave a gap between levels so a small stool fits underneath.
7. Mud Kitchen on Wheels
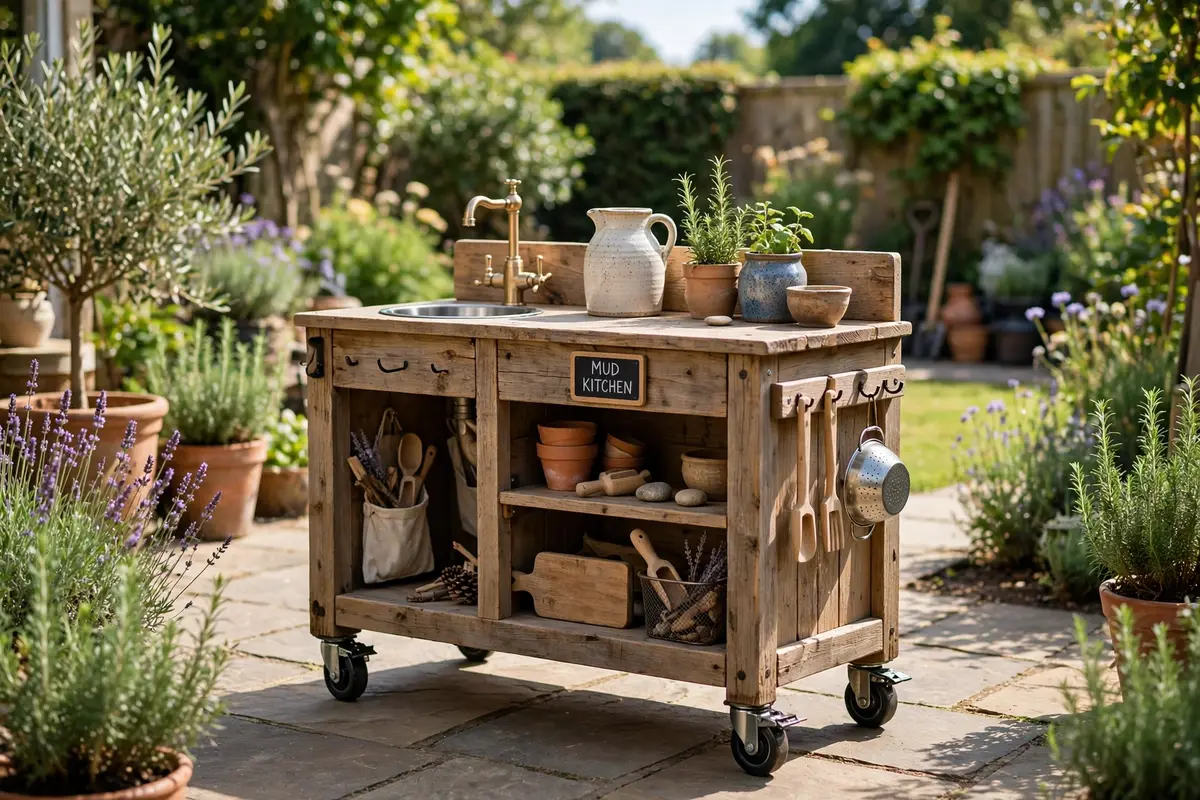
Fix sturdy castor wheels to the base and the mud kitchen can roll into the shade, out of the rain, or against the fence for winter. Lock the wheels before play starts. Best for: gardens that change with the seasons. Styling tip: paint the wheels to match the frame so they blend in. Pro tip: use lockable wheels rated for the weight of wet wood and mud.
8. Fence-Mounted Mud Kitchen
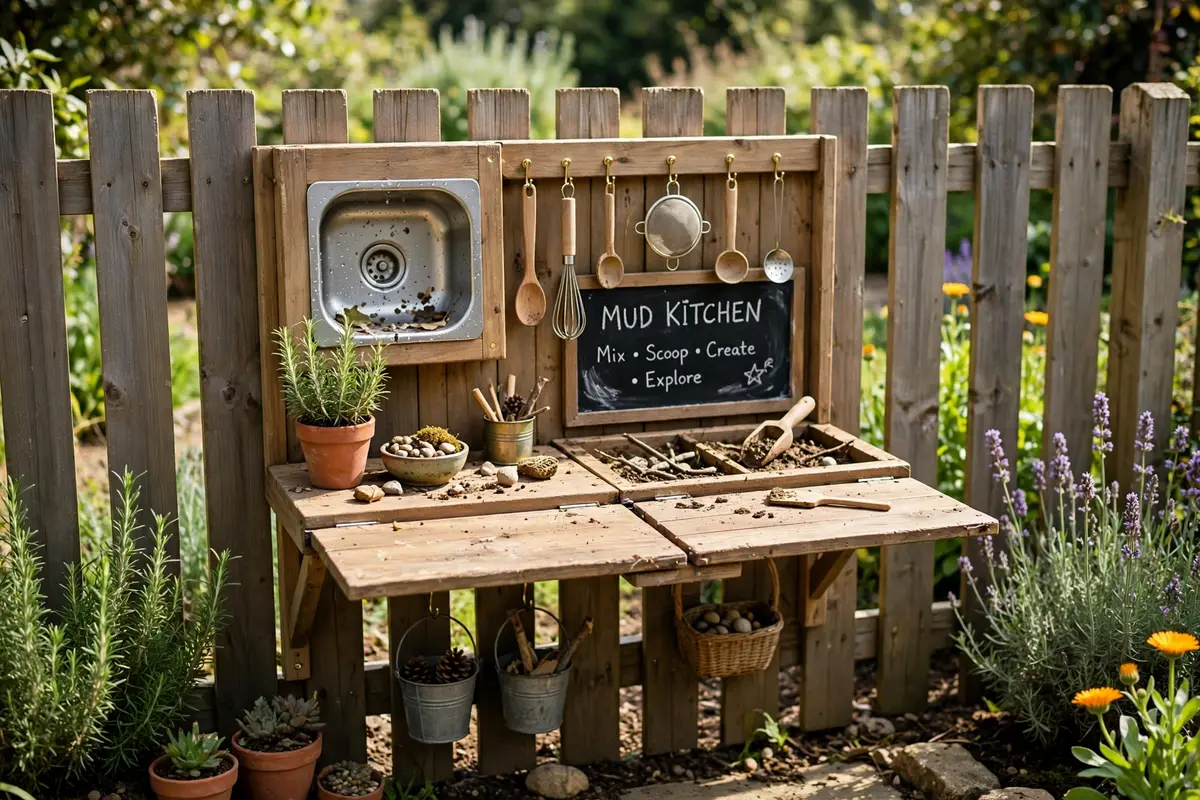
A fold-down counter fixed to the fence takes up no floor space at all. Add hooks above for utensils and a shelf for jars, and fold it flat when play ends. Best for: narrow gardens and shared yards. Styling tip: add a small chalkboard on the fence for the daily menu. Pro tip: use strong hinges and a chain stay so the counter cannot drop suddenly.
9. Corner Mud Kitchen for Small Yards
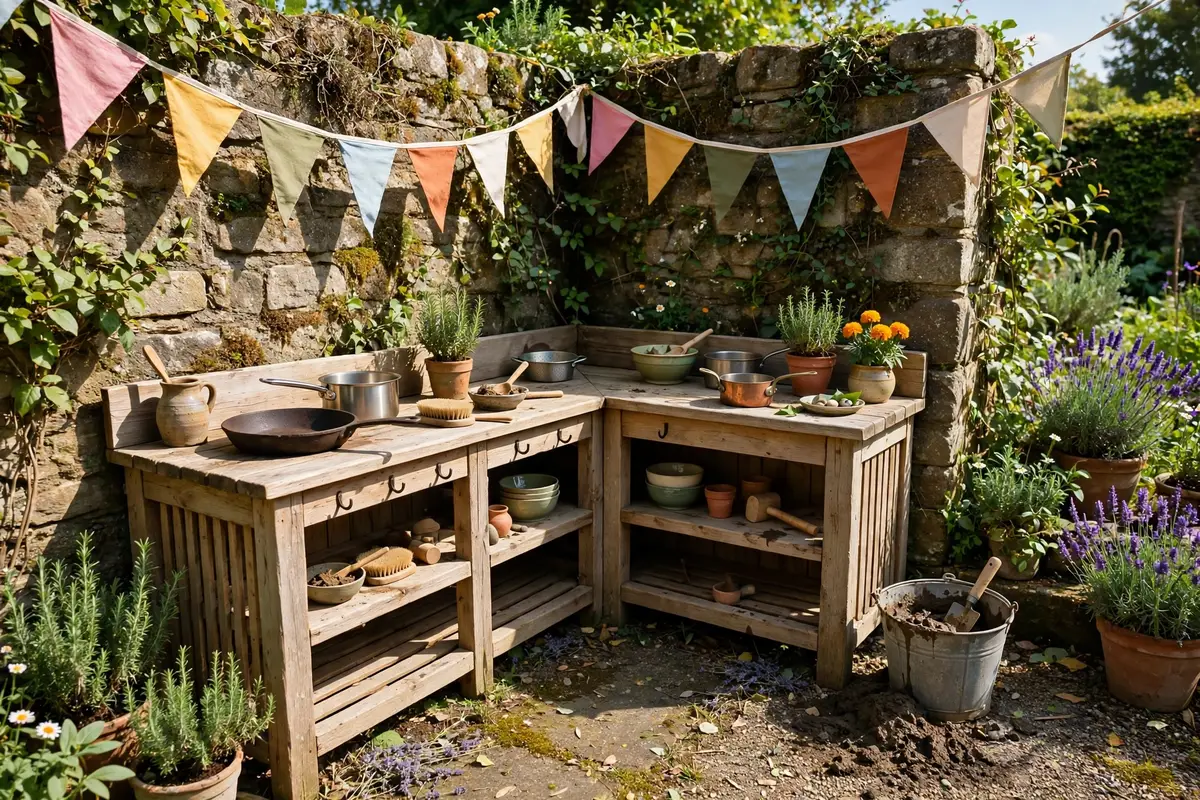
An L-shaped counter tucks neatly into a garden corner and gives two work surfaces in the space of one. One side holds the sink, the other the mixing bowls. Best for: small yards and awkward corners. Styling tip: hang a string of bunting across the corner to mark the kitchen zone. Pro tip: put the mud bucket on the outer end so spills land on grass, not the patio.
10. Mud Kitchen With a Chalkboard Menu
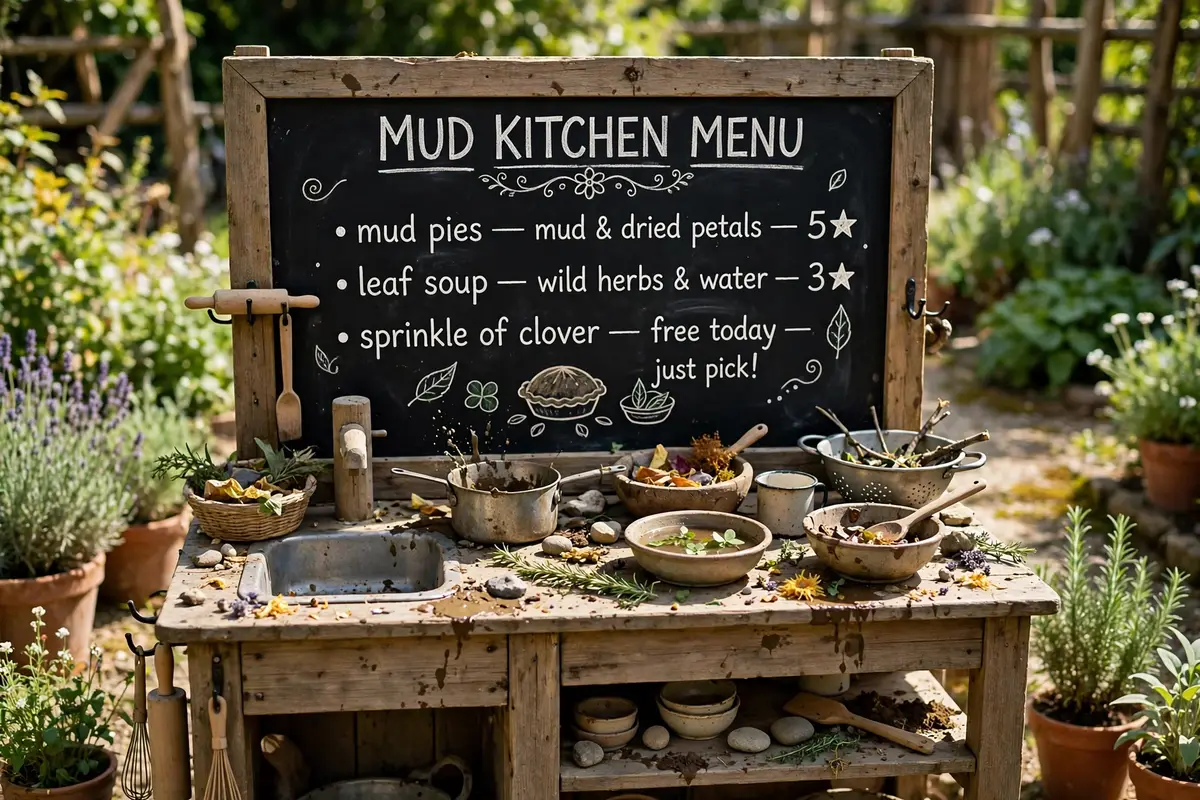
A chalkboard back panel turns cooking into a café. Children write or draw the menu, take orders, and “serve” mud pies to their toys. Best for: talkative preschoolers and early mark-making. Styling tip: frame the board with the same wood as the counter. Pro tip: keep chunky chalk in a tied-on tin so it does not roll into the mud.
11. Mud Kitchen With Open Shelves

Open shelves above the counter keep every pot, jar, and spoon visible, so children choose their own tools and tidy up without being asked. Best for: independent play and easy clean-up. Styling tip: sort jars by size on each shelf for a tidy, shop-like look. Pro tip: fix shelves firmly — a shelf full of metal pots is heavier than it looks.
12. Mud Kitchen With a Roof or Canopy
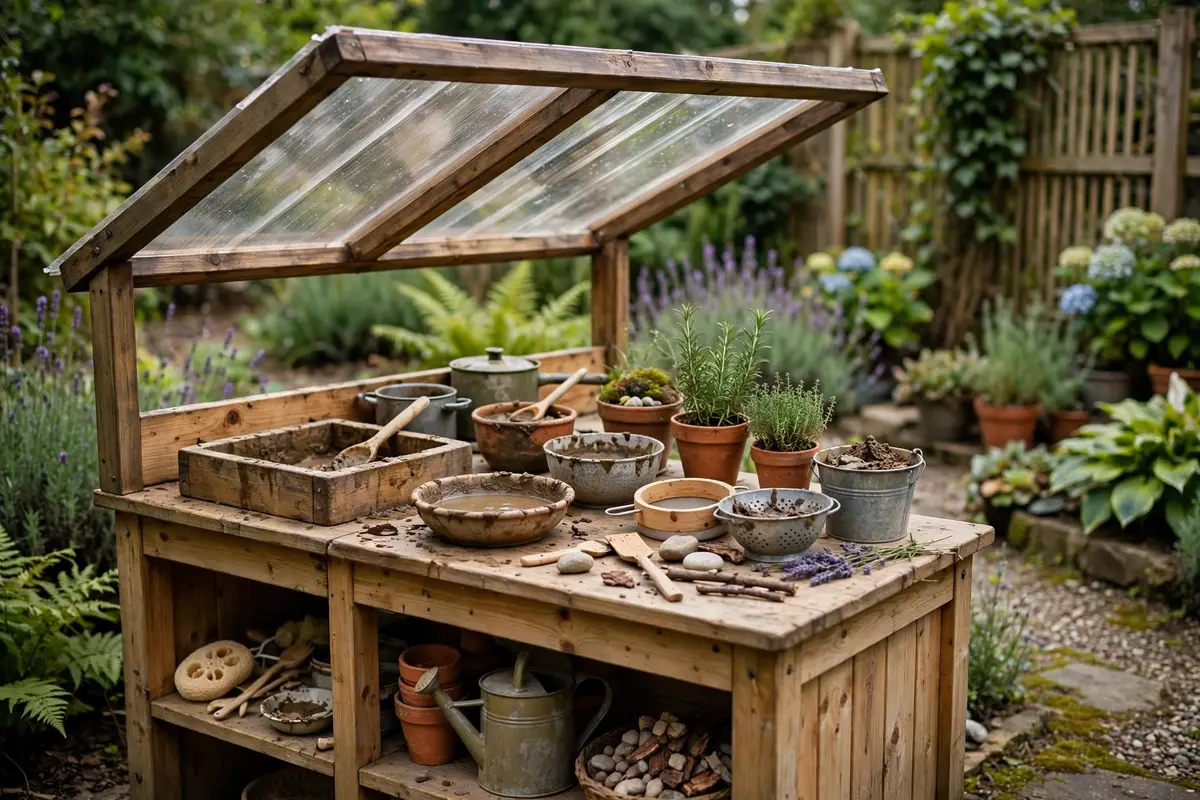
A simple slanted roof or a fabric canopy keeps the cooking going through drizzle and strong sun, and it makes the kitchen feel like a real little house. Best for: year-round play in changeable weather. Styling tip: use clear corrugated panels so light still reaches the counter. Pro tip: angle the roof slightly so rain runs off the back, not onto the cook.
13. Mud Kitchen With a Herb Garden Shelf

Grow mint, basil, and rosemary in pots along the top shelf, and children can snip real leaves into their mud dishes. It smells wonderful and teaches where food comes from. Best for: sensory play and little gardeners. Styling tip: label each pot with a painted wooden marker. Pro tip: choose sturdy herbs like mint and rosemary that survive rough little hands.
14. Mud Kitchen Made From an Old Dresser
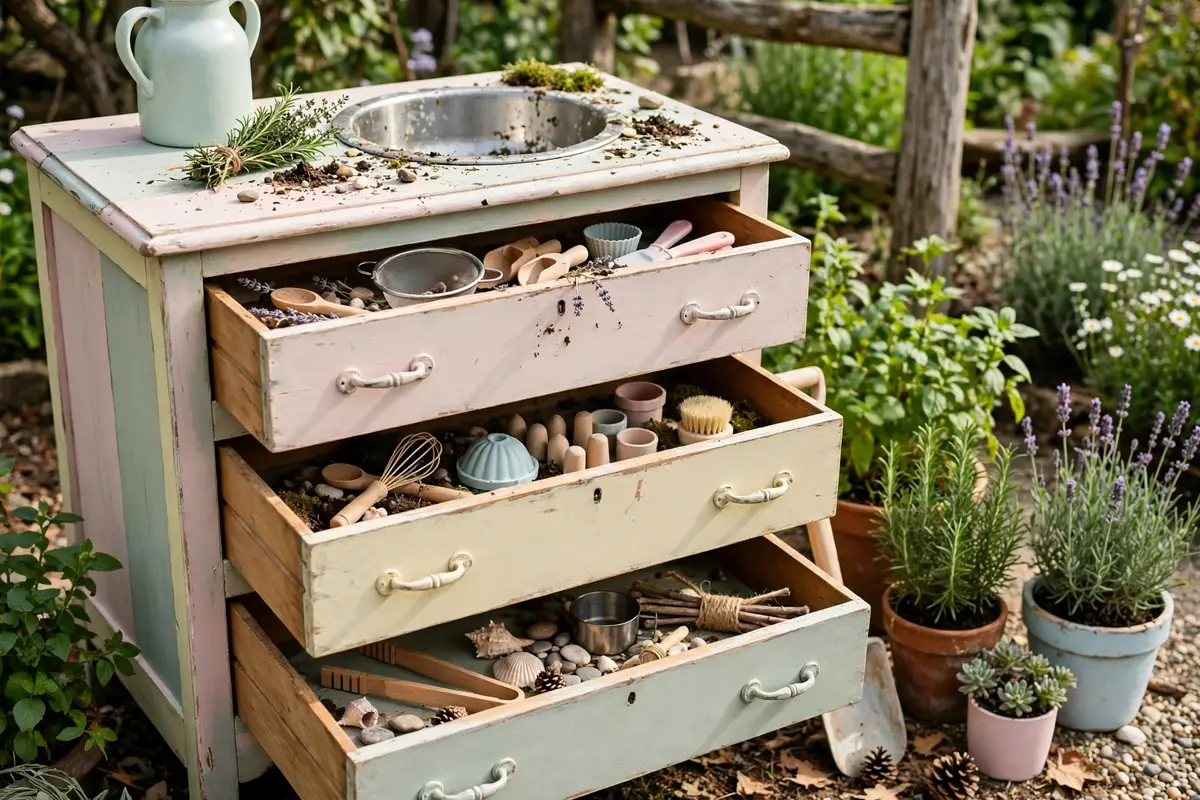
An old dresser already has drawers for storage and a flat top for cooking — remove the top drawers for open cubbies and add a basin on top. Best for: upcyclers and anyone who loves a bargain. Styling tip: paint the drawers in different soft colours for a playful look. Pro tip: drill drainage holes in the bottom so rainwater never pools inside.
Mud Kitchen Play and Learning Themes for Preschoolers
Once the kitchen is built, the themes keep it fresh. Rotate one of these play ideas each week and the same mud kitchen feels brand new — while quietly building counting, language, and science skills.
15. Mud Pie Bakery
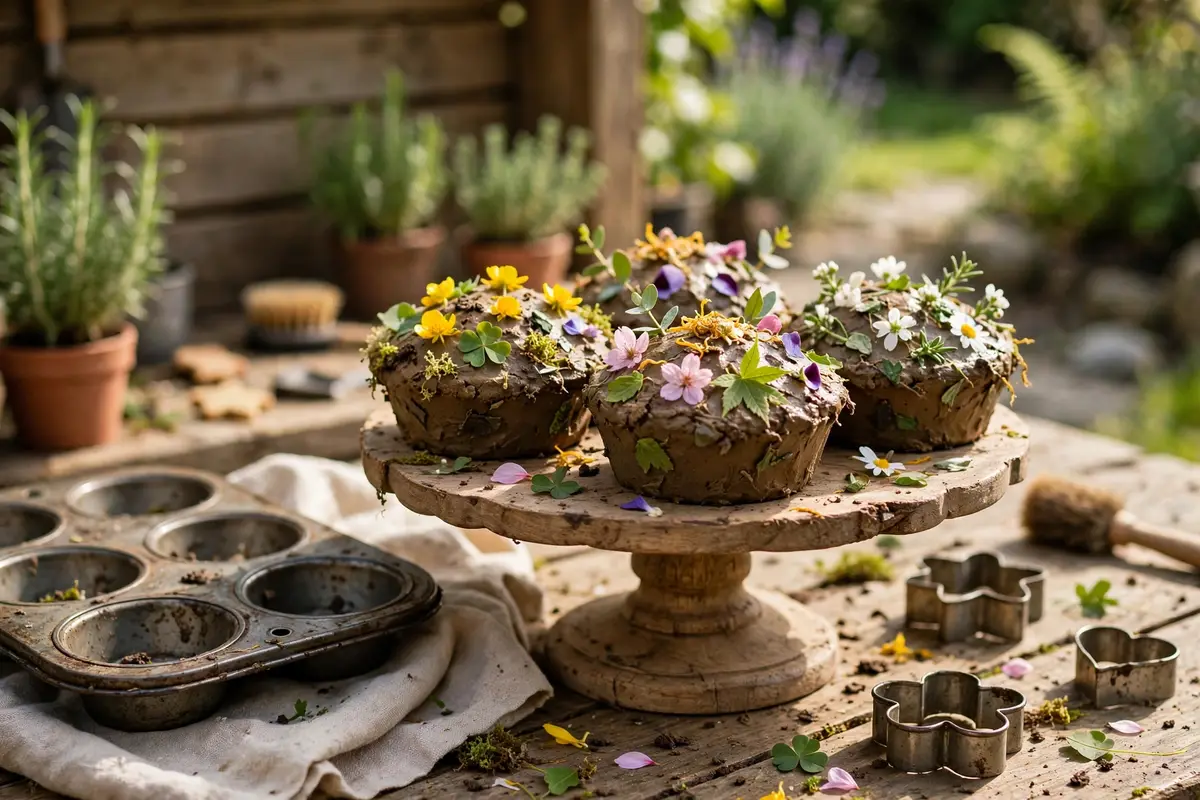
Mud pies are the classic mud kitchen recipe: pat mud into a tin, smooth the top, and decorate with petals and leaves. Add muffin tins and cookie cutters for a full bakery. Best for: ages 3 and up, and the very first mud kitchen session. Styling tip: set out a cake stand so finished pies get a proper display. Pro tip: keep a jug of water close — the right mud is soft, not soupy. More playful setups live in these mud kitchen ideas for kids.
16. Mud Cupcake Shop
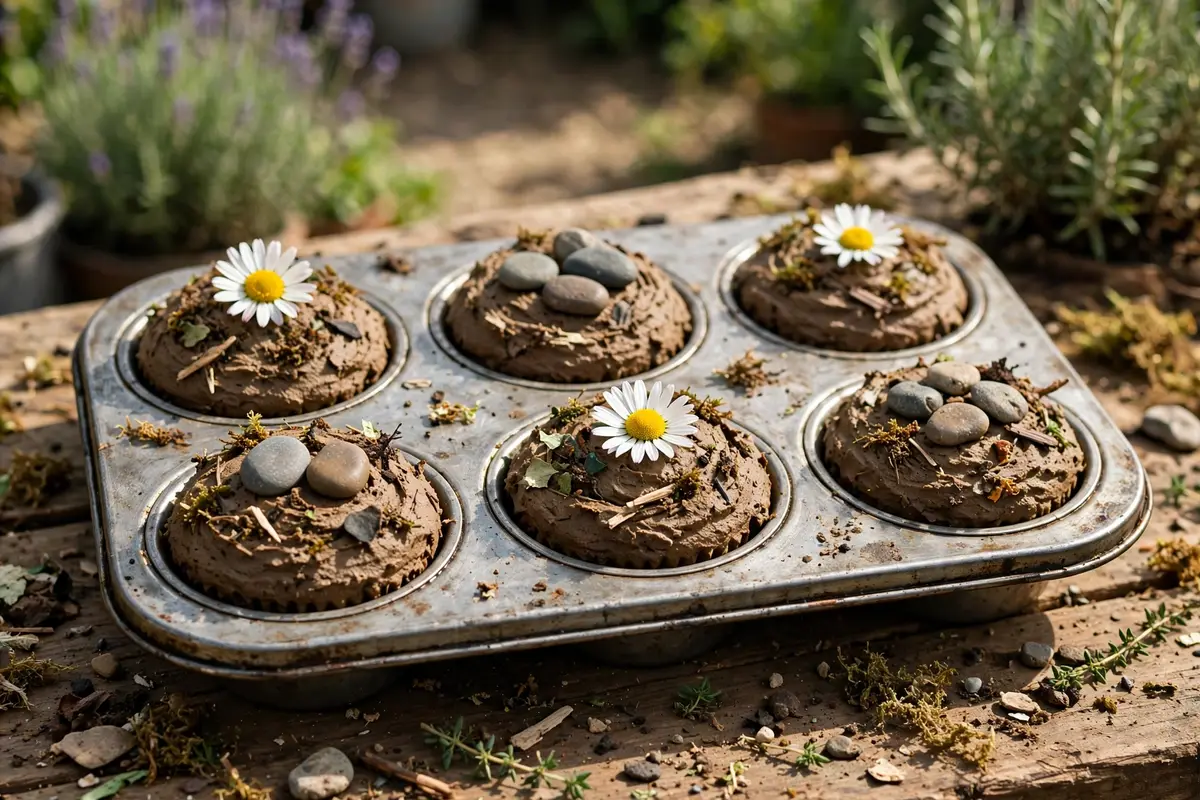
Fill a muffin tin with mud, top each cupcake with a daisy or a pebble “cherry,” and open a cupcake shop. Children practise counting orders and sharing out the cupcakes. Best for: early counting and turn-taking. Styling tip: use paper cases inside the tin for easy clean-up. Pro tip: number the cupcake cases 1 to 6 so counting happens naturally.
17. Potion-Making Station
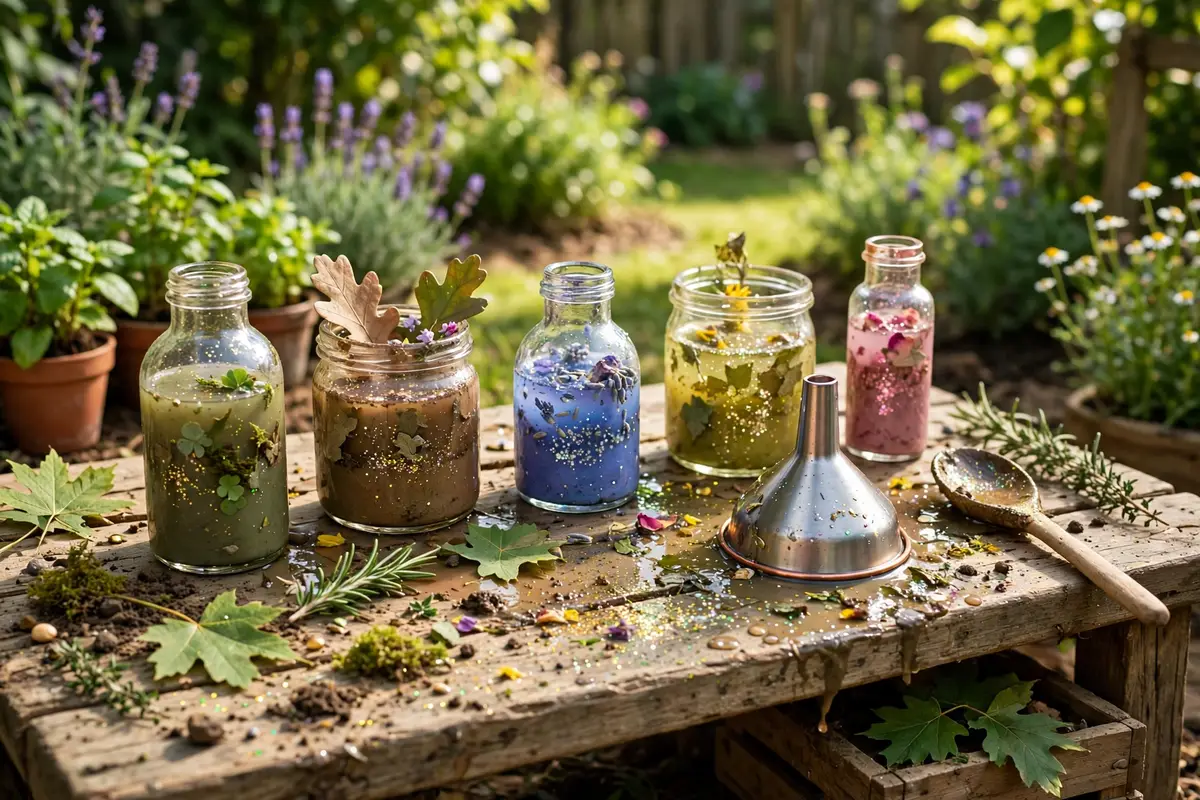
Set out small bottles, coloured water, petals, and glitter, and let children stir up magic potions. They will name each one, describe what it does, and pour it carefully between jars. Best for: imagination and new words. Styling tip: add tiny corked bottles and a funnel for a real apothecary feel. Pro tip: use food colouring in the water, never paint, so spills stay safe.
18. Nature Soup Kitchen
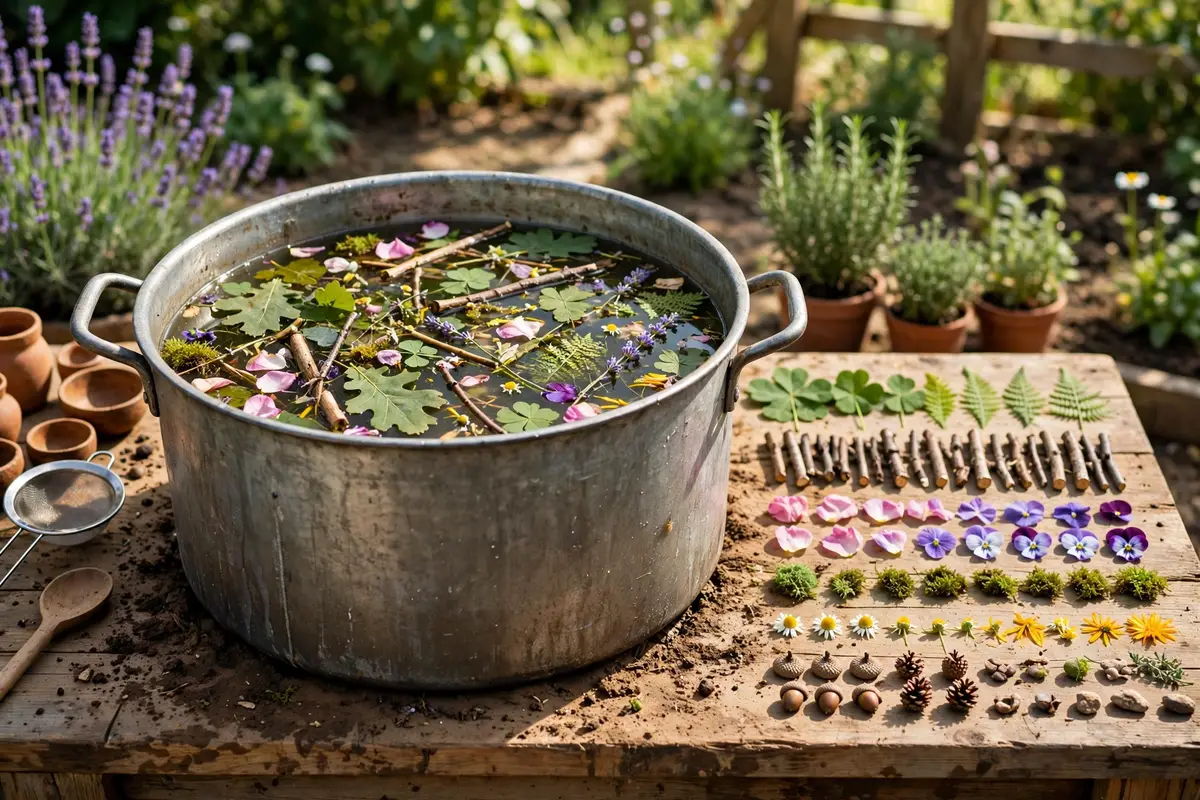
Give children a big pot and a “shopping list” of leaves, sticks, and petals to gather, then stir it all into a nature soup. It is a gentle way to learn plant names and textures. Best for: nature walks that end at the mud kitchen. Styling tip: lay the ingredients out in rows like a market stall first. Pro tip: remind children which plants are look-only, and keep a simple rule: we smell, we do not taste.
19. Mud Pizza Parlour
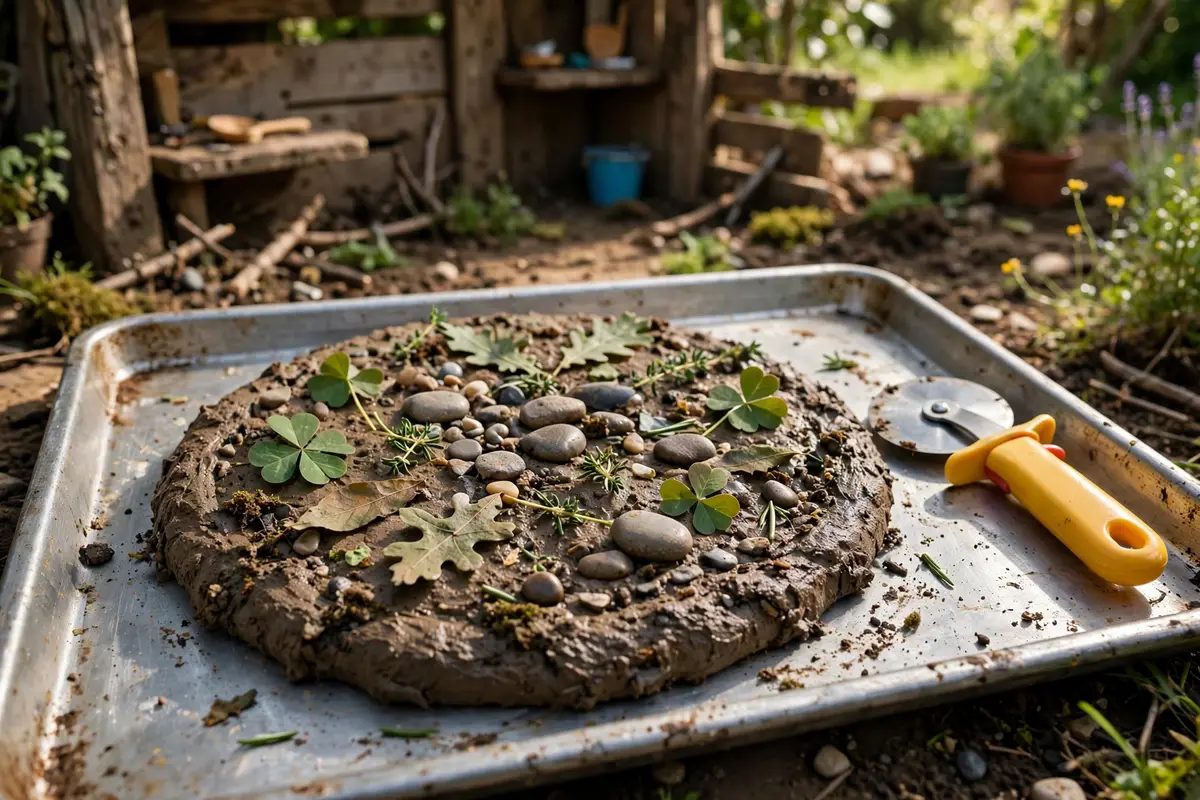
Flatten mud into a round “pizza base” on a tray, then add leaf toppings, pebble pepperoni, and grass cheese. Take orders, slice it with a toy cutter, and serve it up. Best for: role play and sharing games. Styling tip: write a pizza menu on card with pictures for pre-readers. Pro tip: use a round baking tray as the base so the pizza holds its shape.
20. Flower Tea Party
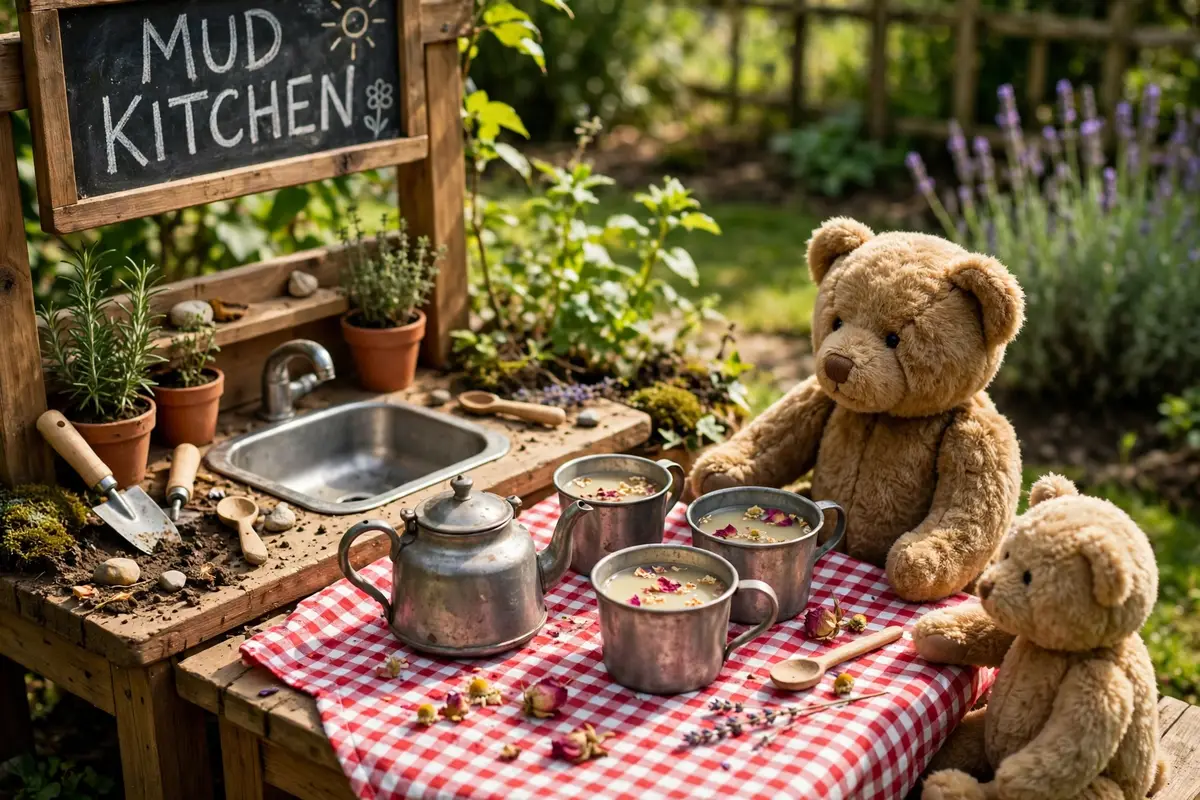
A toy teapot, a few cups, and a jug of petal “tea” turn the mud kitchen into a garden party. Children pour carefully, pass cups to their teddies, and practise polite conversation. Best for: gentle, calm play and manners. Styling tip: add a gingham cloth over the counter for a picnic feel. Pro tip: use a metal teapot — plastic ones tip over too easily when full.
21. Mud Ice Cream Stand
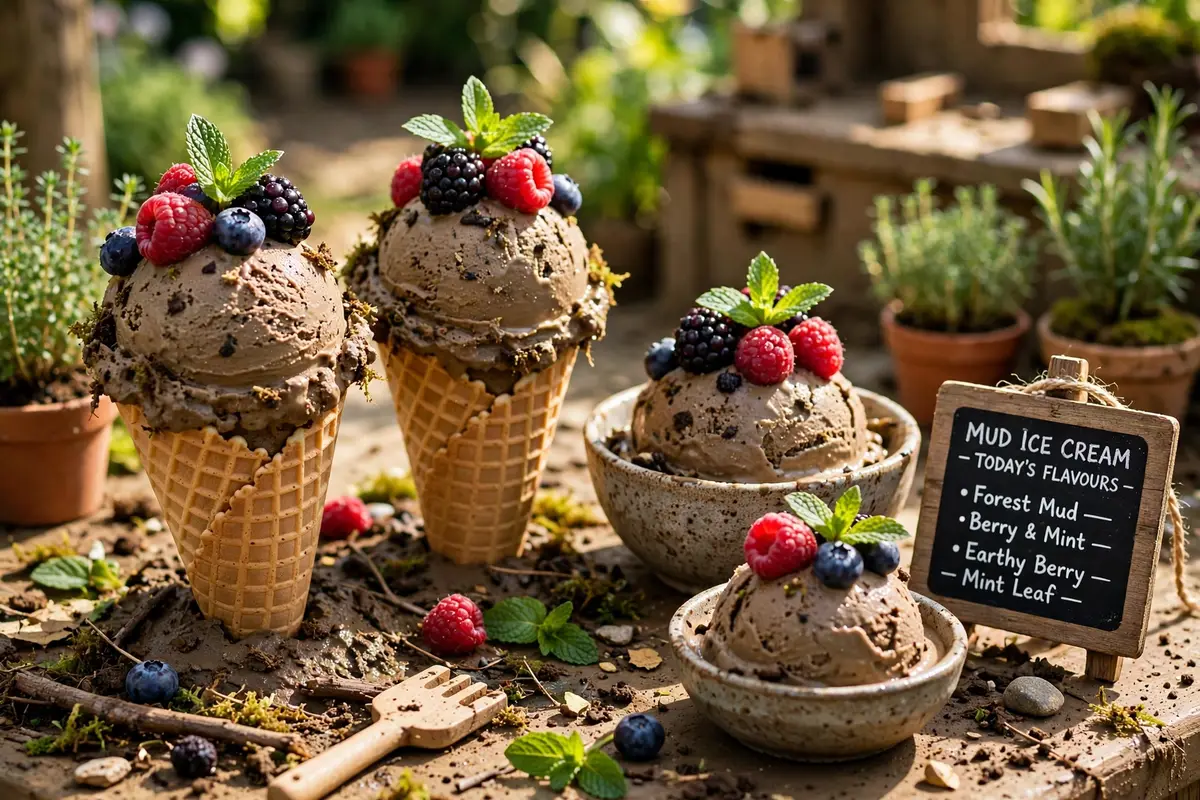
Scoop soft mud into cones and bowls, add a berry on top, and run an ice cream stand. Children love choosing flavours — chocolate mud, strawberry mud, mint-leaf mud. Best for: hot days and colour naming. Styling tip: make a flavour sign with painted swatches. Pro tip: mix in a little sand so the scoops hold their shape in the cone.
22. Sensory Sorting Station
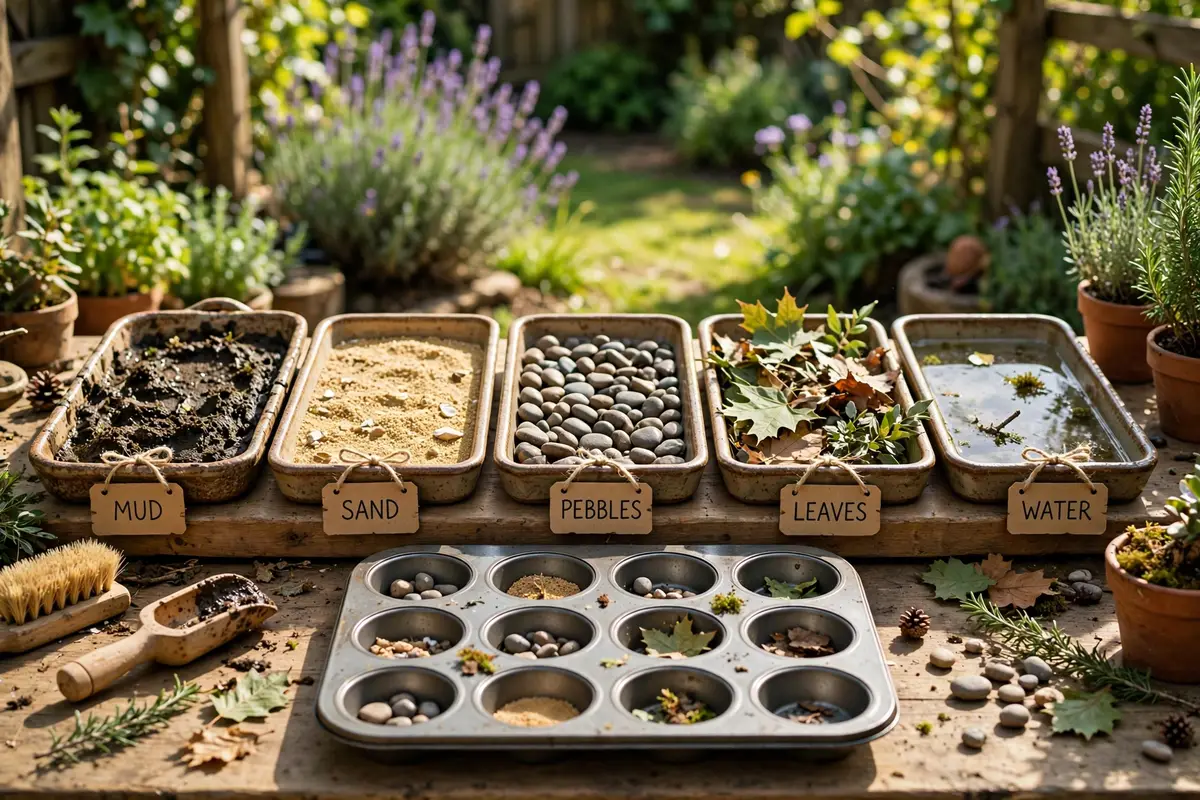
Set out trays of mud, sand, pebbles, leaves, and water side by side and let children sort, compare, and describe each one. Touching different textures builds sensory skills and new words. Best for: sensory play and language building. Styling tip: use a muffin tin as a sorting tray — one texture per cup. Pro tip: ask “how does it feel?” rather than naming the texture for them. Pathways.org explains how mud play supports sensory development in young children.
23. Measuring and Pouring Lab
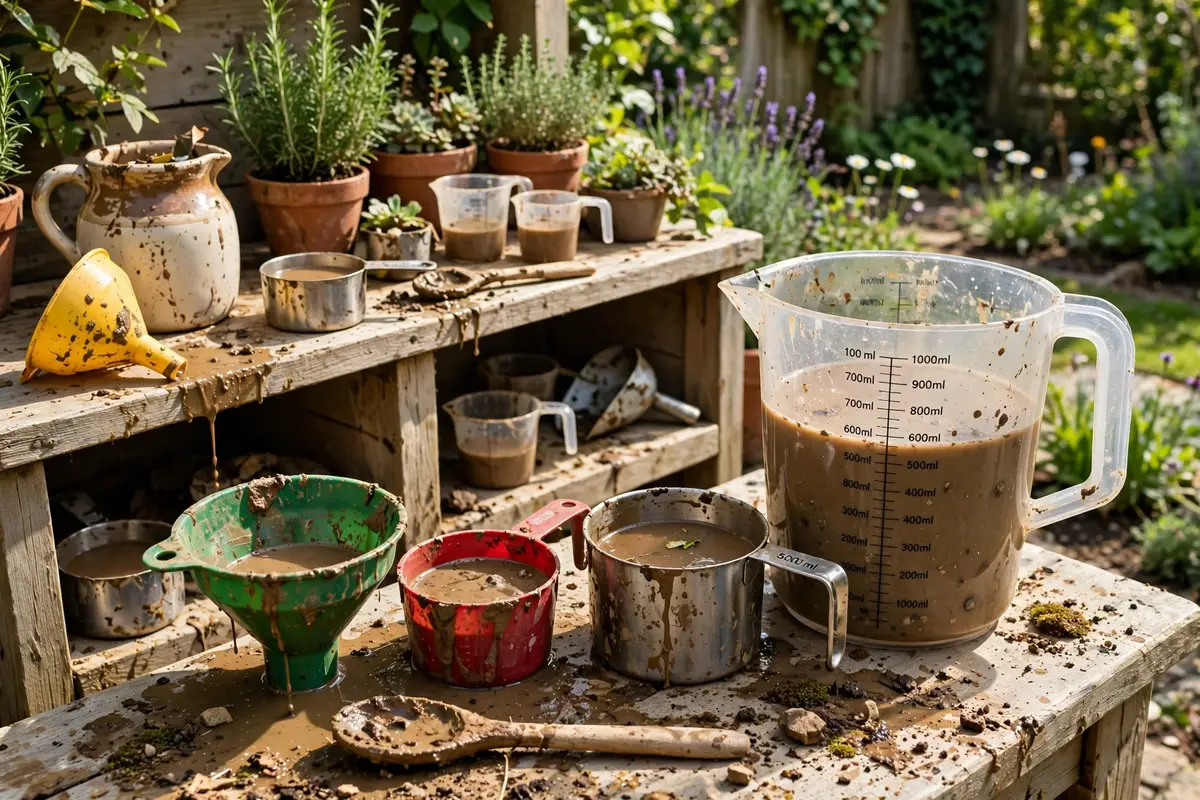
Measuring cups, funnels, and jugs turn mud play into early maths. Children pour from big to small, guess how many cups fill a jug, and learn full, half, and empty. Best for: early maths without a worksheet. Styling tip: mark lines on a clear jug with tape for easy measuring. Pro tip: start with water only, then add mud once pouring is steady.
24. Mud Painting Corner
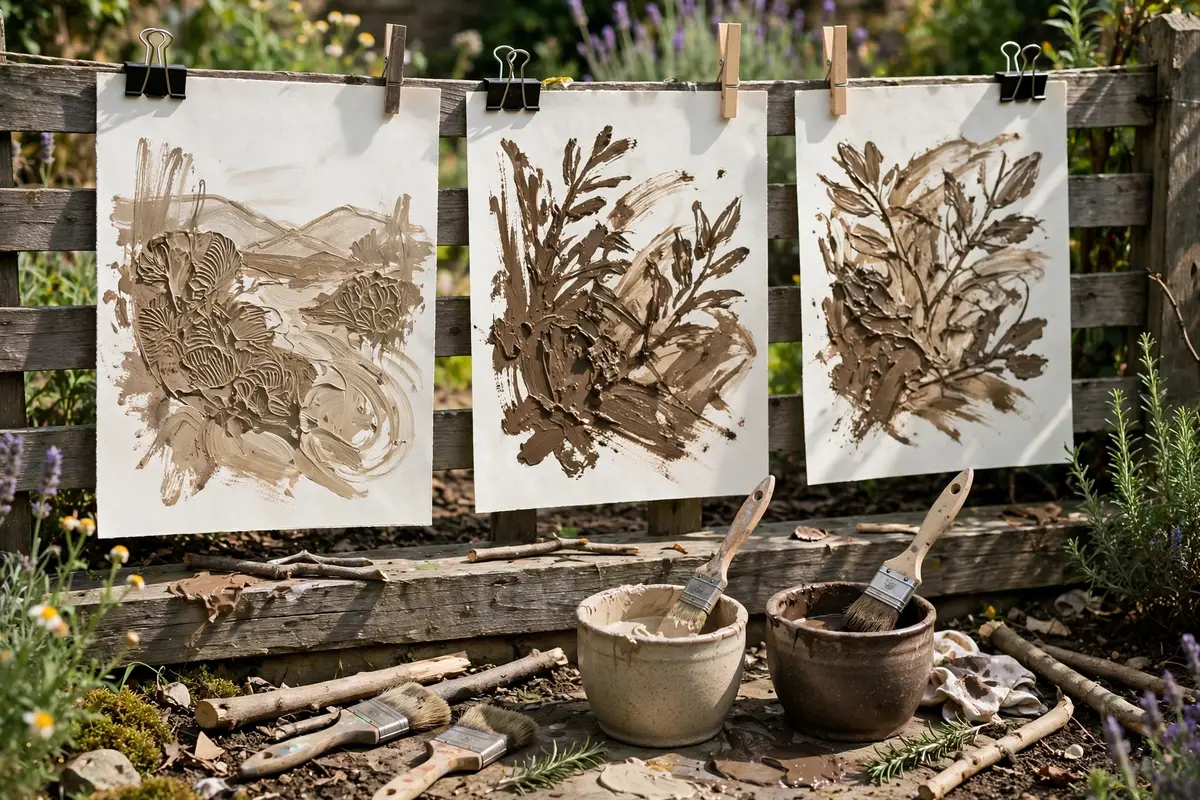
Clip big sheets of paper to the fence, hand out sticks and old brushes, and let children paint with mud in different shades. It is messy art with zero cost. Best for: creative children who love big, bold marks. Styling tip: mix a little water into separate pots for light and dark mud paint. Pro tip: peg finished paintings on a line to dry — they make lovely keepsakes.
25. Garden Veggie Market

Fill crates with mud “potatoes,” leafy greens, and painted stone carrots, then open a market stall. Children weigh produce, count coins, and pack bags for customers. Best for: counting, weighing, and social play. Styling tip: add a small set of kitchen scales for real weighing fun. Pro tip: use smooth stones as coins so nothing real gets lost in the mud.
26. Rainy-Day Mud Kitchen Play
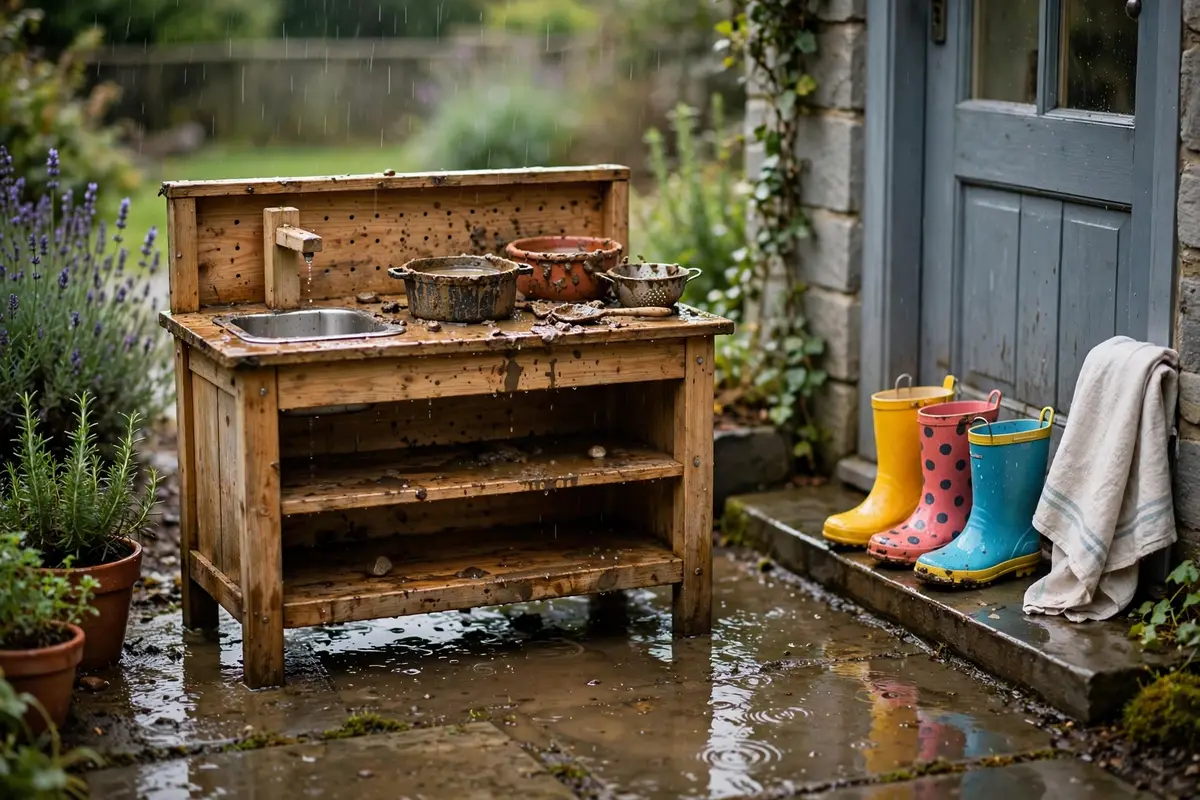
Rain is a mud kitchen’s best friend — the mud is ready-made and puddles become extra sinks. Dress children in waterproofs and wellies and let them cook in the drizzle. Best for: rainy days when indoor play feels stale. Styling tip: keep a towel and a boot tray by the back door for the return indoors. Pro tip: skip play in heavy rain or storms — light drizzle is plenty.
27. Seasonal Mud Kitchen
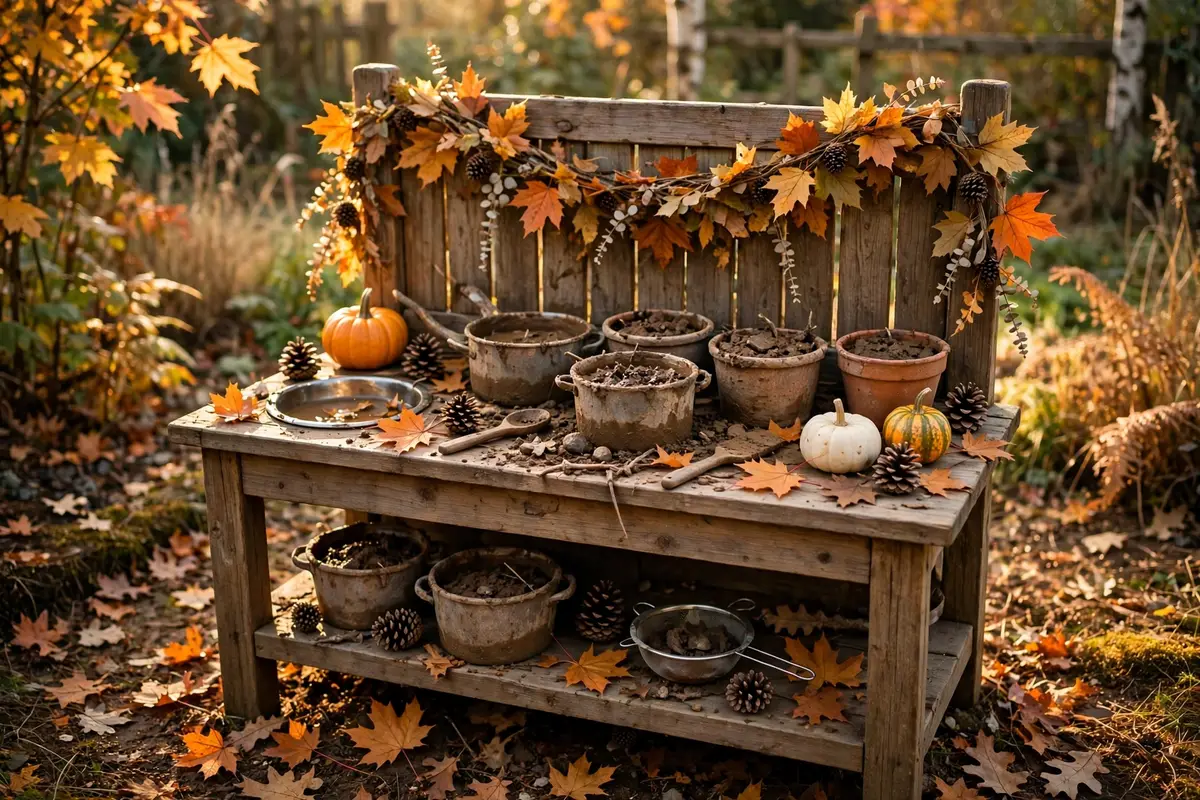
Change the ingredients with the seasons: spring blossoms, summer berries, autumn leaves and pinecones, winter evergreen sprigs. The kitchen stays the same but the menu never repeats. Best for: keeping play fresh all year. Styling tip: add one seasonal garland across the back panel each season. Pro tip: collect autumn leaves in a dry tub so they are ready even after rain.
28. Mud Kitchen Café With Menus
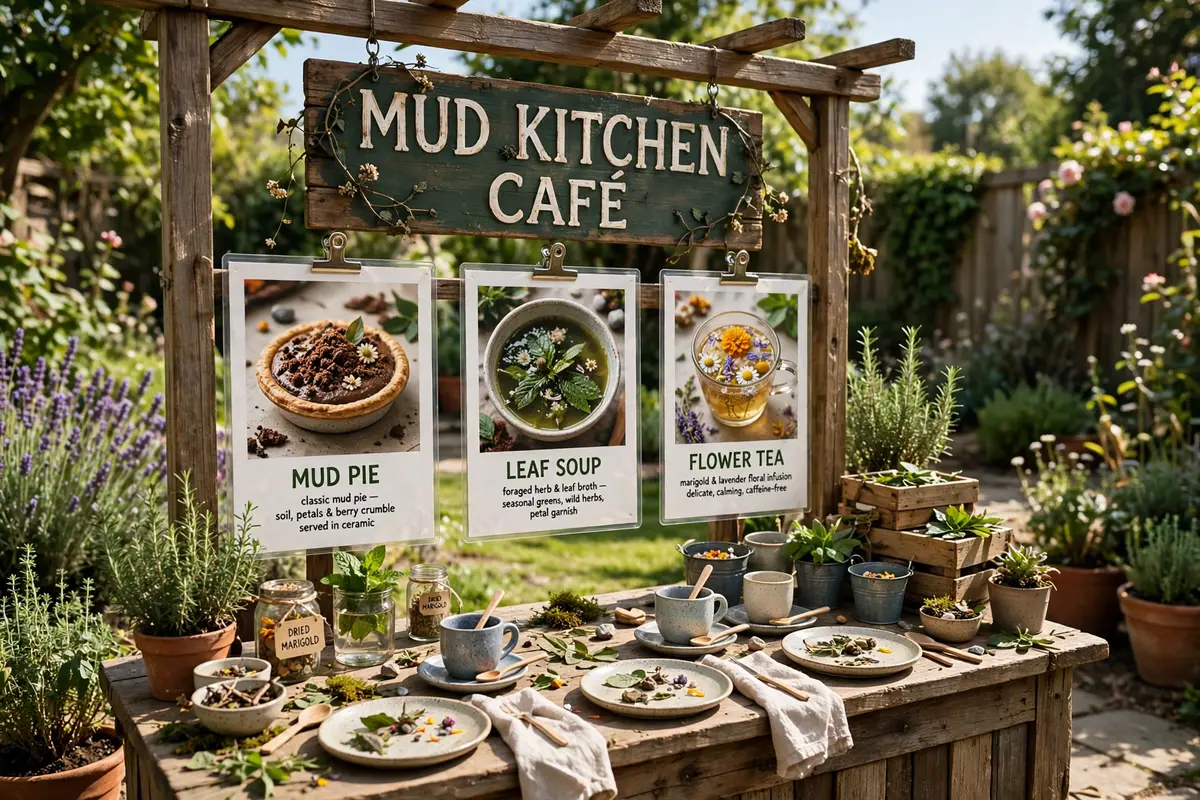
Print simple picture menus — mud pie, leaf soup, flower tea — and let children take orders from family and toys. It builds confidence, memory, and early reading. Best for: confident talkers and pretend-play fans. Styling tip: laminate the menus so muddy fingers cannot ruin them. Pro tip: rotate the menu weekly so children learn new food words.
29. Clean-Up Station That Kids Love
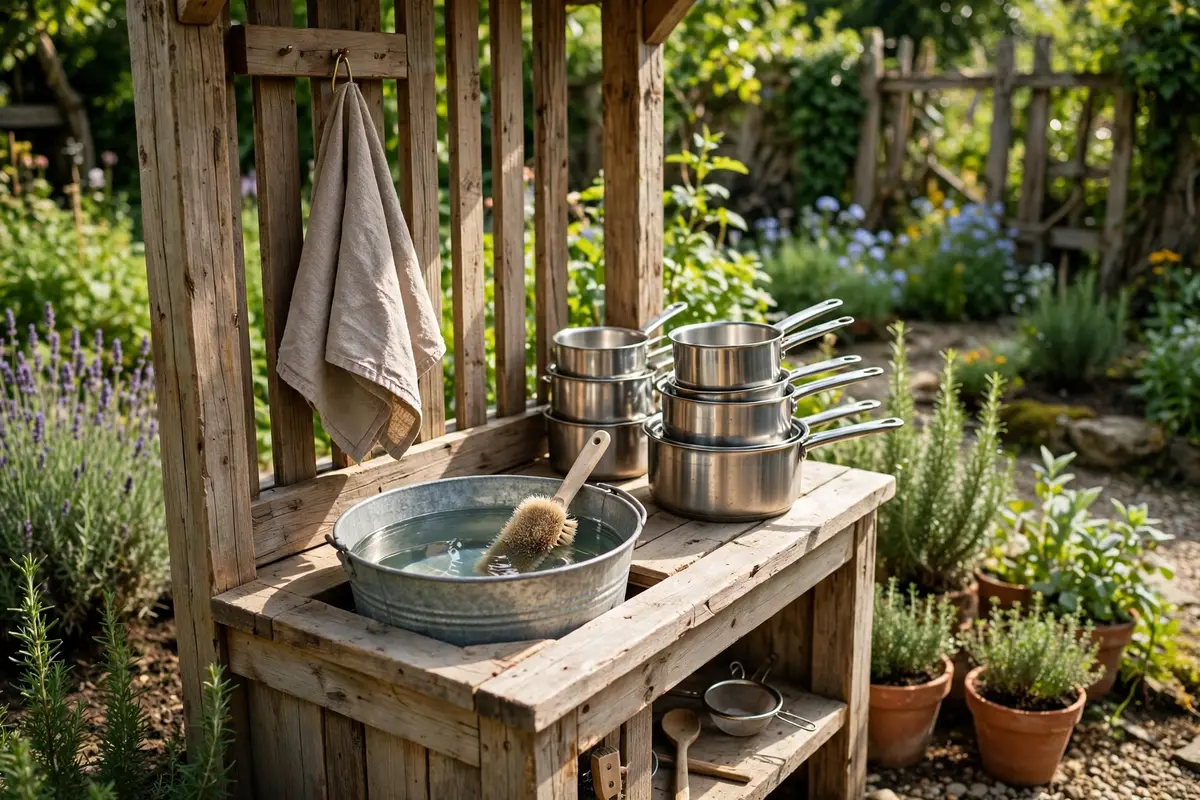
End every session with a clean-up game: a bucket of clean water, a brush, and a race to wash the pots. Children learn to care for their tools — and the kitchen is ready for tomorrow. Best for: building routines and responsibility. Styling tip: hang a small “closed” sign when the kitchen is tidy. Pro tip: make it a song, not a chore — washing up to a tune works every time.
FAQs
What age is a mud kitchen best for?
A mud kitchen suits children from about age 2, but it really comes alive for preschoolers aged 3 to 5. At this age children can scoop, pour, and stir safely, follow simple recipes, and play pretend games like running a café or bakery. Keep tools light and blunt, supervise water play, and choose a counter low enough for your child to reach comfortably.
Is mud play safe for preschoolers?
Yes, mud play is safe when a few basics are covered. Use clean garden soil from a spot free of animal waste and chemicals, and avoid soil near treated timber or roads. Wash hands after play, cover any cuts, and remind children not to eat the mud. If your garden soil is poor, a bag of clean topsoil or a taste-safe mix of cocoa powder, cornstarch, and water works well.
What do I need to set up a mud kitchen?
You need a low counter or table, a basin or old sink, and a few old pots, pans, spoons, and jugs. Add a bucket of soil, a water source such as a jug or small tap, and natural bits like leaves and petals. That is enough to start. Shelves, a chalkboard, and a herb pot are nice extras, but a simple setup keeps preschoolers happily busy for hours.
How do I clean up after mud kitchen play?
Keep a bucket of clean water, a brush, and old towels by the kitchen so children can wash pots and hands before coming inside. Hose down the counter and let it dry in the sun. Store metal tools under cover so they do not rust, and tip leftover mud back onto the garden. A five-minute tidy routine at the end keeps the kitchen ready for the next day.
Can you have a mud kitchen indoors?
A full mud kitchen belongs outdoors, but a small indoor version works with taste-safe fake mud made from cocoa powder, cornstarch, and water, plus a tray to contain the mess. Use it on a wipe-clean floor with old clothes on, and keep it small. Most families find the outdoor version far easier, since rain and the garden do the cleaning for you.
How much does a mud kitchen cost?
It can cost almost nothing if you build from pallets, an old table, or a spare dresser and gather tools from charity shops and your own kitchen cupboards. A simple DIY build usually needs only screws, sealant, and a few second-hand pots. Ready-made wooden mud kitchens cost more, but a homemade one is sturdier, cheaper, and easy to repair when it gets muddy.
Start Small, Let Them Get Messy
You do not need a big budget or a big garden to give your preschooler a mud kitchen they will love. Pick one simple setup, add a bucket of mud and a few old pots, and let the play begin. The mess washes off — the confidence, language, and love of the outdoors will last far longer.
