
Table of Contents
- Start With a One-Pallet Build
- Frame a Classic 2×4 Weekend Build
- Convert a Second-Hand Desk or Dresser
- Cut In a Working Sink With a Drop-In Bowl
- Build a Utensil Backsplash Wall
- Add a Running-Water Tap for Real Splashing
- Set Up a Mud Pie and Potions Station
- Add a Play Oven, Hobs and Knobs
- Create a Garden Ingredient Station
- Weatherproof It for Year-Round Play
- Build a Double Station for Siblings and Playdates
A diy mud kitchen is the rare weekend project that costs next to nothing, takes a single Saturday, and buys your kids hundreds of hours of outdoor play. You do not need fine woodworking skills — just basic tools, some timber, and a garden corner that can get gloriously messy.
These 11 build ideas cover every starting point: pallets, plain 2x4s, second-hand furniture, and clever add-ons like working taps and play ovens. Pick one, round up your tools, and you will be watching mud pies get served by Sunday afternoon.
1. Start With a One-Pallet Build
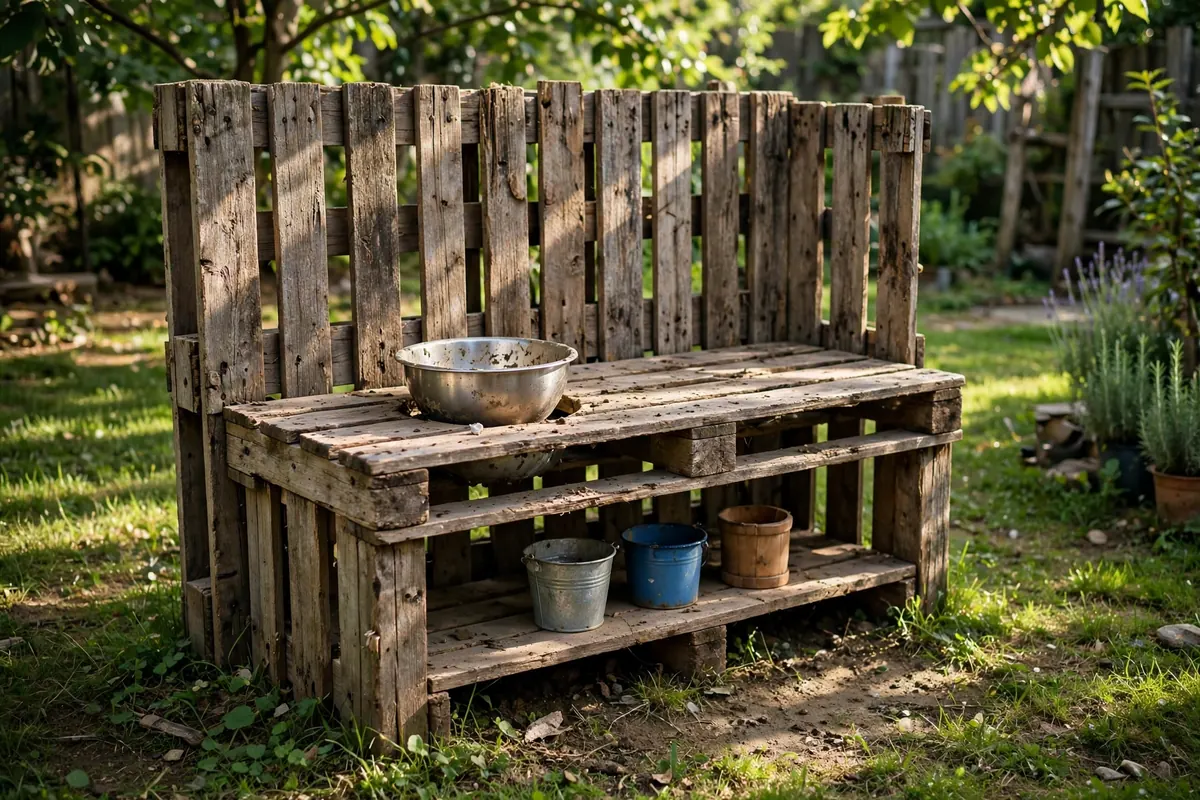
A pallet mud kitchen is the fastest route to a finished play kitchen — one afternoon, nearly free. Choose a clean heat-stamped (HT) pallet, never a chemical-treated one, and sand every surface smooth starting with 80-grit and finishing with 120-grit. Stand it upright as the back wall, screw planks across the top for a counter, and cut a hole for a stainless bowl. For a first build with basic tools, nothing beats a pallet for speed and rustic charm.
2. Frame a Classic 2×4 Weekend Build
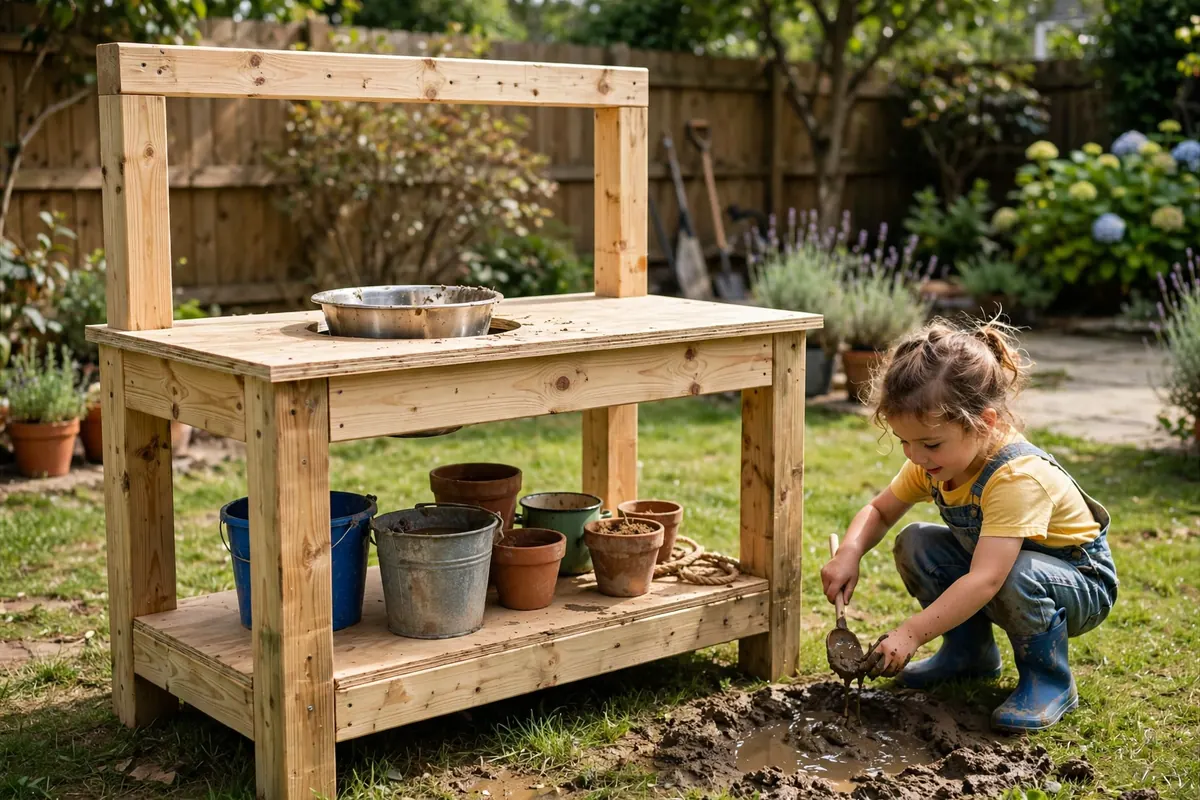
If you would rather build from new timber than salvaged wood, the classic 2×4 frame is your weekend project. Learning how to build a mud kitchen from dimensional lumber means four legs at 20–24 inches tall for toddlers (26–30 for older kids), a plywood or cedar countertop, and a lower shelf for buckets and pots. Use exterior screws throughout and finish with a child-safe wood sealant. Ana White's free mud kitchen plan is a solid reference for framing and cut-list planning if you want a blueprint before you cut.
3. Convert a Second-Hand Desk or Dresser
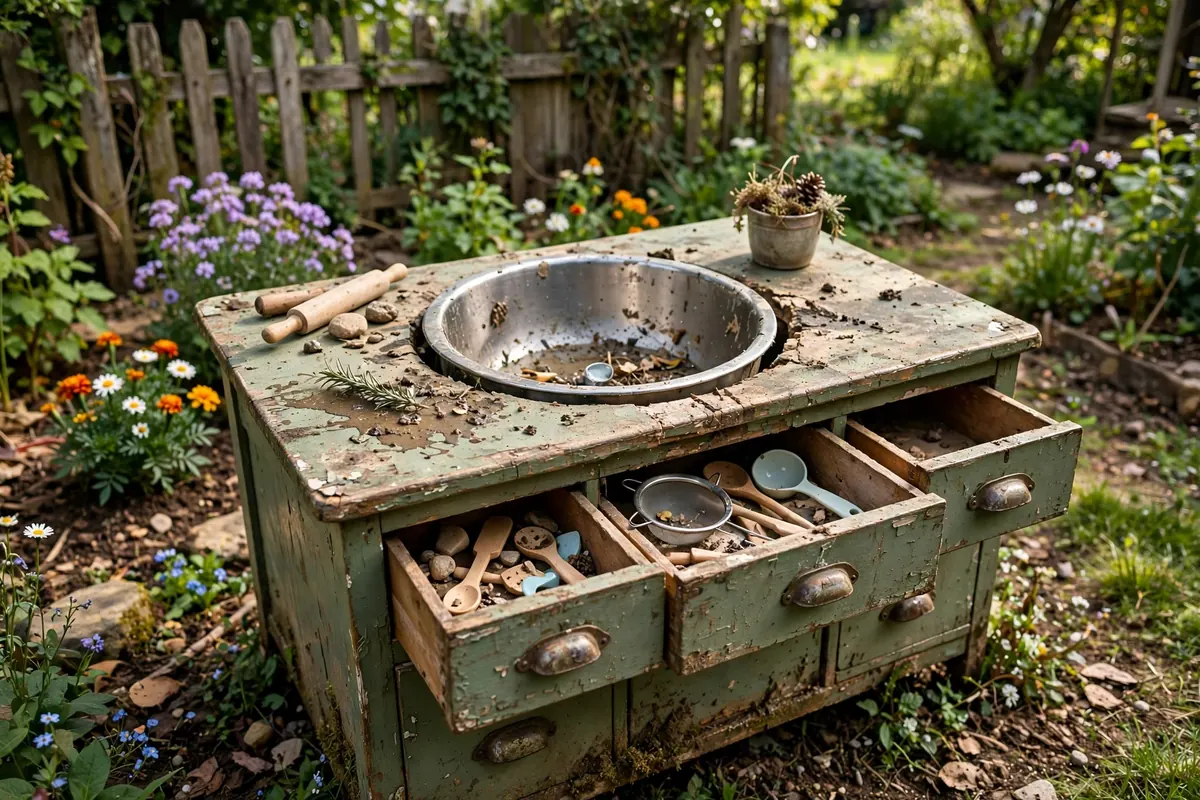
A homemade mud kitchen built from a cast-off desk or dresser skips half the carpentry — the carcass, legs, and even storage already exist. Strip or sand the old finish, seal it with exterior-grade paint, and cut bowl openings into the top with a jigsaw. Keep the drawers for utensil and "ingredient" storage. Check the charity shops and kerbside listings; sturdy solid-wood pieces beat flimsy flat-pack every time for an outdoor conversion.
4. Cut In a Working Sink With a Drop-In Bowl
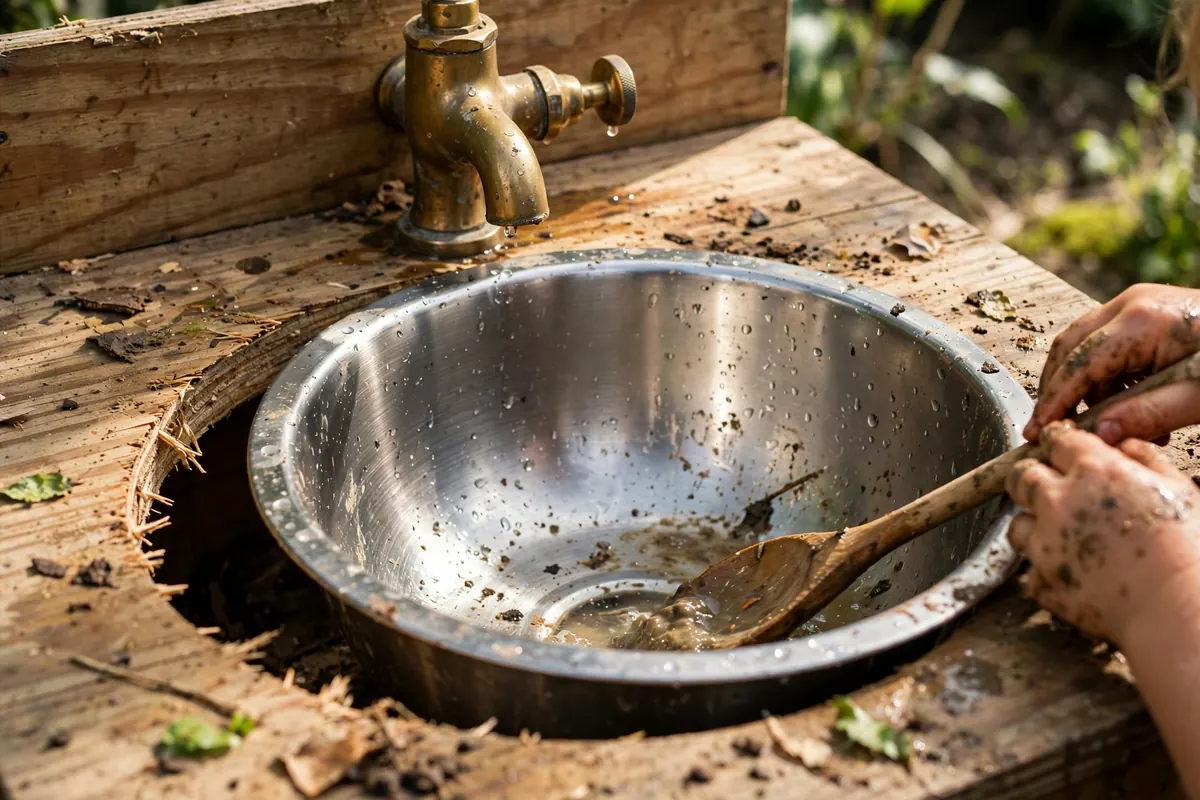
Every great mud kitchen has a sink, and cutting one in is simpler than it looks. Trace your bowl upside-down onto the countertop, drill a starter hole inside the line, then cut with a jigsaw just inside your traced circle so the bowl's lip catches on the rim. A cheap stainless steel mixing bowl drops in perfectly and lifts out for rinsing. Browse these mud kitchen ideas for styling the finished build once the sink is in — accessories turn a bench into a believable kitchen.
5. Build a Utensil Backsplash Wall
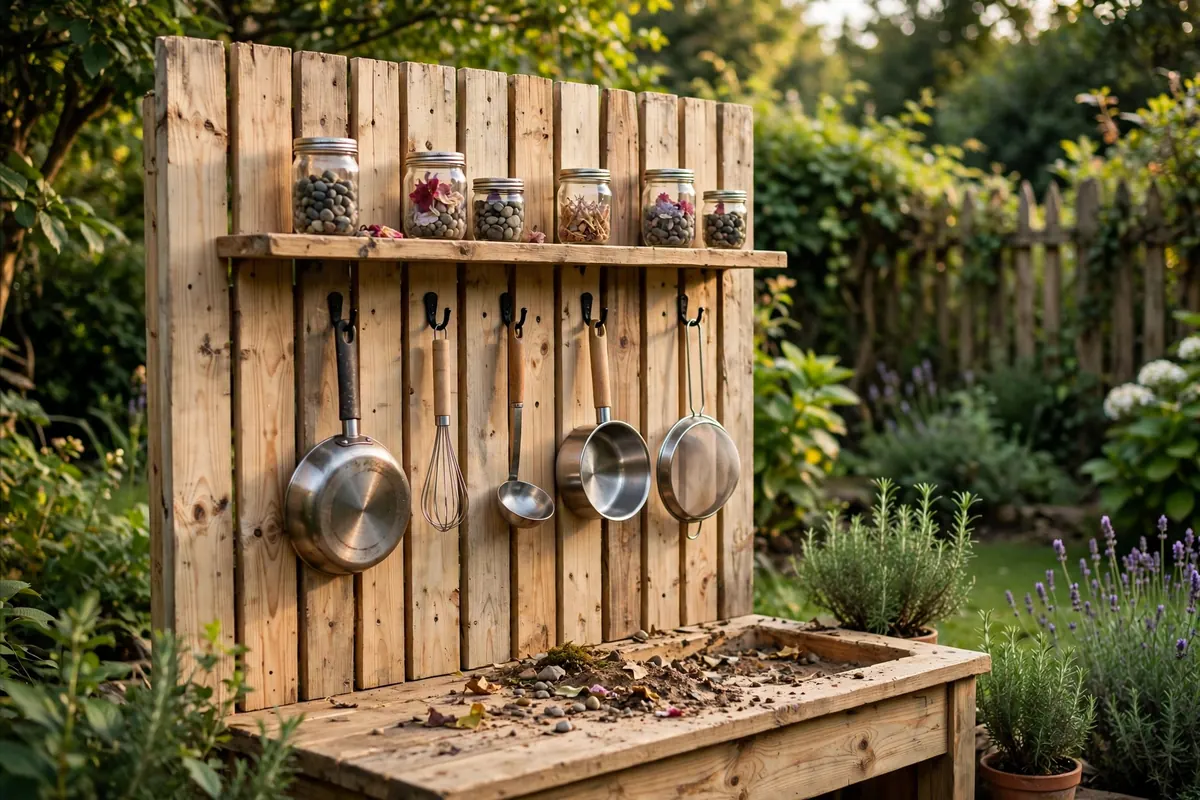
A backsplash panel of slats or plywood screwed to the back of the counter does three jobs at once: it stops mud sliding off the back, gives you a place for hooks and shelves, and makes the whole thing look like a real kitchen. Fix it at about 24 inches above the countertop, screw in a row of cup hooks or a dowel rail, and hang whisks, ladles, and small pans where little arms can reach them. Add a narrow shelf for jars of "ingredients" like pebbles and petals.
6. Add a Running-Water Tap for Real Splashing
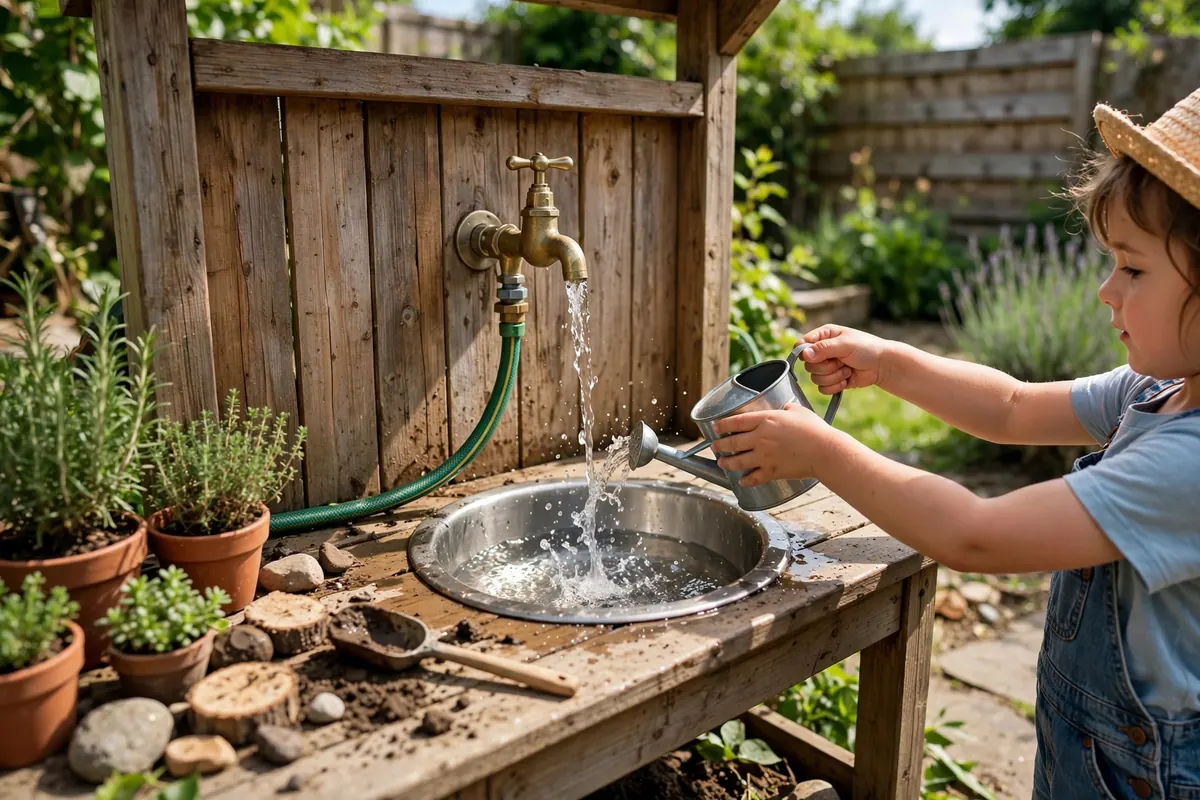
Mud kitchens get ten times better with real running water. The budget version is a gravity-fed setup: mount a 10-litre camping water container with a tap above the counter and set a bucket underneath the sink to catch drainage. The ambitious version taps a garden hose through a cheap outdoor tap mounted on the backsplash — kids will queue for the privilege. Whichever you choose, position the kitchen somewhere with good drainage so the surrounding ground stays playable rather than swampy.
7. Set Up a Mud Pie and Potions Station
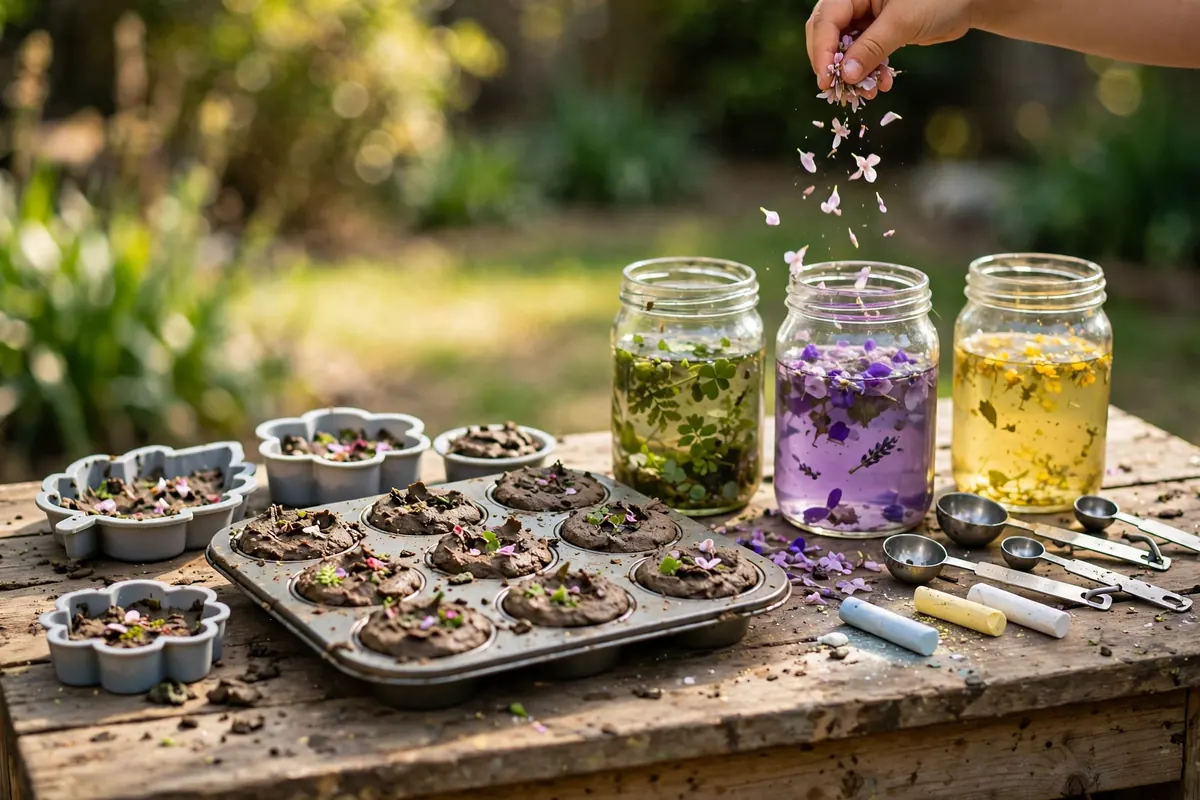
Dedicate one end of the counter to mud pie and potion making. Screw a couple of small shelves at child height and stock them with muffin trays, silicone moulds, old measuring spoons, and glass jars for mixing. A dedicated "potion bar" keeps the most intense mess in one zone while the rest of the kitchen stays usable. Label the jars with chalk — "dragon scales", "fairy dust", "bog juice" — and the play lasts twice as long as the mud does.
8. Add a Play Oven, Hobs and Knobs
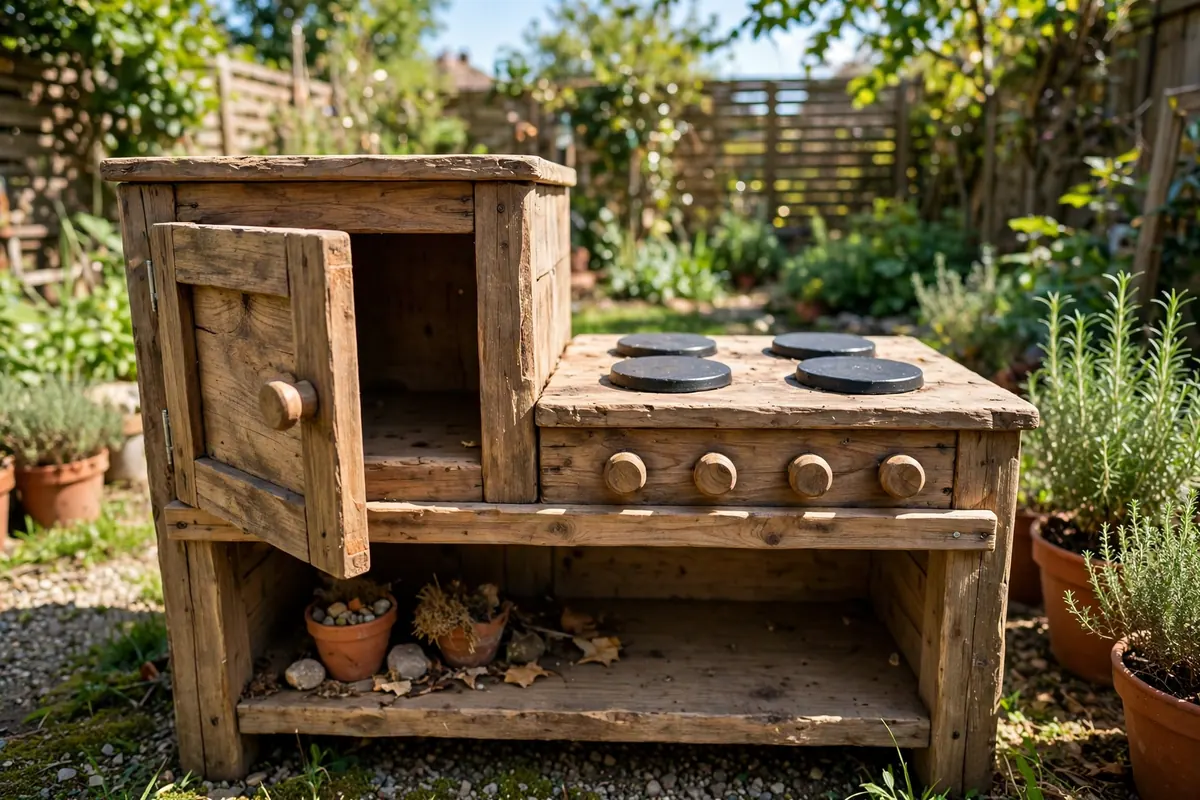
A mud kitchen without cooking appliances is just a wet bench. Turn the front face into an oven: cut a square panel, hinge it at the bottom, and screw on a wooden knob so it opens and closes. Glue black-painted plywood circles or cut-up rubber mats on the countertop as hob rings, and add a row of wooden knobs on a strip of trim for controls. These details cost almost nothing and transform how long kids stay in character.
9. Create a Garden Ingredient Station
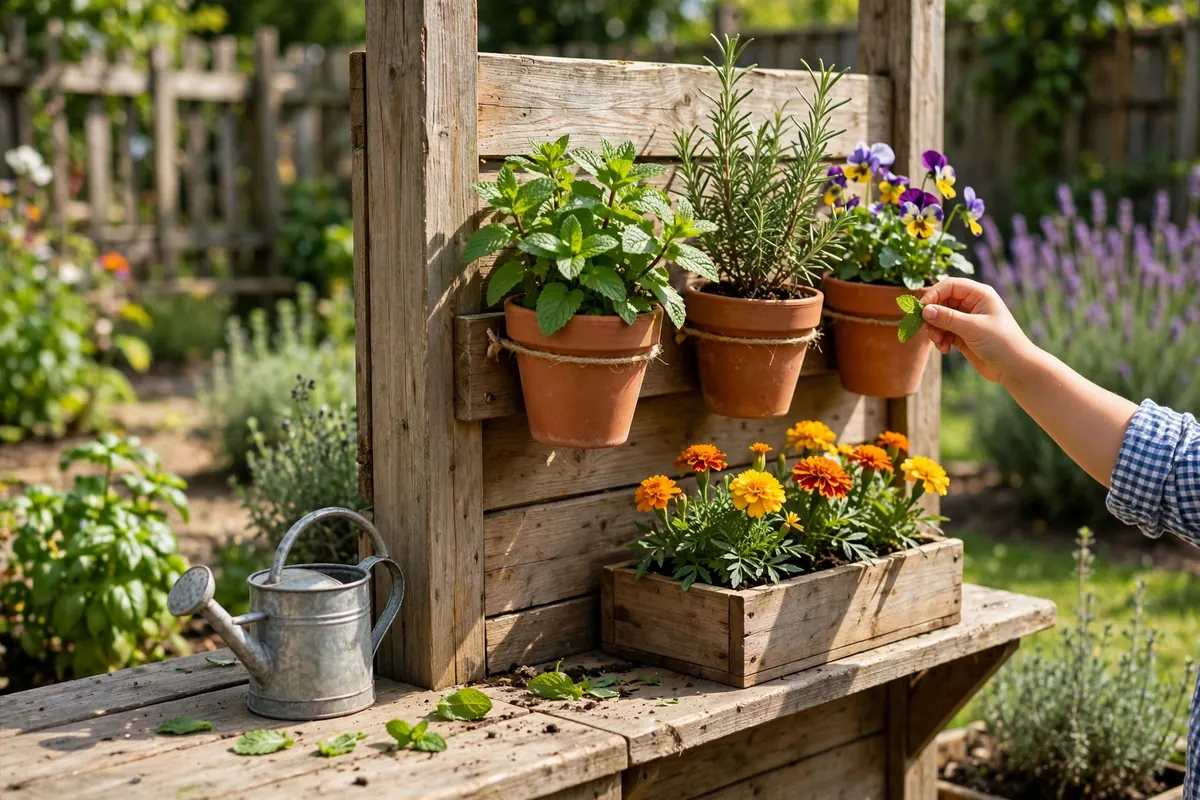
Mount a small planter box or row of terracotta pots along one side of the kitchen and plant them with kid-friendly herbs and flowers: mint, rosemary, marigolds, and pansies are hardy and safe to crush, sniff, and pluck. Kids harvest their own "ingredients" and the kitchen smells wonderful. Keep plants in removable pots rather than fixed beds so you can refresh them each spring, and give the station its own little watering can so watering becomes part of the play.
10. Weatherproof It for Year-Round Play
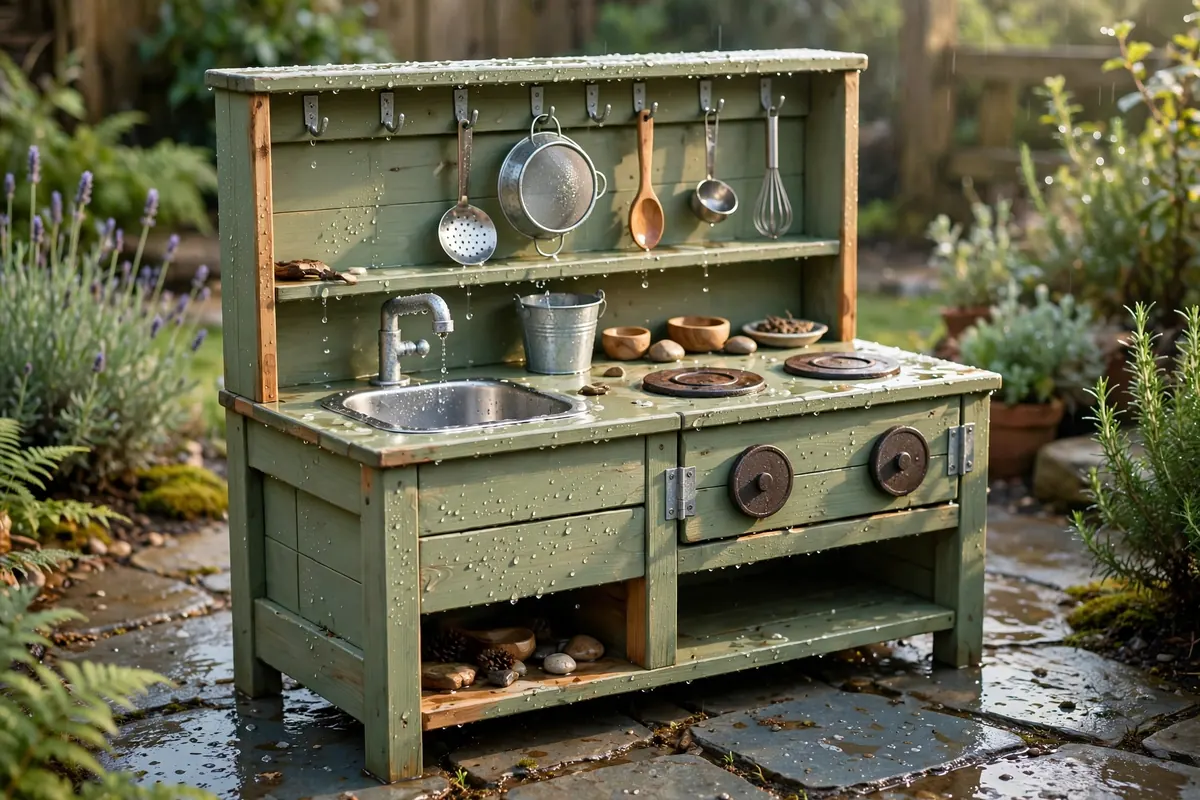
Outdoor toys rot fast if you skip the finishing step. Seal every surface — including undersides and leg ends — with two coats of child-safe exterior wood sealant or exterior paint, and re-apply each spring. Use stainless or galvanised screws so they do not rust-streak, and site the kitchen where it gets morning sun to dry off after rain. A homemade mud kitchen that gets this treatment will happily survive three or four years of daily mud service; these kid-friendly mud kitchen ideas pair perfectly with a weather-tough build.
11. Build a Double Station for Siblings and Playdates
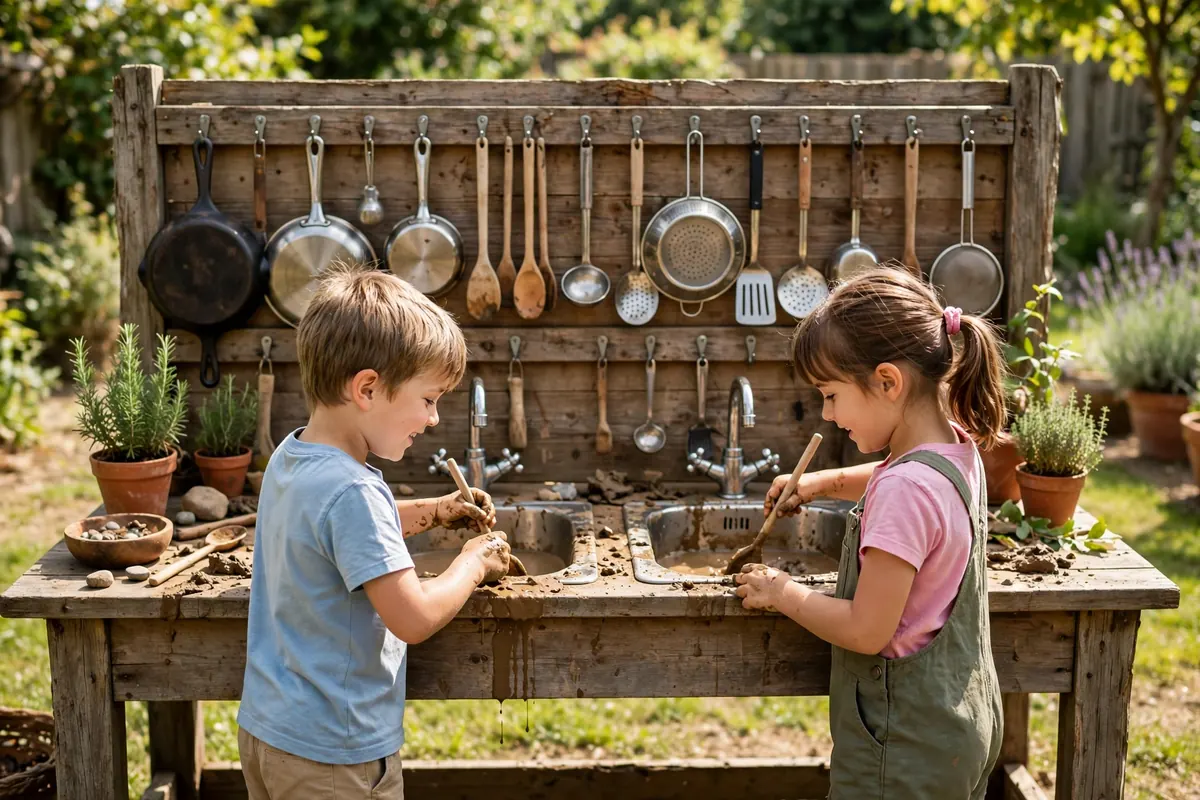
If more than one chef cooks at once, build a six-foot double station instead of a single unit. Two sink cut-outs, a double-length backsplash with twice the hooks, and an open lower shelf running the full width keep everyone from arguing over elbow room. The frame is the same simple 2×4 construction, just longer — add a centre leg for rigidity. It takes no more than an extra hour, and it ends the great mud kitchen turf wars of 2026 before they start.
Frequently Asked Questions
How much does a DIY mud kitchen cost to build?
A pallet or salvaged-furniture build typically costs $20–$60 — mostly screws, sandpaper, sealant, and a bowl — since the timber is reclaimed. A new-timber 2×4 build runs $80–$150 depending on local lumber prices.
What is the best height for a mud kitchen?
Aim for 20–24 inches to the countertop for toddlers and preschoolers, or 26–30 inches for older kids aged 6 and up. When in doubt, have your child stand next to the build and check that their elbows sit comfortably above the surface.
Is pallet wood safe for a mud kitchen?
Yes, provided you use clean, heat-stamped (HT) pallets and avoid any stamped MB (methyl bromide) or chemically treated ones. Sand every surface thoroughly with 80-grit then 120-grit, and seal with a child-safe exterior finish to lock out splinters.
How do I stop a mud kitchen rotting outdoors?
Use exterior or galvanised screws, seal all surfaces including undersides and leg ends with child-safe exterior sealant, and re-coat every spring. Sit it where it gets morning sun so it dries quickly, and lift removable bowls out so water never pools.
What do I put in a mud kitchen for play?
Old kitchen utensils (whisks, ladles, muffin trays), metal bowls and buckets, silicone moulds, glass jars, chalk, and a watering can cover the basics. Add a planted "ingredient station" with herbs and flowers for imaginative cooking play.
Conclusion
A weekend, some timber, and a corner of the garden are all it takes. Start with a pallet or a converted desk, add a working sink and a tap, weatherproof the lot, and your backyard gains the one play feature kids never outgrow in a hurry. Build it this weekend — the mud pies will be ready by Sunday.
