
Open any drawer in your kitchen and you will know in three seconds whether the room works for you or against you. A good kitchen organization checklist does not ask you to buy a dozen matching bins first. It walks you through the room one zone at a time, so every item earns its place first. This guide covers all eight zones — pantry, fridge and freezer, cabinets, drawers, countertops, sink, cooking zone and cleaning supplies — with a tick-off list for each. Work through it over a weekend and finish with a kitchen that is easier to cook in and clean.
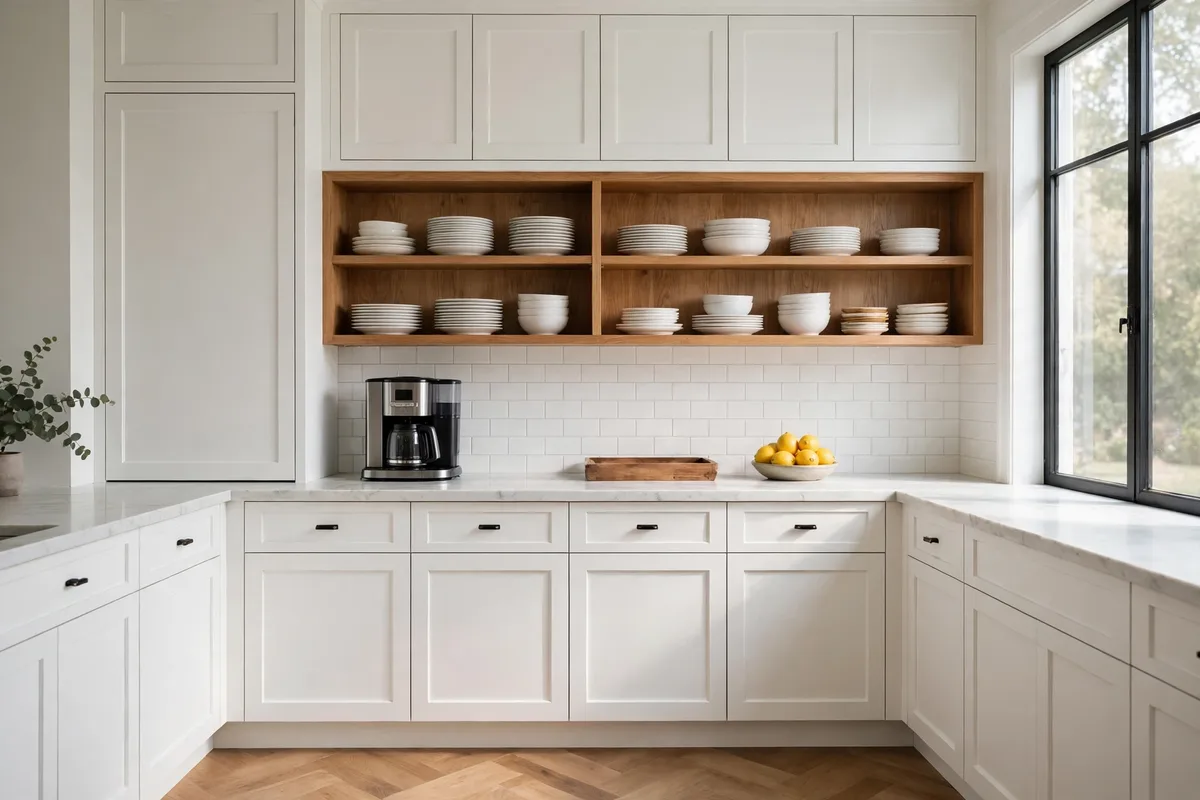
How to Use This Kitchen Organization Checklist
Work zone by zone, never room by room. Empty the zone completely, wipe it down, then sort everything into four boxes: keep, donate, toss, and relocate. Only the keep box goes back, grouped by use. Do not buy storage containers until the sorting is done; most kitchens need far fewer than expected. Plan on one to two hours per zone: four zones on Saturday, four on Sunday.
Zone 1: The Pantry
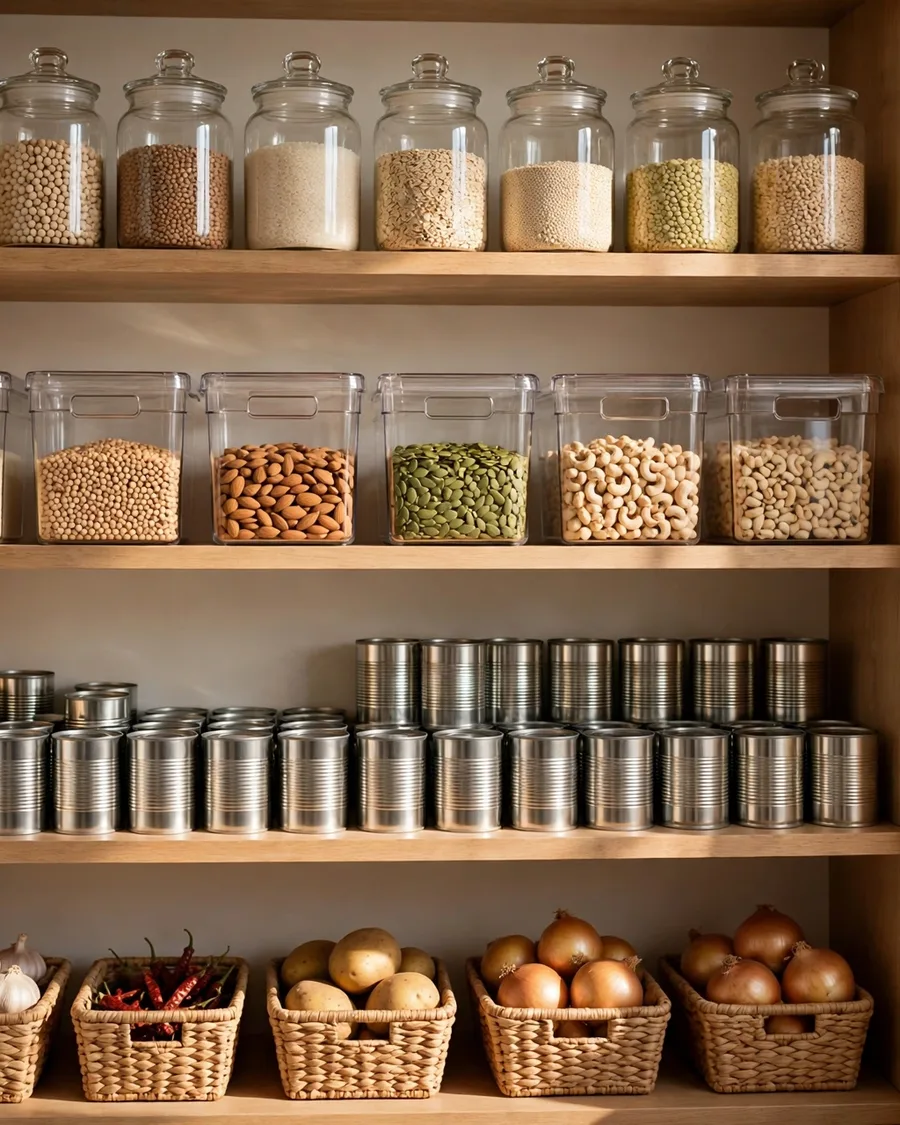
Start here, because the pantry sets the tone for the whole kitchen. Pull everything out and toss anything stale or expired. Group what is left by use — breakfast, baking, snacks, canned goods — daily items at eye level, heavy things low. Decant flour, rice and pasta into clear, airtight containers. For layout ideas, see our kitchen pantry ideas.
- ☐ Toss expired food
- ☐ Group by use; label bins
- ☐ Decant into clear containers
- ☐ New items behind old ones
Zone 2: Fridge & Freezer
The fridge is where food waste hides. Take everything out, bin anything past its date, and wipe the shelves before a single item goes back. Give each shelf a job: leftovers up top, raw meat sealed on the bottom shelf, produce in the drawers. Keep leftovers in clear containers at eye level. These organizing tips that save money from The Kitchn explain the first-in, first-out habit chefs rely on.
- ☐ Bin expired food; wipe shelves
- ☐ Leftovers at eye level
- ☐ Label and date freezer bags
- ☐ “Eat me first” box

Zone 3: Cabinets
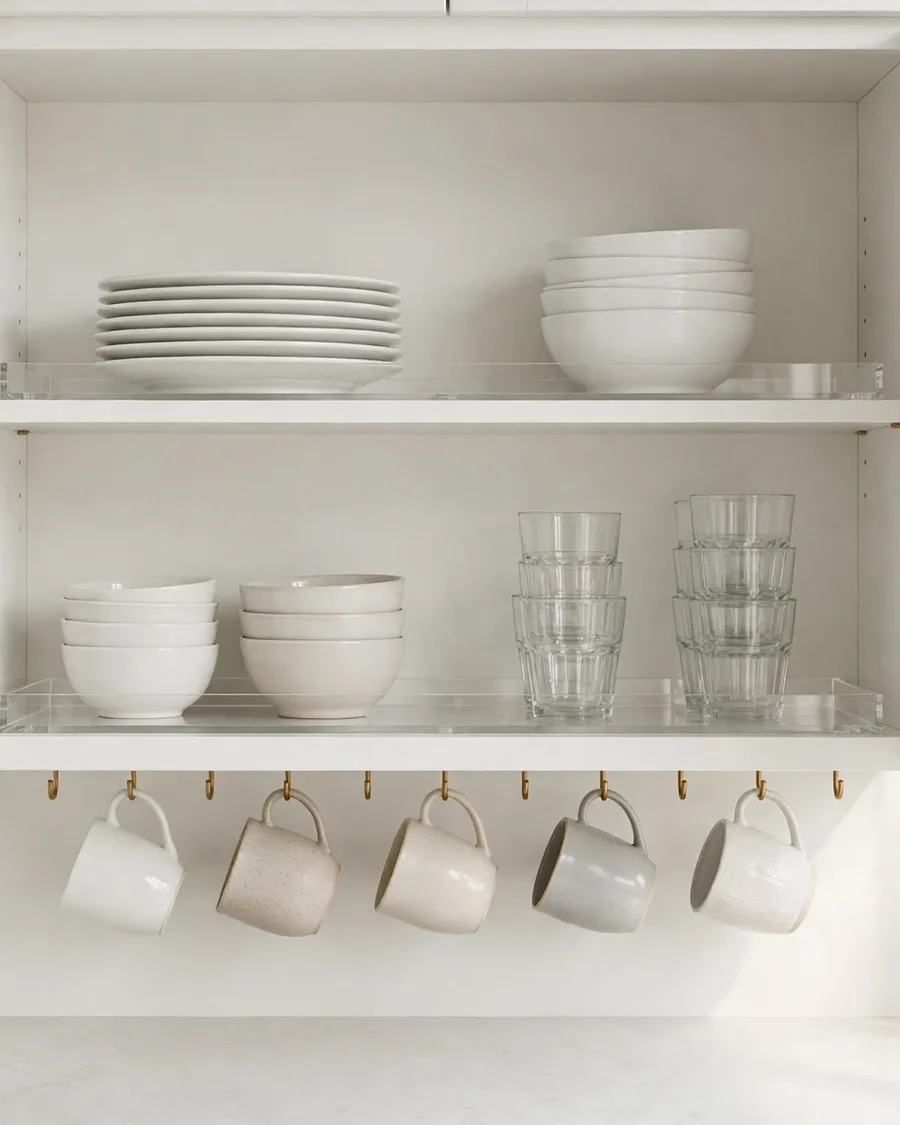
Cabinets fail when daily items live at the back of a high shelf. Empty one cabinet at a time and keep only what belongs in that spot. Daily plates, bowls and glasses go at eye level; rarely used platters go high or low. Shelf risers double the space for mugs and bowls, and a turntable ends the spin-and-guess game in corner cabinets.
- ☐ Daily dishes at eye level
- ☐ Add risers and a turntable
- ☐ Lids with their pots
- ☐ Heavy items low
Zone 4: Drawers
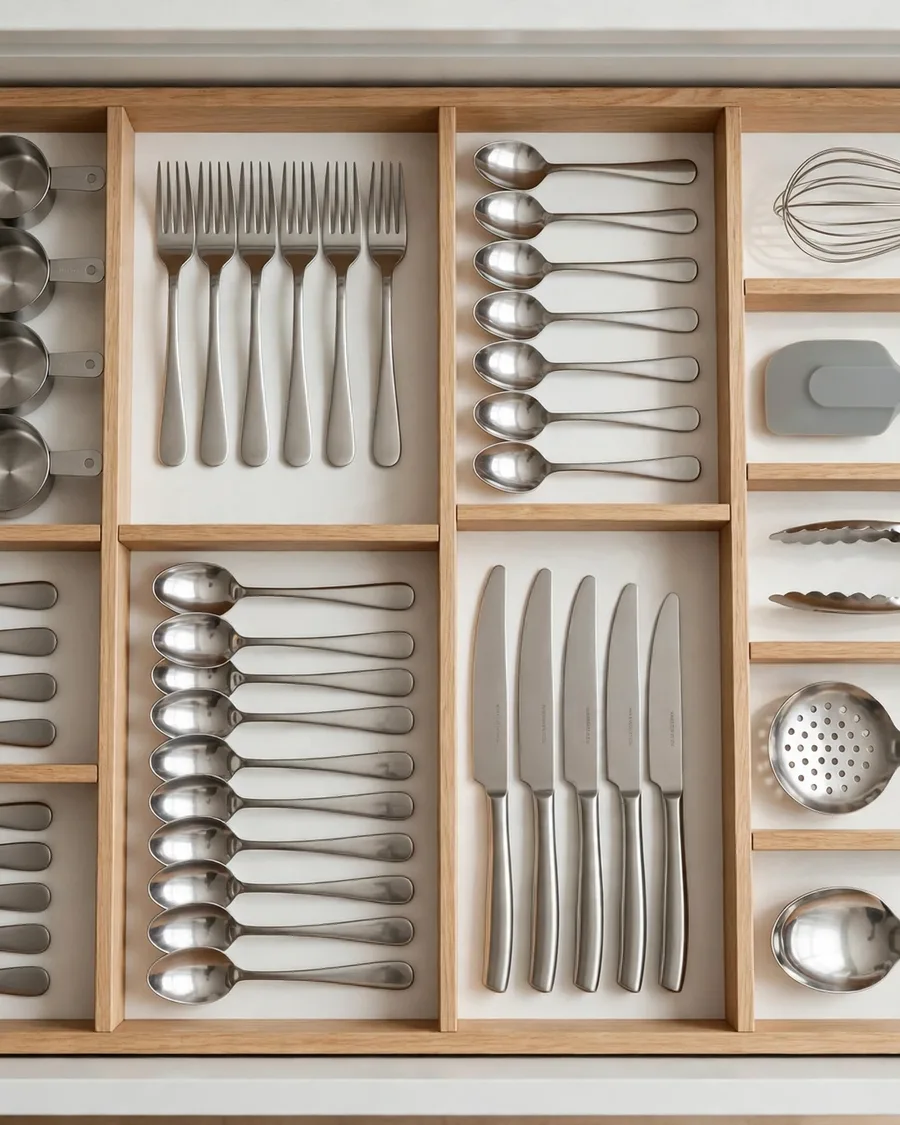
Give every drawer one job. The top drawer holds cutlery and daily utensils only; cooking tools live nearest the stove. Wooden dividers stop everything sliding into a pile, and a knife tray keeps blades safe. Then face the junk drawer: empty it, toss dead batteries and dried-out pens, and give the survivors a small tray each.
- ☐ One job per drawer
- ☐ Dividers; tools near stove
- ☐ Reset the junk drawer
- ☐ Blocked drawer? Something leaves
Zone 5: Countertops
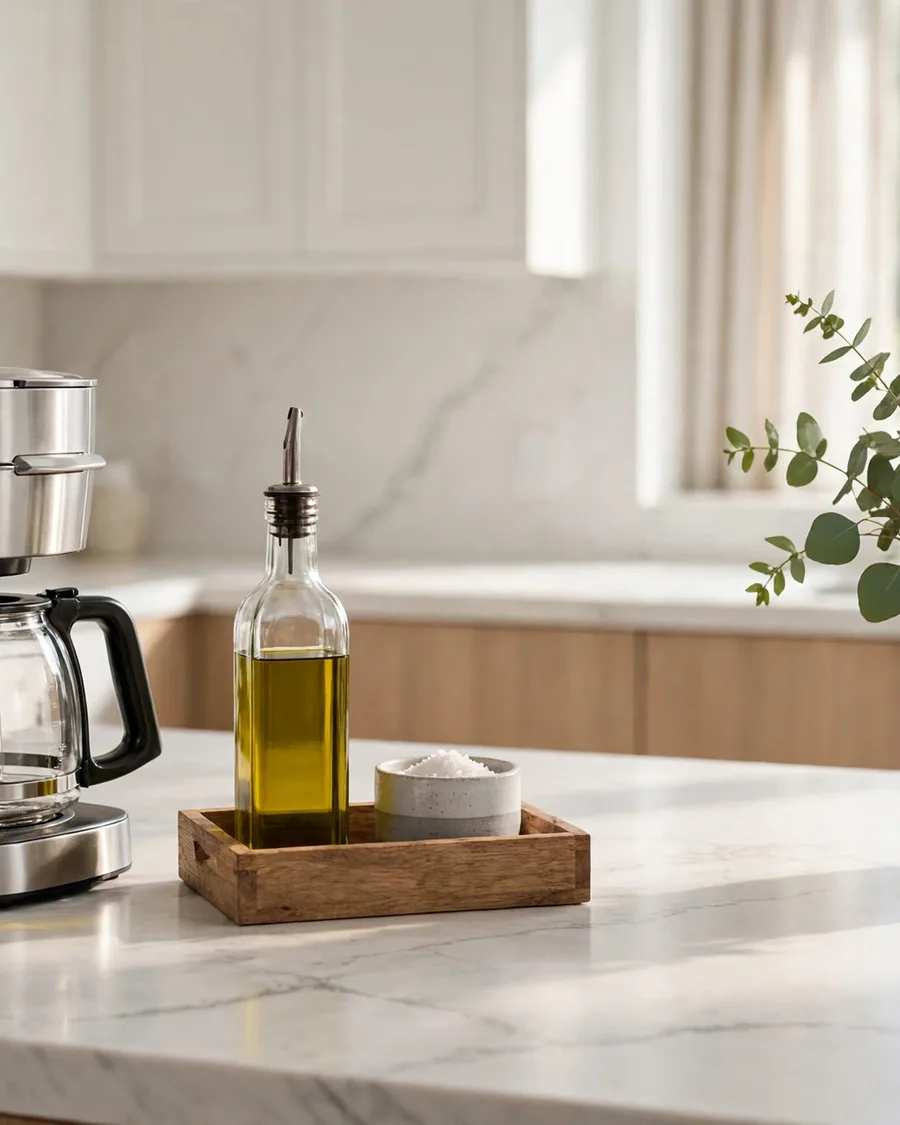
Clear counters change how a kitchen feels more than any other step. Take everything off, wipe the surface, and only return what you use daily — the coffee maker, the kettle, maybe a knife block. Corral oils, salt and pepper on one small tray near the stove, and keep one stretch of counter permanently empty as your prep zone.
- ☐ Only daily-use items out
- ☐ Oils and spices on one tray
- ☐ Keep one prep strip clear
- ☐ Weekly appliances in a cabinet
Zone 6: The Sink Zone
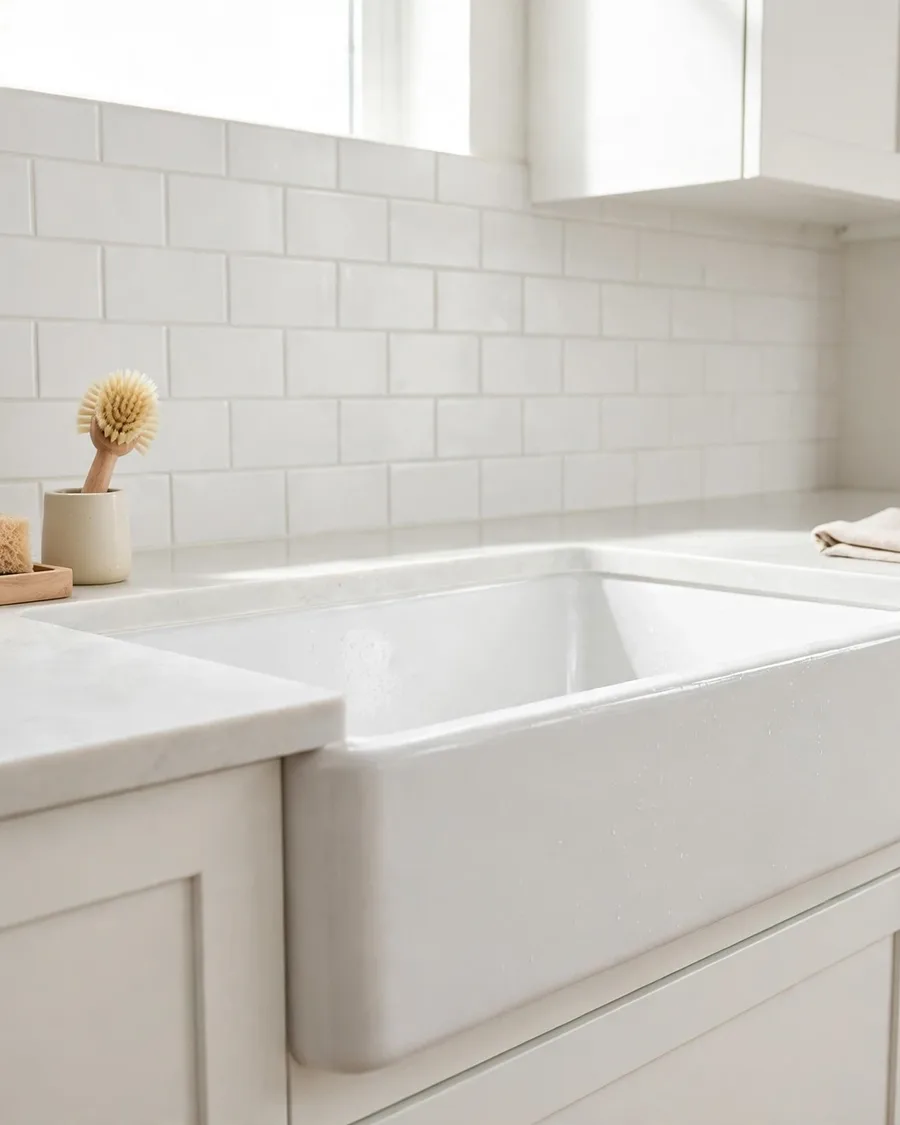
The sink area collects clutter because everything wet lands there. Keep only dish soap, a sponge and a brush at the sink, corralled on a small tray that catches drips. Everything else — extra sponges, dishwasher tablets, drying mats — lives under the sink in a caddy you can lift out. Give dishes one drying spot, and put them away once dry.
- ☐ Only soap, sponge, brush out
- ☐ Extras in a lift-out caddy
- ☐ One drying spot
- ☐ Wipe sink dry nightly
Zone 7: The Cooking Zone
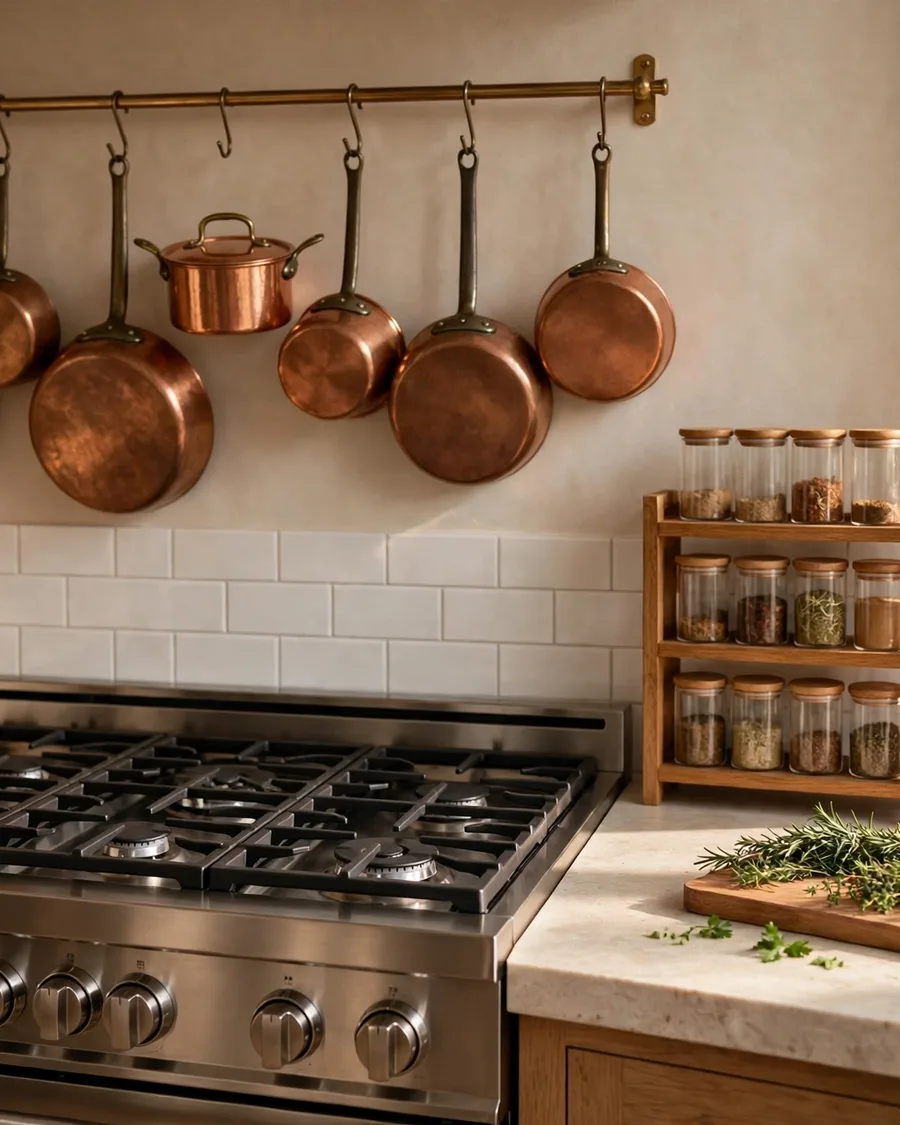
Cooking feels hard when the tools live far from the stove. Keep pots, pans and mid-recipe utensils within one step of the cooktop — a wall rail for weekly pans, a crock for spatulas and tongs, and your most-used spices in a small rack beside the stove. If the layout itself is the problem, our kitchen remodel ideas guide is worth reading before you buy organizers.
- ☐ Tools within reach of stove
- ☐ Spices by the cooktop
- ☐ Baking sheets upright
- ☐ One crock; extras out
Zone 8: Cleaning Supplies & Under the Sink
Cleaning supplies deserve their own zone, not a scattered shelf in every cabinet. Gather everything under the sink: one all-purpose spray, dish soap, sponges, cloths and trash bags. Keep them in a portable caddy so you can carry the kit to any room. Toss anything unused for a year — four half-empty sprays of the same cleaner is clutter, not backup.
- ☐ One caddy, all supplies
- ☐ Liner; bags within reach
- ☐ Toss a year of duplicates
- ☐ Spare sponges in one stack

Keep It Organized: The 10-Minute Daily Reset
An organized kitchen stays organized with ten minutes a day, not another weekend overhaul. Each evening, clear the counters, run the dishwasher and put everything back in its zone. Before the weekly shop, spend five minutes clearing the fridge. Once a month, scan the pantry and fridge for dates.
FAQs
How long does it take to organize a kitchen with a checklist?
Most kitchens take one weekend: one to two hours per zone, so four zones on Saturday and four on Sunday, with breaks. A small kitchen can be done in a single day if you sort fast and skip deep cleaning. The slow part is deciding what to keep, not the organizing itself. Set a timer for each zone and stop when it rings — you can always return to a zone later, but a finished checklist beats a perfect one that never gets done.
What should I declutter first in my kitchen?
Start with the countertops. Clearing them takes under an hour and changes how the whole room looks, which keeps you motivated for the harder zones. Then tackle one drawer — a quick win that proves the system works. Save the pantry and fridge for last, because they take the longest and involve food decisions. The rule is simple: visible progress first, hidden storage second.
How do I organize a small kitchen with no pantry?
Turn the zones vertical. Use the inside of cabinet doors for spices and measuring cups, add shelf risers to double cabinet space, and keep a rolling cart for overflow dry goods. Store rarely used appliances on a high shelf and daily items at eye level. A small kitchen works when every item has one exact home — if something has no spot, it does not stay.
How often should I reorganize my kitchen?
A full zone-by-zone reset once or twice a year is enough for most homes. Between resets, a five-minute fridge clear-out before each weekly shop and a monthly check of pantry dates stops clutter from building up again. If a zone keeps falling apart, the system is wrong for how you cook — change the zone, not your habits.
Should I buy storage containers before I start organizing?
No — sort first, buy later. Most kitchens need far fewer containers than expected, and bins bought too early often end up holding the same mess in a tidier box. Finish the sort, measure the shelves and drawers that are left, then buy only what fits a real gap. Clear containers in one or two sizes keep the look calm and make it easy to see what you have.
How do I keep my kitchen organized after decluttering?
Give every item a home inside its zone and return things there after each use. A ten-minute evening reset — clear counters, start the dishwasher, wipe the sink — does most of the work. Follow one-in, one-out for gadgets and containers, and do a quick fridge check before shopping. When the family knows where things live, the system holds without constant effort.
Final Thoughts
A kitchen that works is not a perfect kitchen — it is one where you can find the right pan, see what is in the fridge, and clear the counter in a minute. Work through this kitchen organization checklist one zone at a time, tick the boxes as you go, and give the new system a week to settle. If a zone drifts, reset just that zone; the rest will hold.
