
Table of Contents
- Build a Sturdy Wall-to-Wall Workbench
- Install a Pegboard Tool Wall
- Go Modular With a French Cleat System
- Create a Dedicated Miter Saw Station
- Add a Fold-Down Workbench for Small Spaces
- Roll With a Mobile Tool Cart
- Organize Small Parts Like a Pro
- Upgrade to Bright Task Lighting
- Dust Collection on a Budget
- Use Overhead Ceiling Storage
- Set Up a Painting and Finishing Zone
- Add a Lumber and Sheet-Goods Rack
- Power Up With Enough Outlets
- Make It Comfortable With Flooring and Climate
- Personalize Your Maker Space
Every DIY lover knows the feeling: tools scattered across every flat surface, one workbench doing the job of three, and a garage that is more “storage unit” than “maker space.” With the right layout, smart storage, and a workbench that actually works, your garage becomes the room you spend every spare minute in — building, fixing, creating.
These 15 garage workshop ideas are built for real DIYers — practical, weekend-budget friendly, and designed to turn even a single-car garage into a workshop you’ll be proud of.
1. Build a Sturdy Wall-to-Wall Workbench
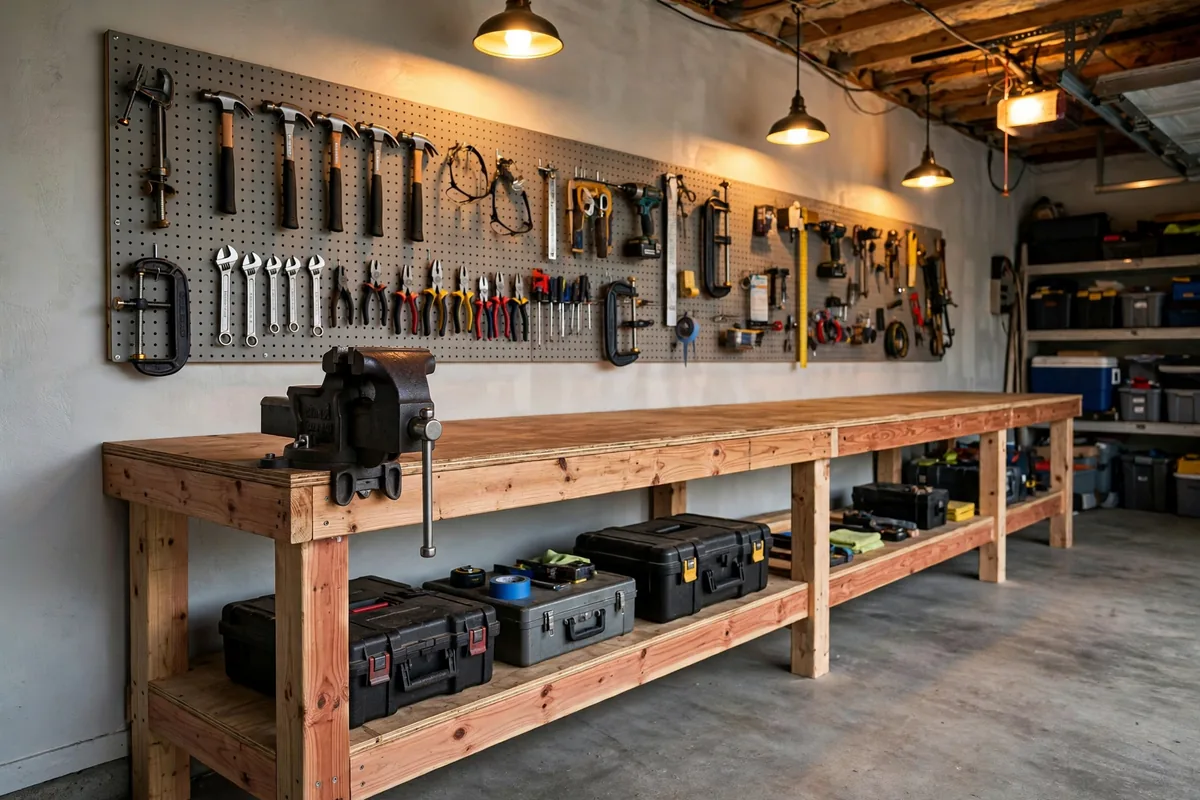
Every dream workshop starts with a workbench that does not wobble. Build one from 2x4s and a doubled-up plywood top along your longest free wall, with a lower shelf for heavy gear and a front vise for clamping. Keep the depth around 24–30 inches so everything stays within reach. A rock-solid bench becomes the heart of your garage workshop setup.
2. Install a Pegboard Tool Wall
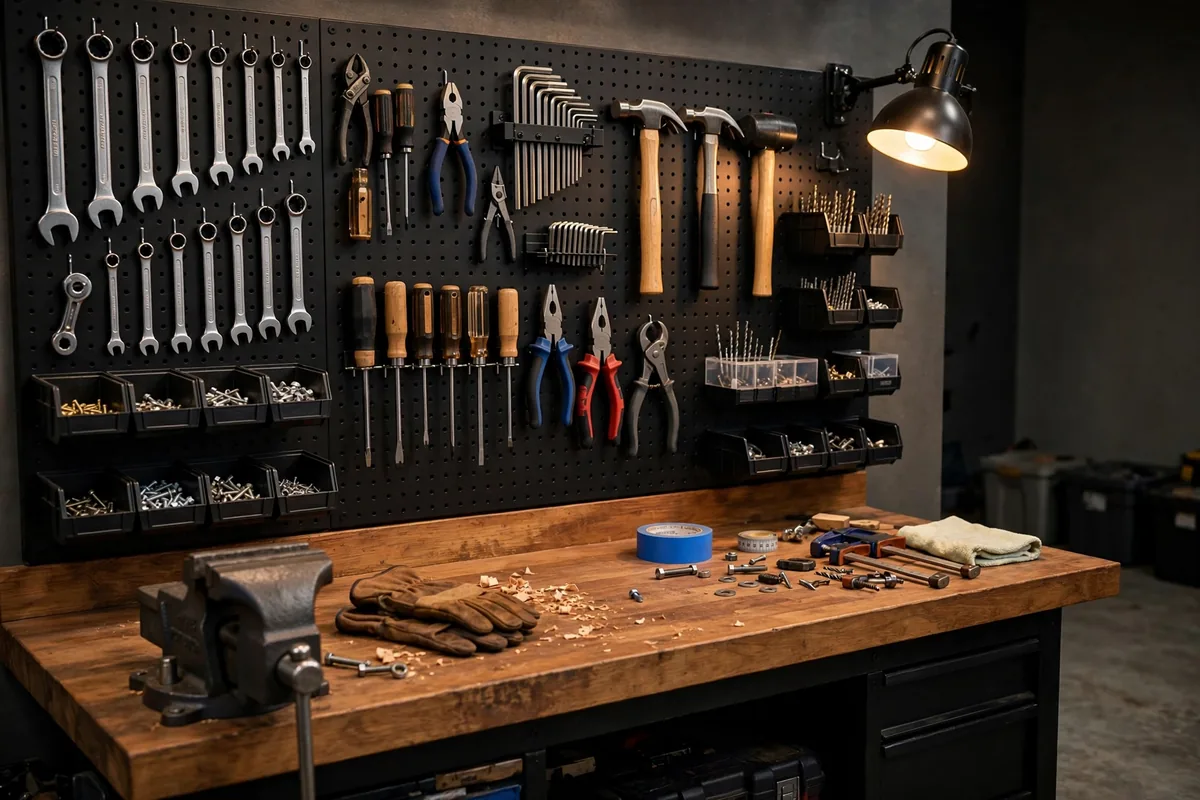
A pegboard above the workbench puts your most-used hand tools at eye level and frees up every drawer. Mount it on 1-inch furring strips so hooks seat properly, and trace tool outlines with a paint pen so everything has a visible home. Add small bins on hooks for screws, tape, and pencils. It is the fastest way to make a workshop feel organized — for under fifty dollars.
3. Go Modular With a French Cleat System
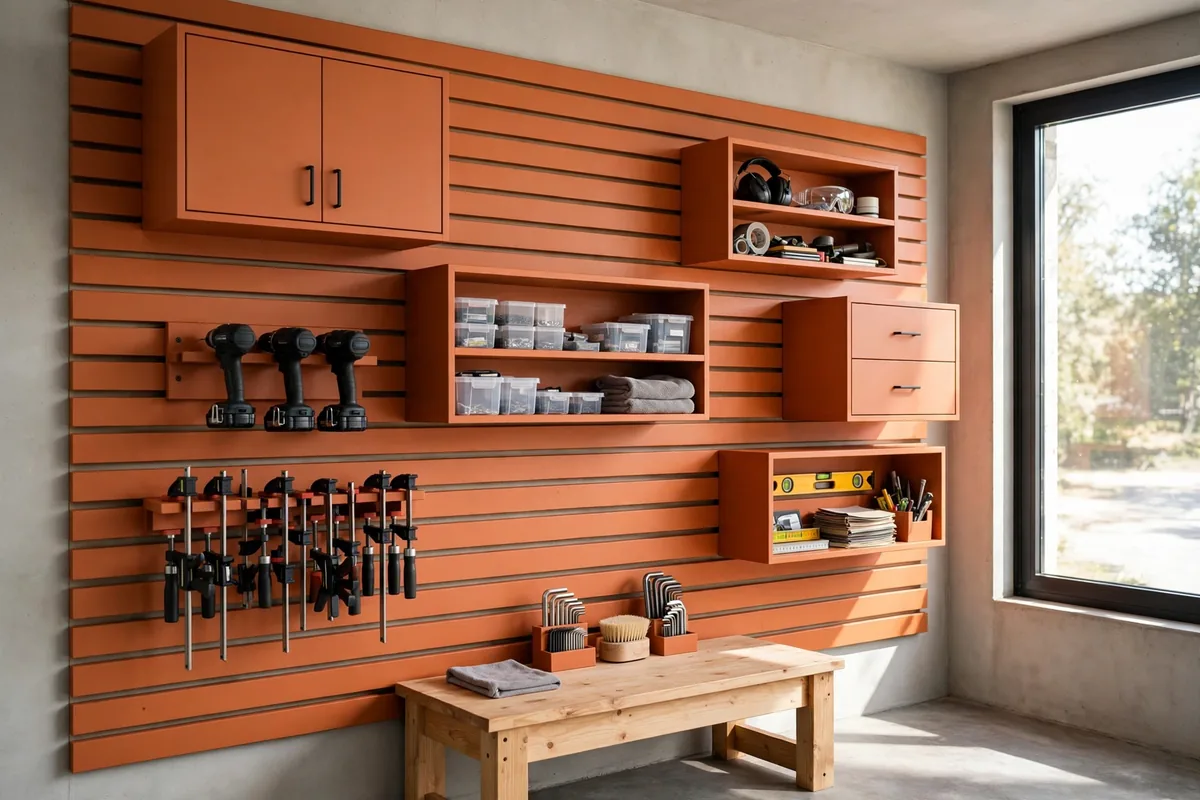
French cleats are the DIY lover’s secret weapon: 45-degree beveled strips that let you hang — and rearrange — shelves, cabinets, and tool holders anywhere on the wall. Build holders for drills, sanders, and clamps that lift off and move in seconds. When your projects change, your wall changes with them — a cornerstone of smart small workshop organization.
4. Create a Dedicated Miter Saw Station
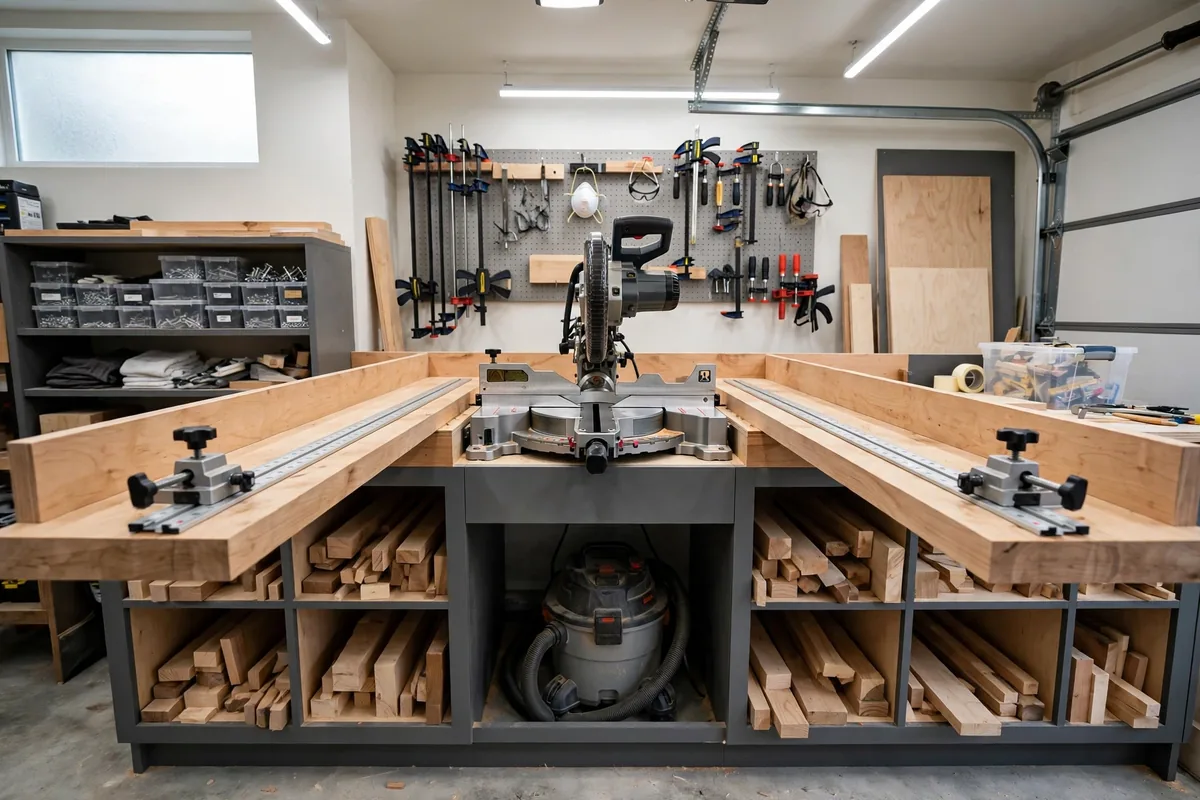
A miter saw station with built-in wings turns rough lumber into ready-to-build stock fast. Set the saw between two support surfaces at deck height, with stop blocks on a track for repeat cuts. Tuck cubbies underneath for offcuts and your shop vacuum. Because the saw stays put and tuned, you’ll use it every week.
5. Add a Fold-Down Workbench for Small Spaces
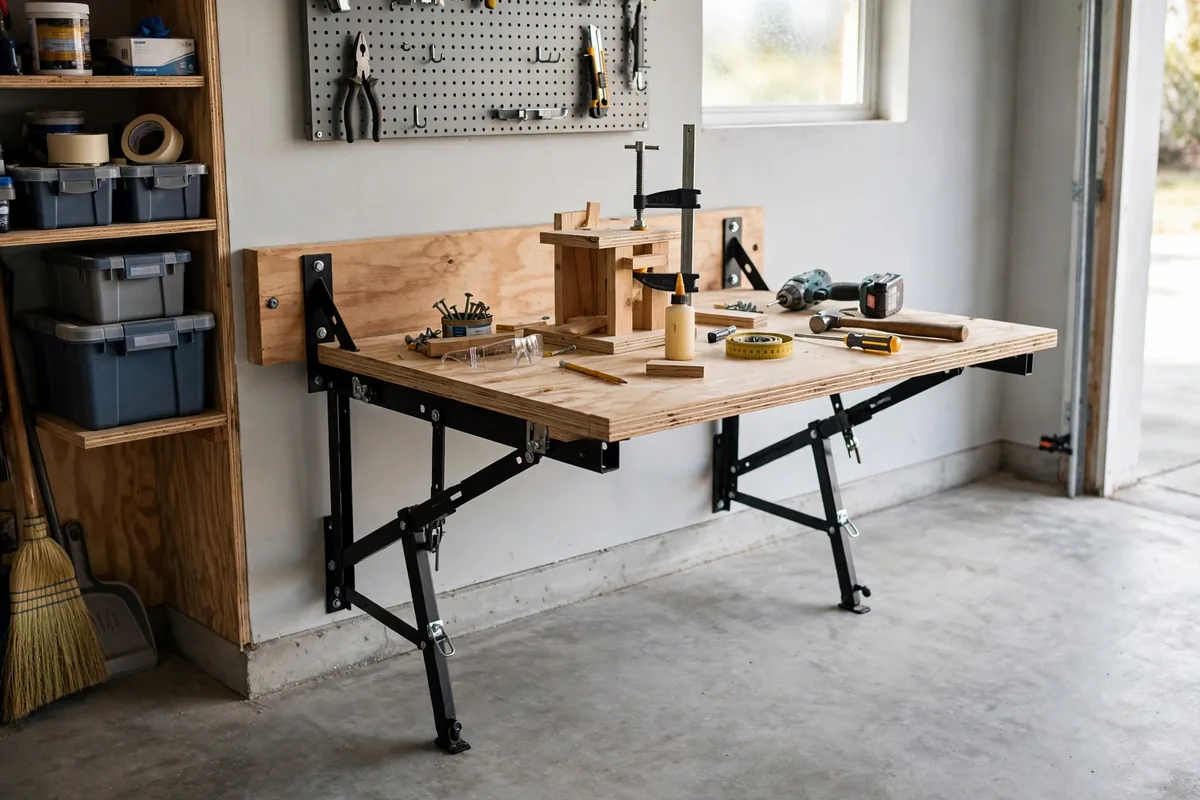
If you still park a car at night, a fold-down bench is your answer. Mount a sturdy 2×6 ledger to the wall studs and hinge a 3/4-inch plywood top to it, with folding legs for support. Up, it handles assembly and repairs; down, the floor is clear again. It is one of the best diy workshop ideas for tight garages — full function, zero permanent footprint.
6. Roll With a Mobile Tool Cart
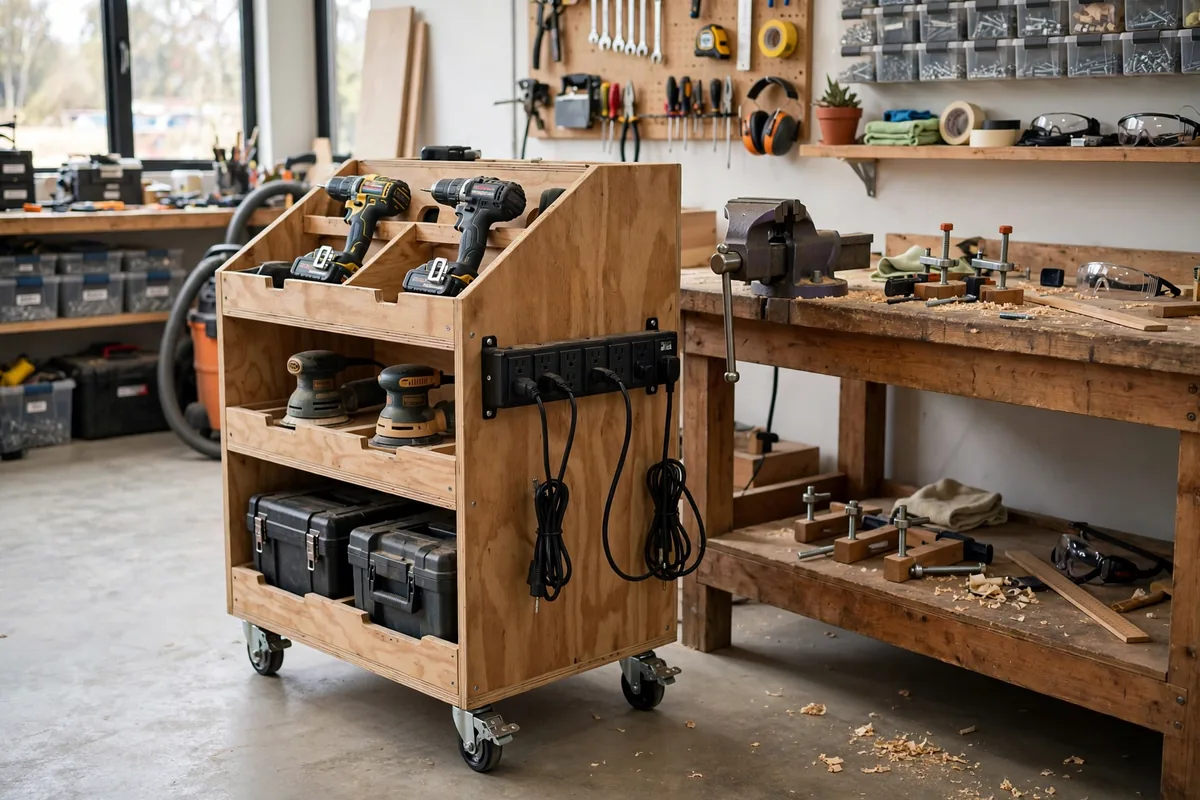
A mobile cart carrying your most-used power tools goes wherever the work is — then parks under the bench when you're done. Build a simple plywood cabinet on locking casters, sized to your tools, with a power strip mounted on the back. Label each slot so everything returns to its place. For a garage that doubles as parking, rolling storage keeps the space flexible.
7. Organize Small Parts Like a Pro
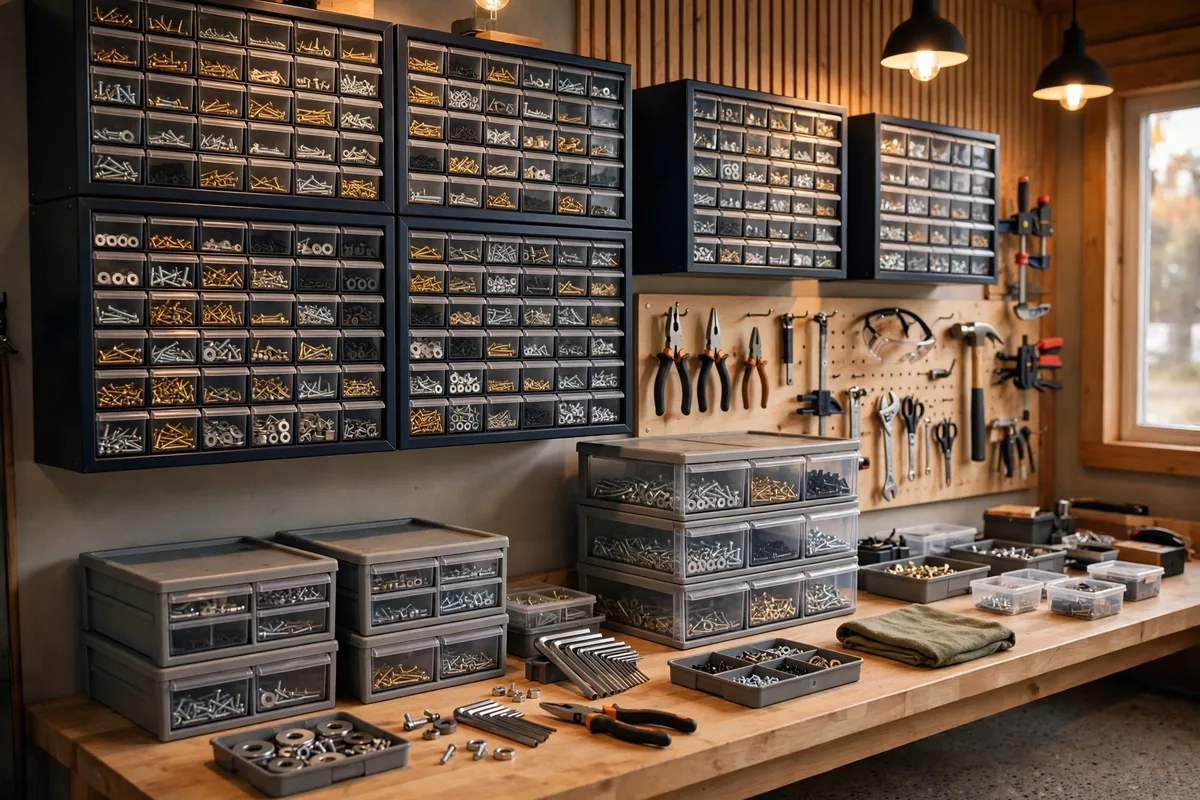
Screws, bolts, and fasteners disappear into junk drawers in every beginner shop. Fix it with wall-mounted small-parts cabinets and stackable clear-front bins, plus a label maker used generously. Sort by size and type, not by project. You’ll stop buying duplicate fasteners, which pays for the bins faster than you’d expect.
8. Upgrade to Bright Task Lighting
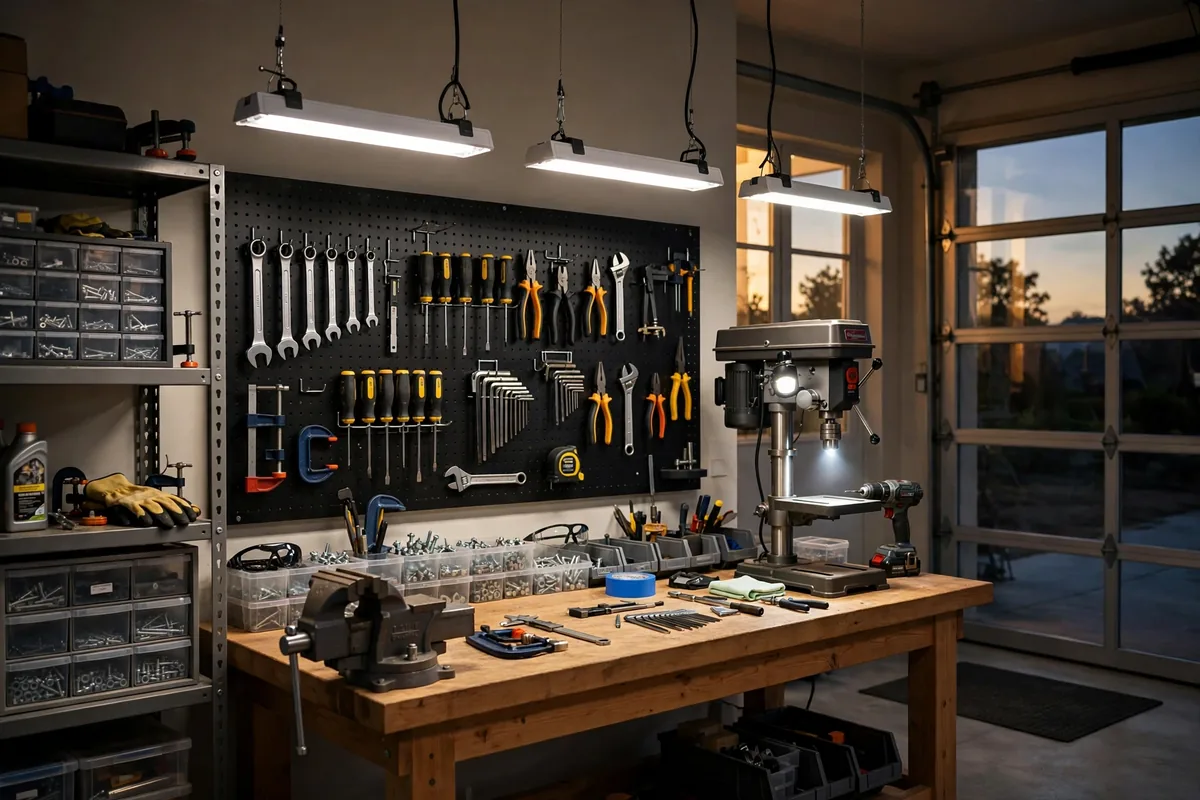
Garages come with one sad overhead bulb, but detail work needs real light. Hang 4-foot LED shop lights directly over the workbench and key stations for shadow-free coverage. Add a magnetic LED task light at the miter station for close work. These broader garage design ideas pair nicely with a lighting upgrade, and good light makes every project easier.
9. Dust Collection on a Budget
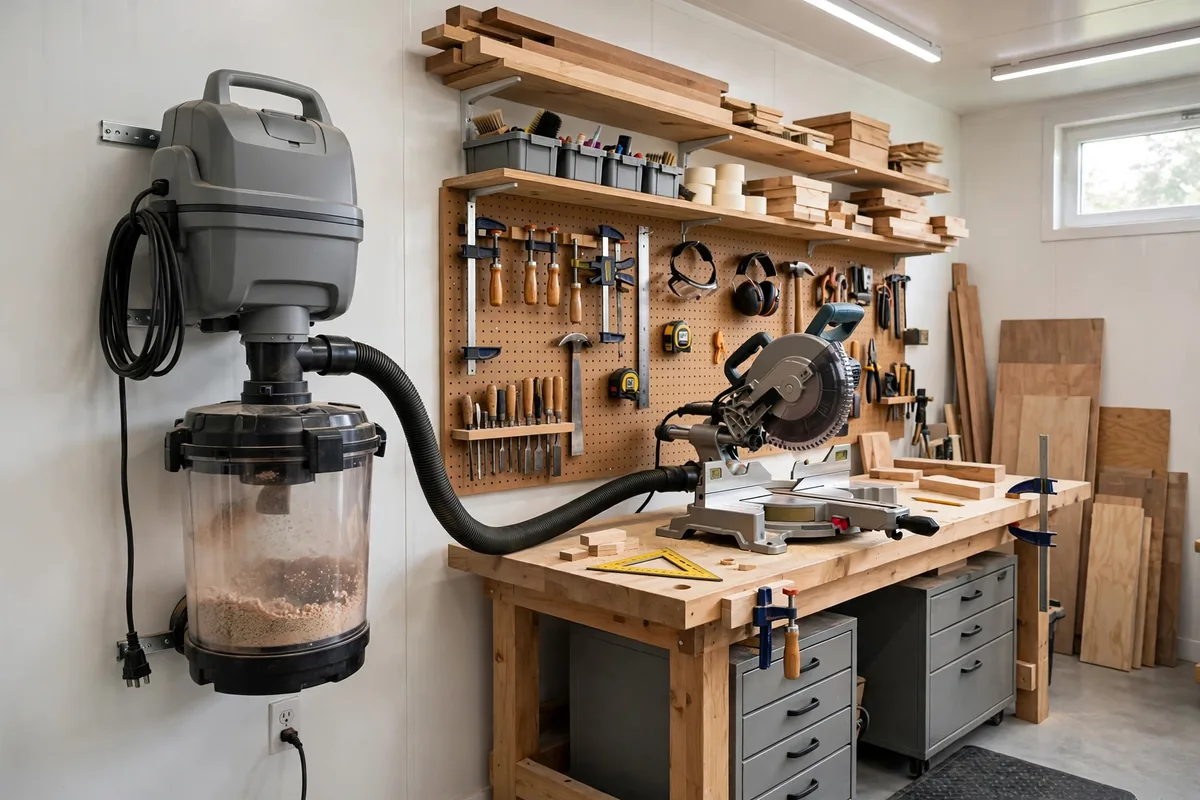
Sawdust is the enemy of both your lungs and your finishes. A wall-mounted shop vacuum with a cyclone separator captures the bulk of it for a fraction of a full dust collector’s cost — park it under the miter station for maximum effect. Family Handyman’s guides on shop dust control are a solid reference for dust collection best practices. Even a modest setup transforms how clean your shop feels.
10. Use Overhead Ceiling Storage
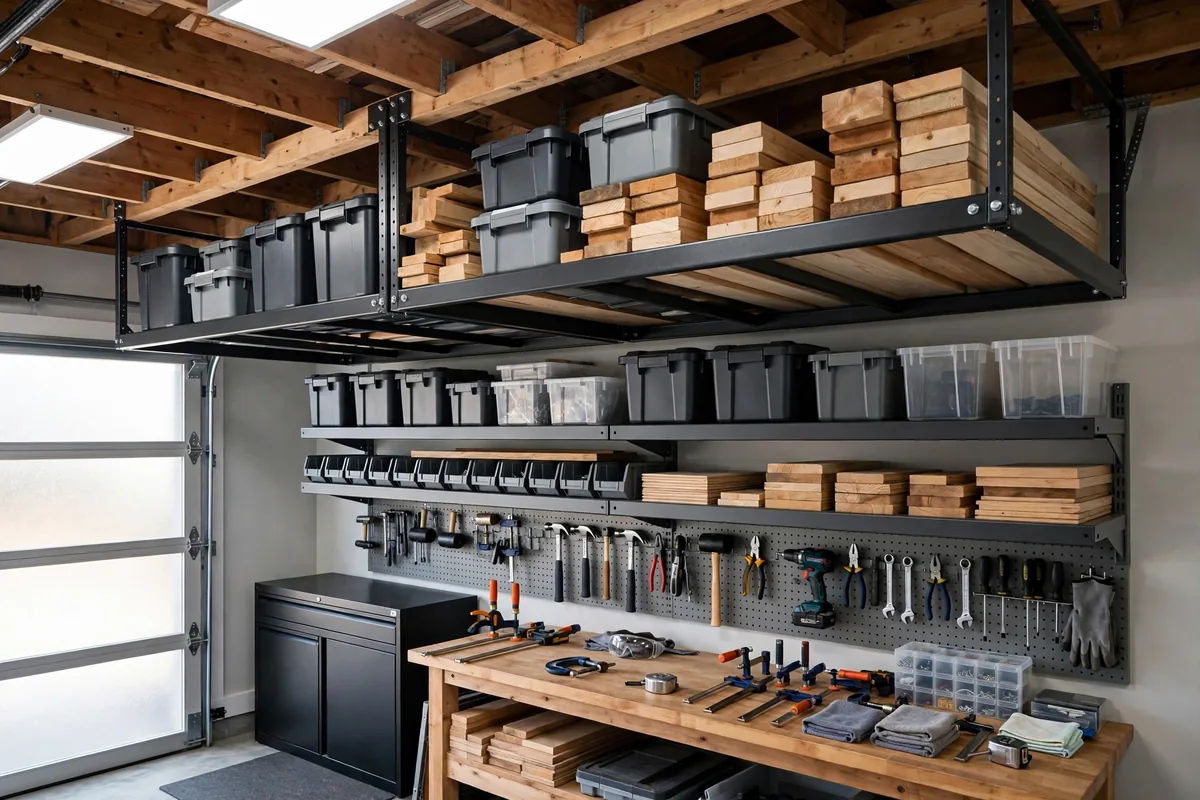
Your ceiling is square footage you’re not using. Heavy-duty overhead racks between the joists hold lumber, seasonal bins, and bulky items — lag everything into joists, never drywall alone. In a small garage this reclaimed space can be the difference between a workshop and a storage unit. Label the front of each rack so you can see contents from below.
11. Set Up a Painting and Finishing Zone
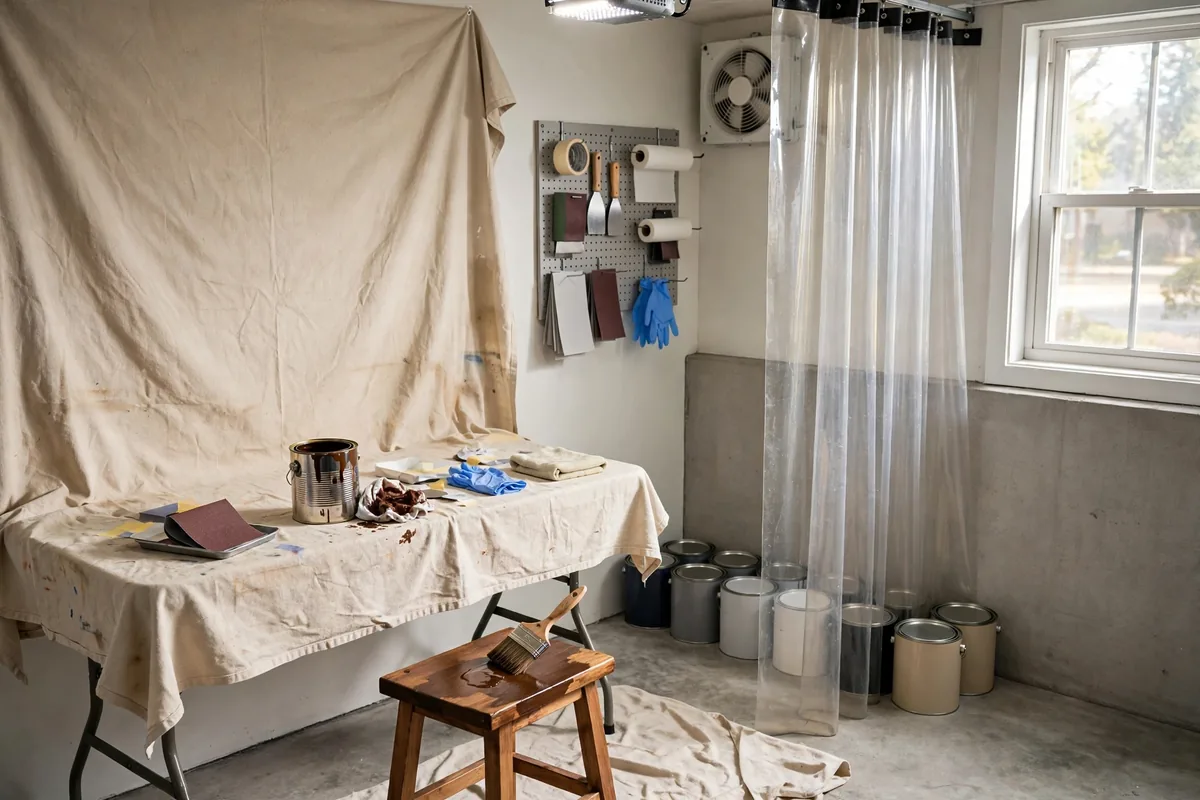
Finishing projects in a dusty shop ruins finishes. Dedicate one corner — ideally near a window or vent — as a spray-and-finish zone with a folding table, drop cloths, and a small exhaust fan. Hang plastic sheeting to keep airborne dust off wet paint, and store finishes in a small flammable-safe cabinet. Even a 4×4-foot zone dramatically improves your painted projects.
12. Add a Lumber and Sheet-Goods Rack
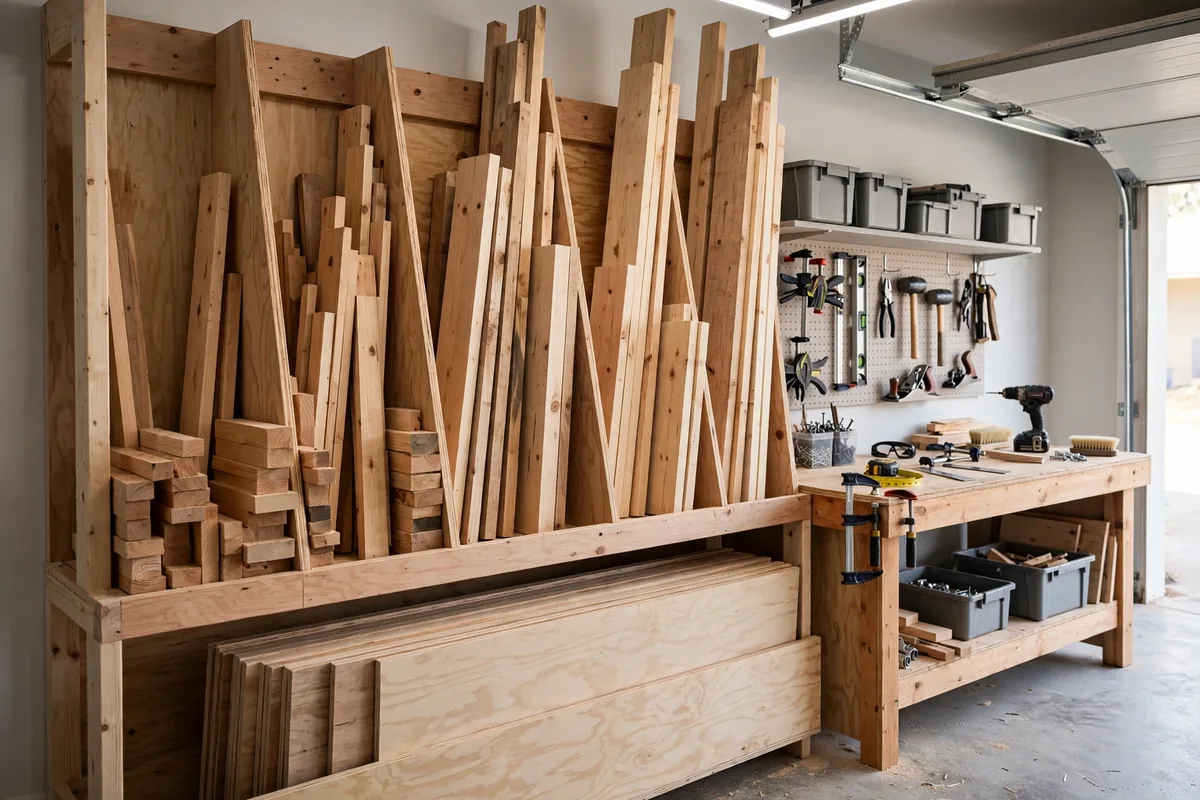
Lumber leaning in corners warps, trips you, and wastes space. Build a vertical rack against one wall with angled dividers to sort boards by length, plus a horizontal slot for sheet goods on edge. Everything stays straight, visible, and grab-able — and this one build often frees up more floor area than any other.
13. Power Up With Enough Outlets
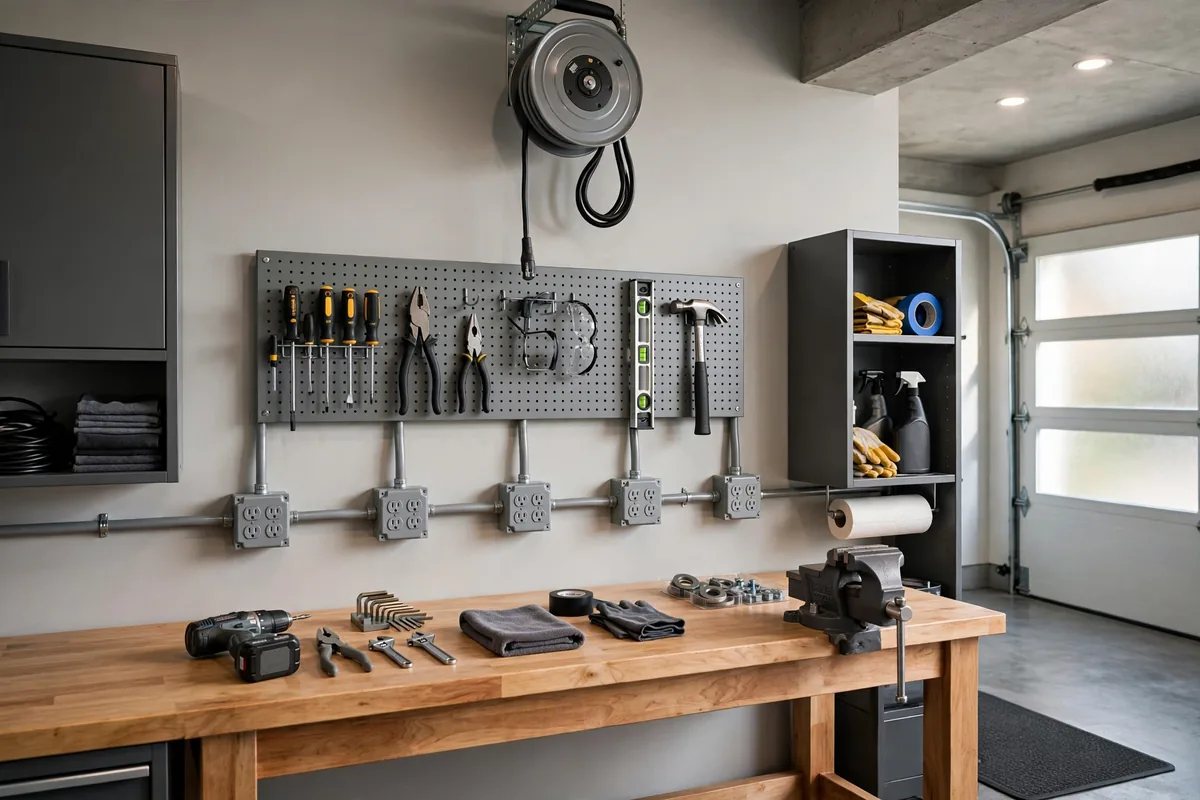
Few things kill a project faster than one circuit and a tangle of extension cords. Plan a quad outlet box every 6–8 feet at bench height, ideally on two circuits so the dust collector and table saw never share one breaker. Mount a retractable cord reel overhead for the middle of the room. A dedicated 20-amp line to the shop area is one of the highest-impact upgrades you can make.
14. Make It Comfortable With Flooring and Climate
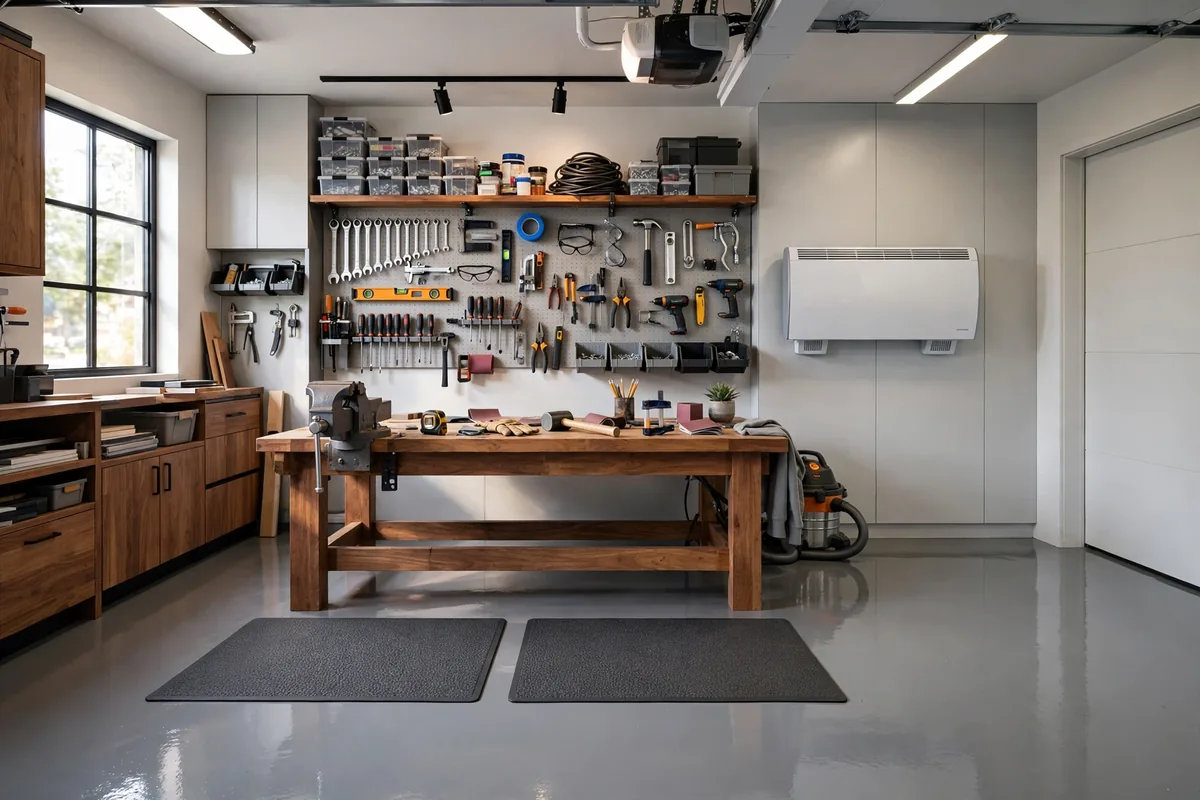
You’ll avoid the shop if it’s miserable to stand in. An epoxy floor coating resists oil and sweeps clean in minutes; add anti-fatigue mats where you stand most. A wall-mounted heater extends your season into winter, and an exhaust fan clears heat in summer. Comfort determines how often you actually show up to build — and these garage organization ideas for the rest of your storage keep everything else in its place.
15. Personalize Your Maker Space
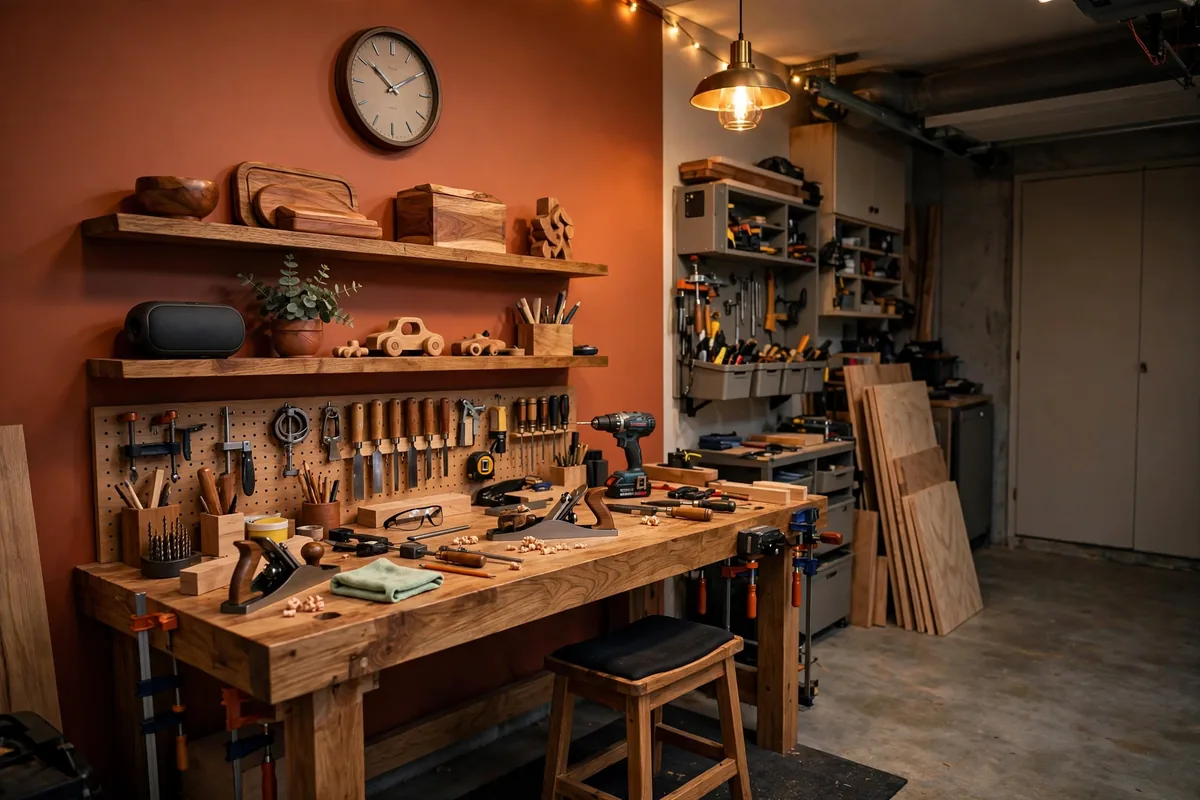
Finally, make it yours. Paint one accent wall in a color that fires you up, hang a clock, add a Bluetooth speaker, and display a shelf of finished projects. A stool at the bench and a first-aid kit round out the space. The dream garage workshop isn’t just functional — it’s the room you want to disappear into on a Saturday. Personal touches turn a setup into a sanctuary.
Frequently Asked Questions
How much does it cost to set up a basic garage workshop?
A functional starter setup — workbench, pegboard, lighting, and basic storage — typically runs $300–$800 using DIY builds and budget fixtures. Expand gradually as your projects demand more.
What is the minimum space needed for a garage workshop?
A dedicated 10×12-foot zone works well for most DIY projects, though a well-planned half of a single-car garage serves fine. Prioritize a solid workbench, vertical storage, and fold-down or mobile surfaces.
How do I keep dust out of the rest of the garage?
Use a shop vacuum with a cyclone separator at the source, plus a ceiling-hung air filter. Hang plastic sheeting between the workshop zone and parking or storage areas.
What flooring is best for a garage workshop?
Epoxy or polyurea coatings over concrete are the gold standard — chemical-resistant, easy to sweep, and bright. Interlocking PVC or rubber tiles are a good renter-friendly alternative, plus anti-fatigue mats at work stations.
How should I light a garage workshop?
Combine overhead 4-foot LED shop lights for general coverage with task lights at the bench and miter station. Aim for bright, even, shadow-free light; 5000K daylight bulbs give the most accurate color for finishing work.
Conclusion
A dream garage workshop is not about square footage or expensive tools — it is about intention. Start with the workbench, get your tools on the wall, and add one station at a time. Before long your garage will be the hardest-working room in the house — and your favorite.
